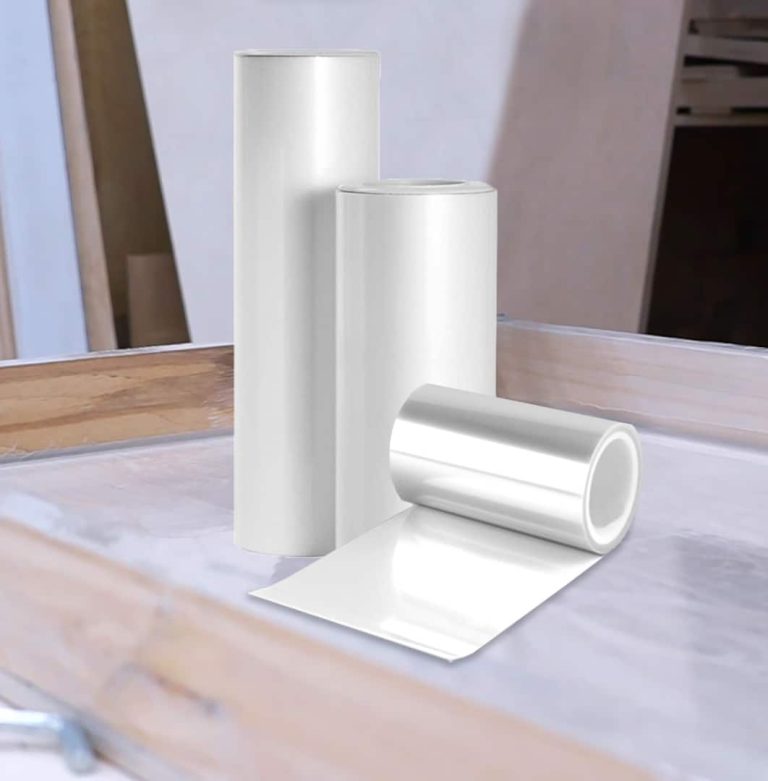
"SHINY SHIELD" - Glossy Release Film For Coasters & Table`s Frames Great tool for achieving the best results: ✔️ "Shiny Shield" release Film for Epoxy, Polyurethane and Acrylic Resins. ✔️ Transparent, adhesive and easily removable, it won’t leave any sticky traces on the workpiece; ✔️ Applicable on ALL SURFACES; ✔️ Specifically developed for CASTING FORMWORK EXTERNAL COATINGS. It is easy to apply without unevenness, creating a smooth, glossy and bubble-free surface, which will help easily release your epoxy project from the frame; ✔️ Once the resin has solidified, the "Shiny Shield" film can be easily removed, leaving a HIGHLY POLISHED even surface; ✔️ REUSABLE several times; ✔️ It does not require any kind of additional treatment and it is IMMEDIATELY READY to be poured. For any queries or if you may need some advice, please contact the ResinPro technical department!
$4,62
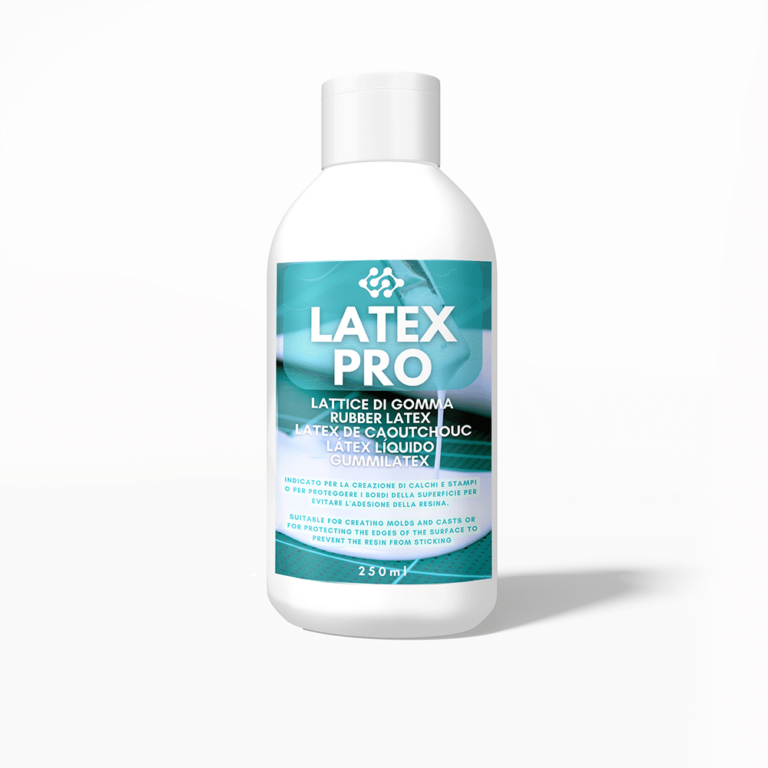
LatexPro , based on prevulcanized natural rubber latex, is the perfect solution to protect surfaces and prevent unsightly drops of resin, such as on the edges of paintings. In addition to this valuable feature, it is widely used in scenography, special effects and fabric treatment. Your perfect ally to create theatrical tricks and impressive special effects. What is LatexPro This is a type of product specifically designed to prevent drips from remaining on the opposite side of the surface during the pouring process (a kind of liquid scotch). This product has a liquid consistency and is used to create a barrier that prevents liquid from slipping or dripping onto unwanted parts. It is a practical solution to achieve cleaner and more accurate results in your artistic creations. Method of Use: Versatile and transparent, LatexPro It is ideal for creating moulds, masks, special effects and set designs. In addition, it is excellent in the treatment of fabrics, metals and other surfaces. Technical Specifications: For optimal storage, keep the product in a place away from heat and light, at temperatures between 15 and 20 C LatexPro: The protection you didn't see but knew you wanted
$14,52
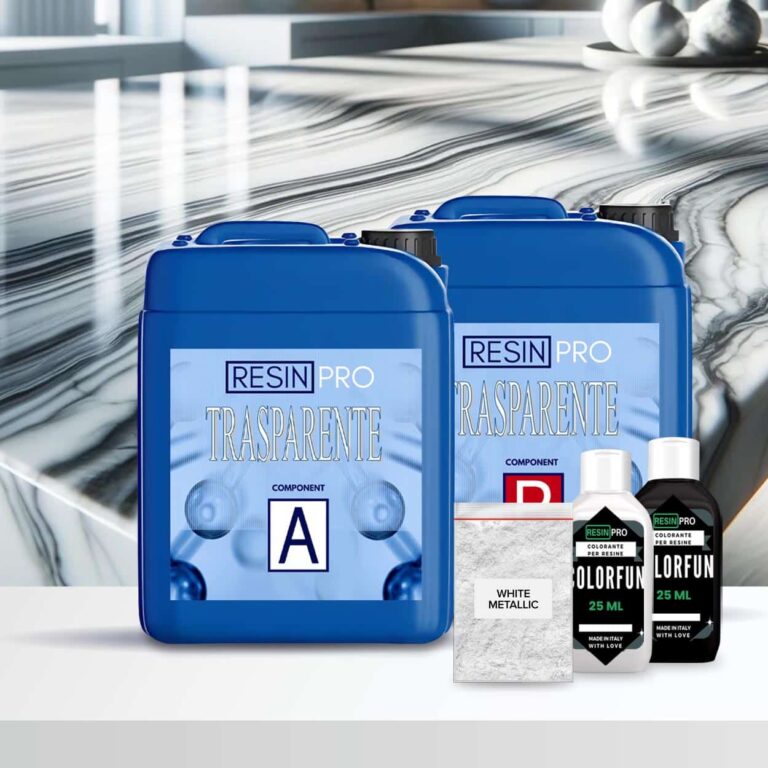
Top Cucina Kit Carrara Marble Effect with Epoxy Resin: The 2.4 kg kit (1.6 + 0.8) covers 1 square meter (+ 10 g white metallic pigment + 25 ml white dye +25 ml black dye) The 4 kg kit (2*1.6 + 0.8) covers 2 square meters (+ 2*10 g metallic pigment +2* 25 ml white dye + 2*25 ml black dye) The 8 kg kit covers 4 square meters (+ 4*10 g metallic pigment +4* 25 ml white dye+ 4*25 ml black dye) The 16 kg kit covers 8 square meters (+ 8*10 g white metallic pigment +8* 25 ml white dye 8*25 ml black dye) Kit Contents: 2.4kg, 4kg, 8kg or 16kg of "Art Pro" Epoxy Art Coat for a high quality base White dyeand Black of the "Colorfun" line for the perfect stone shades White Metallica Sahara pigment for that extra touch of sparkle Good to add: To enhance the appeal of the design:: Isopropanol 99.9% (additional option, not included in the price) To make the coating last longer: Polishield 100 Gloss (additional option, not included in the price). The coverage of a 0.5 kg kit is approximately 4 m2 Each kit includes dyes and pigment in sufficient quantity for the amount of resin required. HOW TO CREATE YOUR MARBLE EFFECT WITH EPOXY Guide Instructions: Step N1: Primer Start by carefully measuring the amount needed to cover the surface based on the consumption of 150 g/m2, making sure to follow the proportions indicated to obtain a homogeneous mixture. Once the base has been prepared, proceed with adding the dye, choosing between white or black depending on your needs. The quantity of colourant to add to the mixture can be measured in a few drops (max 5% by volume). This step is crucial to achieve the desired colour and ensure uniformity of the application. Before applying the primer, it is essential that the surface intended for treatment is adequately prepared. Sand the surface with a coarse grit (40 or 60) before any operation. Make sure it's completely clean, using a soft cloth or brush to remove any pigment, dirt or debris. The surface must also be completely dry; residual humidity can compromise the adhesion of the primer and its effectiveness in sealing the surface. Once the surface is ready, apply the mixture evenly, using a suitable tool such as a brush, roller or spatula, depending on the size of the area to be treated and your personal preference. The key is to get a thin, even layer that can cover the entire area without leaving gaps or excessive product buildup.. After application, it is essential to allow the primer to dry completely before proceeding with further treatments or finishes on the surface. The recommended waiting time is 12 hours; this range may vary slightly depending on environmental conditions, such as humidity and temperature, but offers a good compromise to ensure the mixture has time to dry and adhere properly. During this period, avoid touching or stressing the treated surface to ensure optimal results. Don't worry if you notice any discrepancies on the surface, the next main pour will level everything perfectly. Step N2: application Start by applying masking tape around the perimeter of your countertop to contain the epoxy you're about to pour. This step is essential to ensure the resin stays where it is needed. After applying the resin, wait about 1.5 hours before gently removing the tape. To ensure coverage is even and complete, plan to use approximately 1.6kg of resin for every square meter of surface area. When you are ready to mix the resin, use a drill equipped with a paddle mixer for quick and even action (use at low speed), taking about 2 minutes for this operation. If you prefer to mix by hand, be prepared to take double the time. Don't forget to scrape the sides and bottom of the container halfway through the process with a stick to ensure all the material is mixed well. Next, separate the already mixed resin into different glasses and add the desired colours, mixing the different colours in the different glasses until you obtain an intense and uniform colour per single glass. To create a striking visual effect, pour the coloured resin in random layers into a larger bucket, being careful not to mix the colours together too much. After filling the bucket, spread the contents over the surface of the worktop, leaving a small amount of resin aside to finish the edges later. To remove trapped air bubbles, gently run a propane torch or heat gun over the surface. Once the adhesive tapes have been removed, approximately 1.5 hours after application, if there are any dry edges, moisten them slightly by wearing a protective glove to promote an even appearance. Use appropriate tools, such as spatulas or plastic scrapers, to spread and level the resin along the edges, making sure to cover the entire area well. After letting the resin cure for 24 hours, you can apply a clear top coat or PoliShield scratch-resistant paint to further protect the surface. Finally, for even more refined visual effects, spray 99.9% isopropyl alcohol onto the surface just before the resin begins to fully harden. This will create unique lacy textures. Remember that when you remove the tape, it is essential that the resin is partially hardened, neither too liquid nor completely solid, to avoid unwanted drips. Attention! Safety Guidelines for Using Isopropyl Alcohol (99.9%) Isopropyl alcohol (IPA) is a highly flammable substance. Improper use—especially near heat sources like torches or heat guns—can result in fire or explosion. To ensure safe use, follow these precautions: Primary Risks Highly flammable: IPA vapors can ignite from sparks, open flames, or hot surfaces. Forms explosive vapor-air mixtures, especially in enclosed or poorly ventilated spaces. Strictly Prohibited: Using gas torches or heat guns near areas treated with IPA. Spraying IPA near active heat sources. Storing IPA near flames, heaters, or hot tools. Recommended Safety Measures: 1. Ventilation: Always work in a well-ventilated area when using IPA. 2. Wait Time: After applying IPA, wait at least 5–10 minutes to allow complete evaporation before using any heat tools. 3. Safe Distance: Keep IPA containers at least 2 meters (6 feet) away from heat or flame sources. 4. Storage: Store IPA in a tightly sealed container, away from direct sunlight or high temperatures. 5. Fire Safety: Have a CO₂ or dry chemical fire extinguisher nearby when working with flammable substances and open flames. In Case of Fire: Do not use water to extinguish the fire. Use an appropriate extinguisher, cut off air supply if safe, and call emergency services if needed.
$73,49
• "Art Pro Deluxe" non-toxic ultra-high viscosity epoxy resin for artists. The best choice for Resin and Geode-art, making Coasters, Trays, Ocean-art, jewellery and casting surfaces. + gloves & detailed instruction for FREE. • Beloved by many artists around the world: ✔️ ULTRA HIGH viscosity -> easy control lines in resin and geode- art (coasters, trays, paintings) ✔️ Amazing glossy and self-levelling surface ✔️ High scratch resistance -> ideal for finish layers and use for coasters and trays ✔️ UV filter for protection against yellowing -> 10 years warranty ✔️ Safe and Certified -> Non-toxic, Solvent-free, non-flammable, and totally safe ✔️ High transparency -> a true liquid crystal ✔️ Easy to use -> fast curing time (1st stage - 10-12h; 2nd - 18h) ✔️ Trusted quality -> Thousands customers since 2015 Check and tag our social media for inspiration! We always happy to publish your art-work –Instagram Logo Icon - Download in Gradient Style 🌿Cruelty Free, Vegan Friendly🐹
$41,00
Making Slippery Balconies Safer with Transparent Anti-Slip Treatments
Enhance the safety of your slippery balcony by applying a transparent anti-slip treatment. Crafted from durable epoxy or polyurethane resins, these treatments create a textured surface upon hardening, significantly improving grip and reducing the risk of slips and falls. Particularly beneficial for balconies exposed to the elements, these coatings safeguard the floor while preserving its aesthetic appeal. With easy DIY application following the manufacturer's guidelines, opt for a high-quality product to ensure lasting protection and safety.
Clear Epoxy Resin for Balconies
For a durable and visually appealing solution to protect and adorn balconies, consider clear epoxy resin. This versatile and resilient material forms a glossy, waterproof surface, perfect for coating floors and railings. Easy to apply, the clear epoxy resin offers long-lasting protection against weathering, abrasions, and daily wear. Its transparency maintains the balcony's original aesthetics, showcasing the beauty of underlying materials like tiles, concrete, or other surfaces.
Silicone Molds for DIY Balcony Coatings
Essential for creating premium protective coatings, silicone molds for DIY balconies ensure a seamless and weather-resistant finish. Tailored to fit balcony surfaces perfectly, these molds enable the creation of uniform coatings with a professional touch. Thanks to the flexibility and durability of silicone, achieving flawless finishes becomes effortless, even for beginners. Opting for silicone molds simplifies balcony coating projects, delivering efficient and cost-effective protection for outdoor spaces.
Transparent Resin Balcony Pigments
Elevate the look of outdoor floors, such as balconies, with transparent resin balcony pigments. These specialized colorants are designed to dye transparent resins, ensuring a consistent and weather-resistant coloring that lasts. Ideal for customizing and safeguarding external surfaces, these pigments add a decorative touch and a pop of color. Prior to application, carefully follow the manufacturer's instructions and confirm compatibility between the resin and pigment for optimal results.
Intense and brilliant color, ideal for Transparent Epoxy Resins. Mix small quantities to get a translucent effect. The high coverage of the “Colorful Original” range allows to obtain a full and bright color. The high concentration provides an opaque color with a few drops.
Usable to color the products of the RESIN PRO range.
💥 Ideal for epoxy creations and resin tables thanks to its features:
✔️ Intense colors
✔️ Easy to mix
✔️ Intense colors
✔️ High concentration
✔️ Easy to get a translucent effect
✔️ 5 stars on Trustpilot
🌿Cruelty Free, Vegan Friendly🐹
$16,00
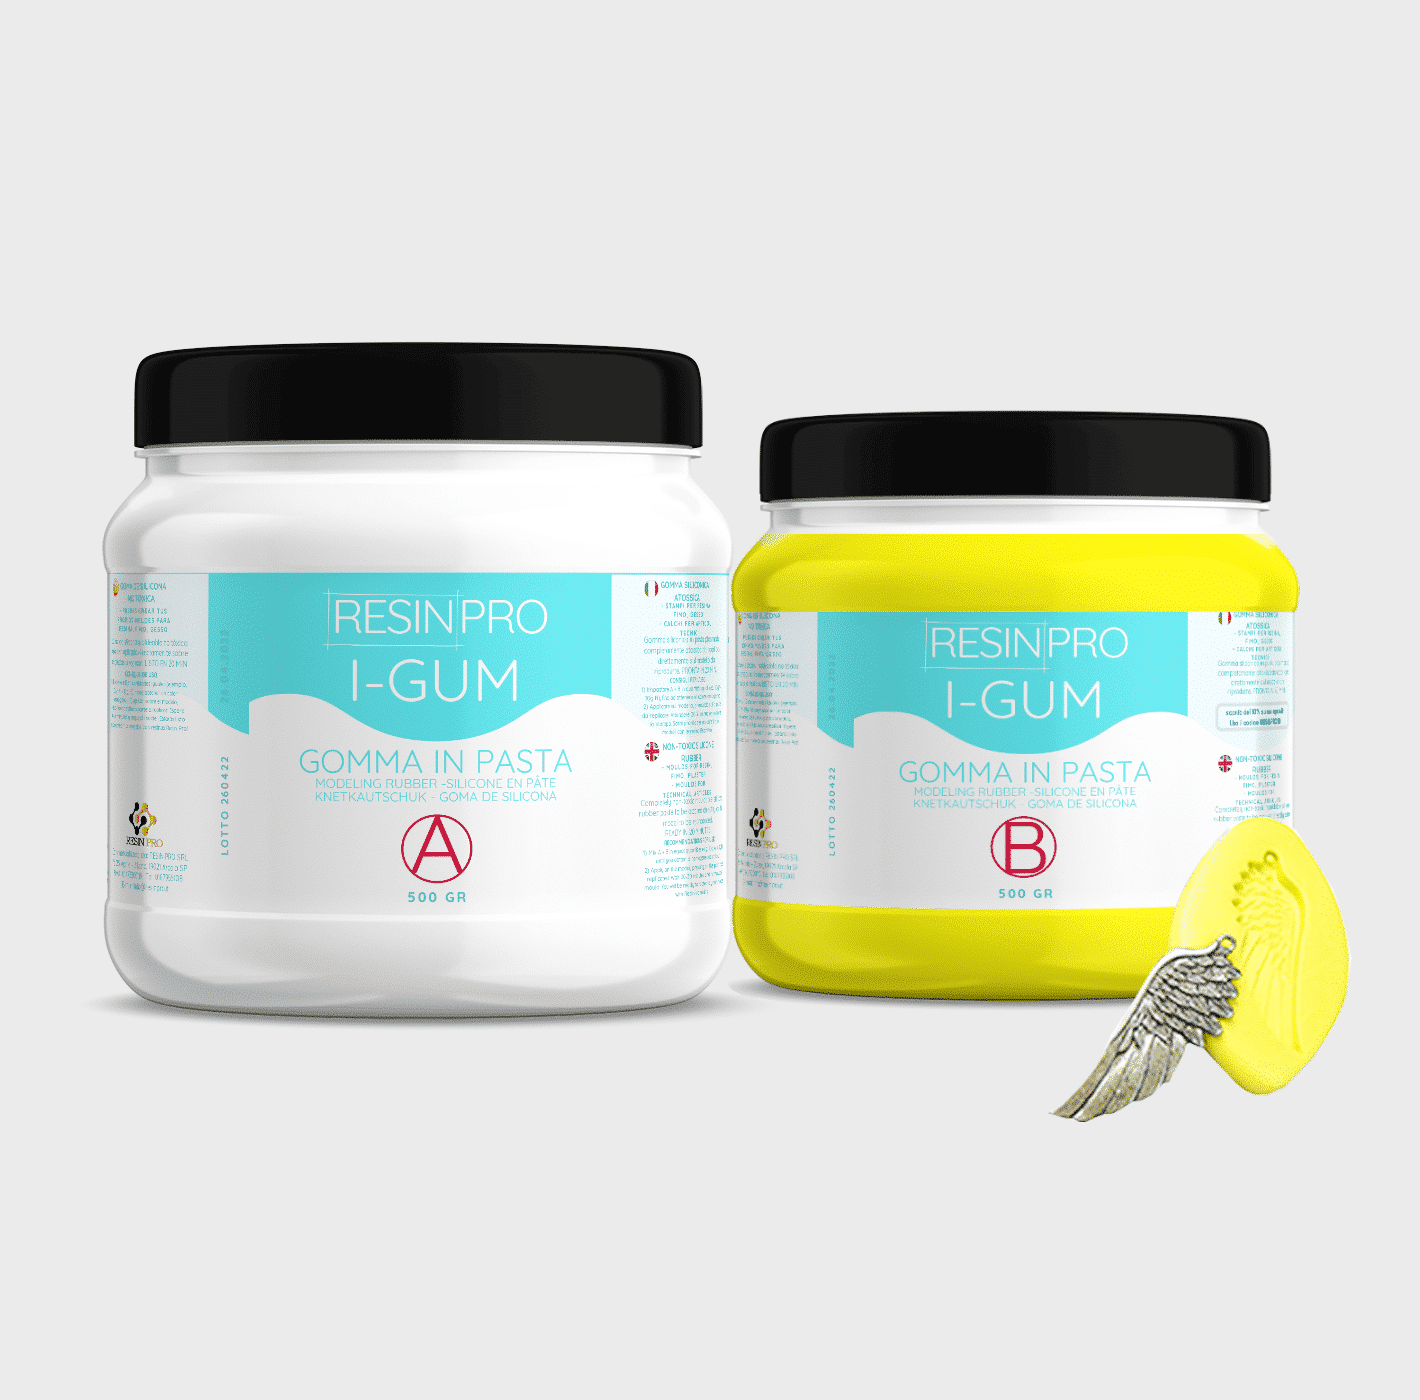
• "I-GUM" - Non-Toxic Silicone Rubber - Paste Form
Pasty silicone rubber "I-GUM" is a two–component product for creating moulds and forms for pouring with epoxy resin.
• Superior formula proven by years of experience:
✔️ Easy to use -> 1:1 mix ratio
✔️ Non-toxic -> You can work without gloves
✔️ Without smell
✔️ Long working time -> 20 minutes
✔️ European quality -> Directly from Italy
✔️ Ideal for creating moulds and frames for working with resin, polyurethanes, wax, cement and other materials
✔️ 🌿Cruelty Free, Vegan Friendly🐹
$22,00

Images
On sale
“Pure Mold” – Translucent Liquid Silicone Rubber for Mould Making, 1:1 Mix Ratio
Available, ready for shipping
Order now to receive your product between Wednesday, April 29 and Wednesday, May 6.
Shipping $16
Choose your kit:
Quantity
"Pure Mold" - Translucent Liquid Silicone Rubber for Mould Making, 1:1 Mix Ratio quantity
The kit: 1 KG (500 GR of A + 500 GR of B)
$52,95 Original price was: $52,95.$44,95Current price is: $44,95.-15%
💰 You save
$8.00
TRANSLUCENT AND FAST CASTING LIQUID SILICONE RUBBER FOR MOULDS
🧪【INNOVATIVE FORMULA】Create your moulds using PURE MOLD silicone rubber! Compatible with many materials including resins, plaster and cement. Its transparency will allow you to observe through the mould and its high mechanical characteristics make it a product suitable for both professional and hobby use.
💎【IMPECCABLE QUALITY】Guarantees the creation of resistant and detailed moulds that will last over time and will be reusable several times!
🌿【SAFE AND CERTIFIED】 100% Made in Italy, guaranteed by a Certificate of Non-toxicity and solvent-free and odorless, this rubber is configured as a safe and easy to use product!
⚙️【EASY TO USE】 Mixing ratio 1: 1; Hardness: 13 Shore; Catalysis in about 6-8 hours. The poly additive formula makes it more resistant than other silicones, allowing the creation of higher quality molds.
+ Easy mixing ratio 1:1
+ Less mould shrinkage over time
+ 30% longer service life
+ Fast (6-8H)
+ Translucent
+ Resistant
Good for:
epoxy resins,
polyester,
polyurethanes and acrylics,
cements and plasters.+ Liquid
🌿Cruelty Free, Vegan Friendly🐹
$44,00
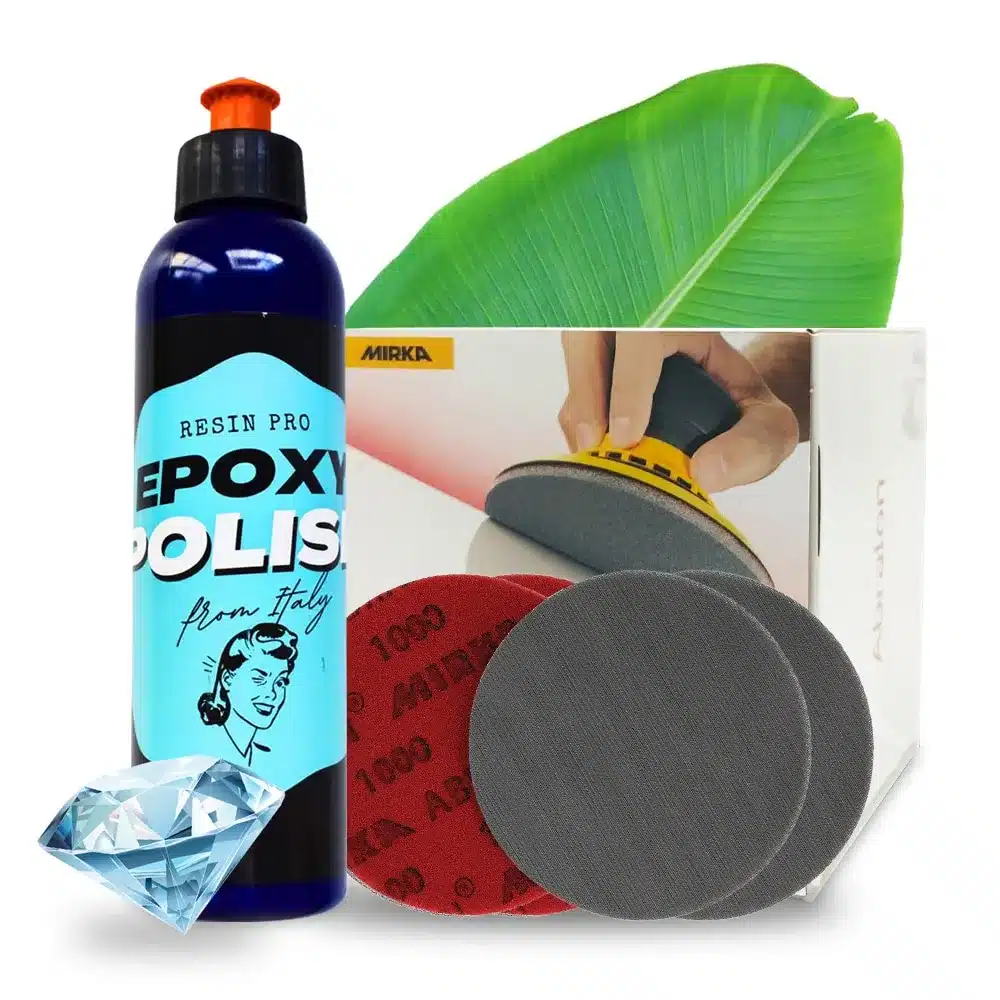
Great way to add some glossy finish to your epoxy project!
Was made especially for resin world.
Resin Pro offers the possibility to achieve a perfect polishing by using different types of abrasive pastes.
It can be used by hand or with an orbital polisher to make your resin creations shiny.
$36,00
ResinPro: one supplier for all your needs
15 years of experience at your complete disposal, supplying resins and accessories for creativity, industry, DIY, flooring and marine applications.
At your home, directly from the manufacturer!
ResinPro is the direct manufacturer of our resin range for companies and hobbyists, guaranteeing the lowest prices on the market.
Learn more
The widest range of resins in the US!
We offer resins for every need, from artistic creations to marine and construction applications, far beyond the “limited” selection typically found in local DIY stores.
Expert technical support!
Our technicians provide free remote consulting to help you avoid mistakes and ensure you achieve the result you want — unlike “generic retailers” who sell 1,000 different products.
get a free consultation
RESIN PRO is a leader in resin production and distribution!
24-hour delivery: We ship across the US on the same day. Enjoy convenient home delivery with our appointment service—our courier will contact you in advance and deliver the package to your preferred location, or leave it at an alternative address of your choice.

Full support!
We provide continuous support from preparation to final application, including remote technical assistance, ensuring a smooth experience.
Talk with a specialist and place a phone order without registration and without credit cards!
 Free shipping on orders over €199,00
  Shipping Tracking!


 Google
 Facebook