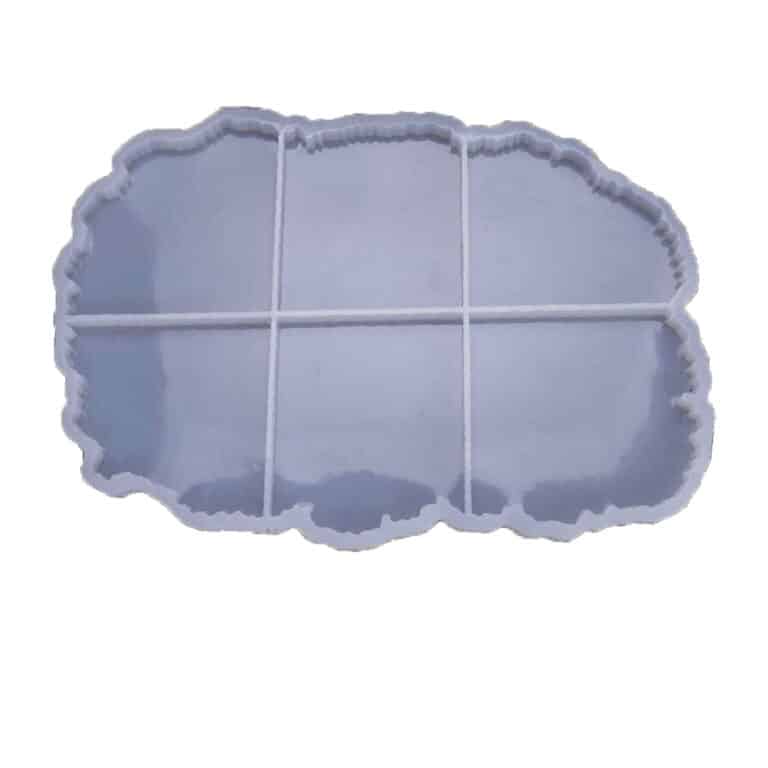
HIGH-QUALITY SILICONE MOULD FOR HANDCRAFTS This flat Coaster Mould has a smooth interior and produces a beautiful coaster with a professional finish. Use our heat-resistant resin to make something that is not only functional. Dimensions: 12.7 x 10.5 in Partially: 4.3 x 4.1 in; 3.7 x 3.9 in; 3.7 x 3.6 in; 4.1 x 3.6 in; 4.1 x 3.7 in; 3.7 x 4.1 in; 4.1 x 3.7 in. If you're using these moulds to make coasters, we recommend that you add a 3mm thick clear layer of Heat-Resistant resin first in your mould. Let it set and then add more resin with colour, ink, glitter, flowers etc. Once turned out (after 3-4 days), what was the bottom will be the top and heat-resistant up to 200C! Remember that our Heat-Resistant resin needs up to 72 hours to achieve full cure, so don't place a hot cup on it too early. DO-IT-YOURSELF. Material: Silicone, Colour: Semi-transparent; Reusable, Non-stick, Easy to use and clean. Warning: do not use aggressive solvents, High-quality moulds, heat-resistant: -40°C to + 210°C [-104° F to +410° F]
$11,66
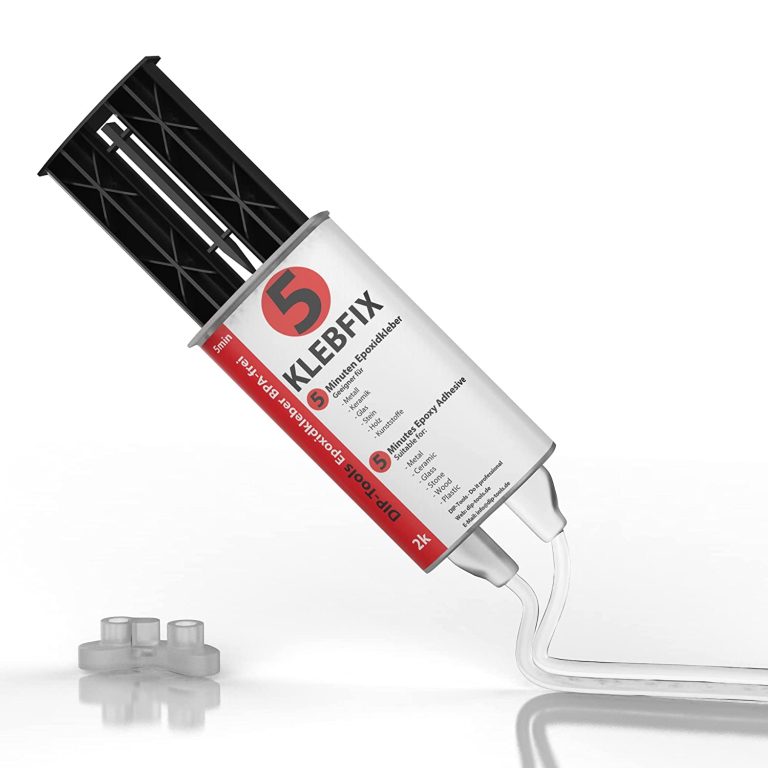
Advantages of Two-component Epoxy Resin Adhesive Extreme strength and resistance to thermal and mechanical influences Resistant to most aggressive substances and oils Available solvent free and BPA free It hardens even under water Compatible with a wide range of additives such as dyes and accelerators Expedited Potlife Application – BestPractice At room temperature (15-30 C The mixing ratio of the two components of 1: 1 is maintained automatically. Do not apply below 5 C outdoor temperature. The higher the ambient temperature, the more effectively the material polymerizes. This means that resistance increases at higher temperatures. It is recommended to have a cloth ready for cleaning. In addition, care must be taken that the work surface is protected and can be cleaned directly if necessary. The surface should be slightly roughened, because only then is the epoxy adhesive guaranteed to bond well with the material. To do this, you can sand or file the surface. To spread the sticker, a piece of cardboard or plastic is useful. After use, clean the tube so that the lid does not stick, and then close it tightly. The thickness of the adhesive should be thin enough (0.1-0.2 mm), but if necessary it can be thicker. The parts to be glued must be clean and free of oil and grease. Apply the adhesive on one side and join and press the parts to be glued. The potlife is about 5 minutes, good endurance is achieved after about 10-12 minutes, and total endurance after about 24 hours. Pot life is limited in time and describes the maximum working time of the uncured adhesive. Once the pot life has passed, the adhesive not yet applied must not be further processed, but must be disposed of! Until the manual force is reached, the binding must be additionally fixed, for example, with the help of a vice, adhesive tape or clamp. In the case of heat-assisted polymerisation, the temperature resistance of the joined parts must be guaranteed. In addition, the heating and cooling times of the parts to be joined must be respected. This time must be added to the curing time of the adhesive. Tension can occur in the glued joint during heating and cooling. With materials such as PP, PE, PTFE or silicone, the parts need to be pretreated with our primer. The need for a primer depends on the surface tension. If this is high enough it can be tested with water droplets on the surface. If the drops adhere well to the surface, a good bond is most likely. If the drops slip away, a primer is probably needed. Mixing There are several ways to mix the two components: - Mixing by hand - Use of a static mixing nozzle - Use of a dynamic mixing nozzle Hand mixing is sufficient in most cases. For this purpose, a toothpick or similar is used and the two components are mixed until a cloudy mass is formed. Make sure that no bubbles remain. When using a static mixing nozzle, the mixing of both components takes place inside the mixing nozzle so that the mixing is ideal. The first 2g should be discarded, given they are not yet mixed 1:1. However, the mixing nozzle can only be used until the adhesive in the mixing nozzle has dried. After that, you will need a new nozzle. W With a dynamic mixing nozzle, the speed of the mixer can be controlled electronically. This allows you to control the mixing intensity very precisely. However, this is intended for special industrial applications and is not necessary for everyday use. Harden The adhesive is chemically cured. This gives the advantage that gluing the surface is also possible, where adhesives that harden with moisture take a very long time. The bond is high strength and densely flexible. Thus, permanent resistance can be guaranteed in the event of shocks and vibrations. The use of the polymerised adhesive is also possible at high temperatures (up to about 120C), for a short time (30 min) up to 200C The polymerised adhesive has good resistance to physical (e.g. sunlight) or chemical (moisture, detergents, chemicals, etc.) influences. The great advantage of two-component epoxy adhesive is the fact that it hardens even under water and is robust. In addition, it is mouldable, so it can be inserted into any recess to fit. Technical data Epoxy Resin Hardener Base (amine mixture) Viscosity High Viscosity Transparent Color Density 1.1 g / ml Gap filling capacity 3mm Temperature resistance -40 up to +120 C Pot Life 5 min Hand resistance 10-12 min Final endurance 24 hours Shore hardness 60 Tensile shear strength 10 N / mm2 Module E 620 N / mm2
$32,95
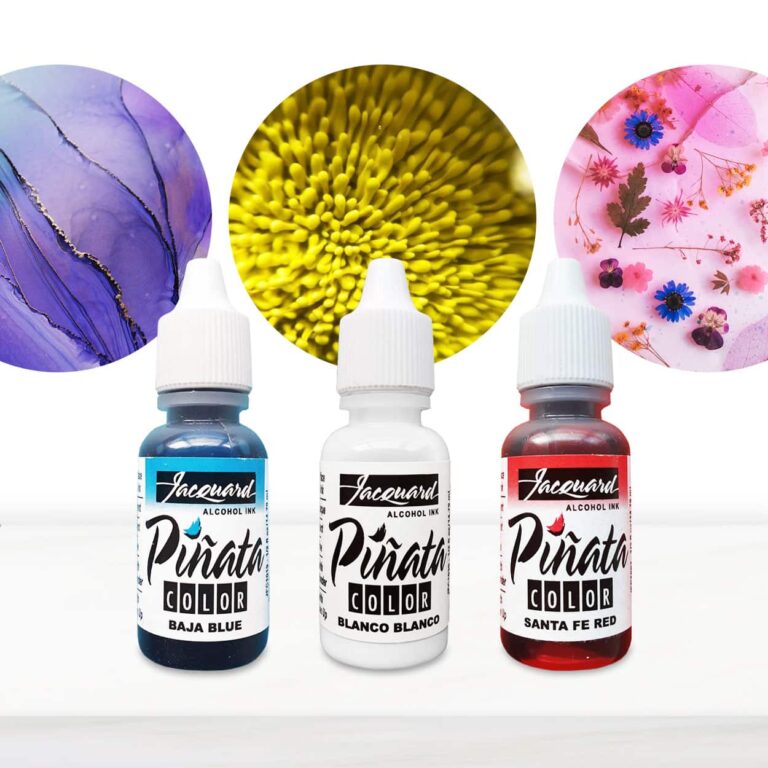
Piñata Colors are highly saturated, fast-drying alcohol inks for any hard surface, including glass, metal, plastic, ceramic, stone, leather, resin, polymer clay, YUPO® and more. Indelible and impervious to water, Piñata Colors clean up with alcohol and re-wet themselves, allowing for unique effects and techniques not easily achieved with water-based inks. As a dye-based, highly transparent ink*, Piñata Colors are unparalleled for vibrancy. Only the most lightfast dyes have been selected for the palette. Acid-free with excellent adhesive properties, Piñata Colors are the go-to inks for all non-porous surfaces. TECHNIQUES fine arts, scrapbooking, crafts, faux stained glass, card making, resin arts, faux finishing techniques and staining wood and leather SURFACES glass, metal, plastic, vinyl, ceramic, stone, leather, epoxy resins, YUPO®, foil, wood, encaustic, Claybord™, fiberglass, acrylic, polymer clay and more Warning: using inks in percentages higher than 1% may alter the mechanical resistance of the creation. In order to create the Blast Effect, it is necessary to use the colour WHITE. https://www.instagram.com/p/BuTHQjWDUSX/?utm_source=ig_web_copy_link Instruction: These beautiful, color-saturated, acid-free, transparent inks have an alcohol base which makes them indelible and moisture-resistant when dry. That means you can work freely on most any clean, oil-free surface, and makes them the ideal professional product. Highly versatile, Piñata can be used in a variety of applications, including rubber stamping, fine art, fiber art, and scrap booking. Also use Piñata in calligraphy, faux finishing techniques, graphic and airbrush applications, as well as wood and leather staining. Techniques: Mixing Piñata with Claro — it will stay shiny and not change color. It extends the drying and working time. Claro is also a transparentizer. Claro dropped or brushed on top of dry Piñata will make it spread, creating rings of marble or stone-like texture. Slight dulling occurs, but most will remain shiny. Just like real stone! Mixing Piñata with alcohol produces a slightly lighter color. When sponging this mixture, expect to see tiny bubble-like textures. This is very effective in making background papers and other interesting textural faux effects. Alcohol dropped or brushed on top of dry Piñata removes the shine. This is particularly effective on terra cotta surfaces or in faux finishing techniques where shine would detract from the overall effect. Spritz or brush layers of color over color. When wet, each layer will push aside the under layers creating amazing effects. Allowing each layer to dry will produce beautiful glazes and truly spectacular colors with clarity and depth. Add blanco Blanco to any of the Piñata Colors and achieva a completely new glowing range of pastel variations with a touch of opacity. Resists: Crayons: draw with various colors and apply Piñata. Wax.: following directions from the manufacturer, apply melted wax to fabric. Crinkle the fabric allowing the wax to crack, then apply Piñata. Iron the wax away to create beautiful batik effects. Gum Arabic: mix gum arabic with water to a heavy cream consistency. Apply this to a rubber stamp or paint it directly onto a surface. Apply Piñata. Gently wash away the gum arabic. Piñata Clean-Up Solution: Piñata Clean-Up Solution contains moisturizers to keep brushes soft and pliable. (TIP: Use regular rubbing alcohol to clean off most of the Piñata from brushes and sponges. Use the Clean-Up Solution for the final rinse to keep brushes soft and ready-to-use the next time!) Warning: Flammable • Eye Irratant • Contains: Denatured Alcohol • Keep Out Of Reach Of Children.
$6,95
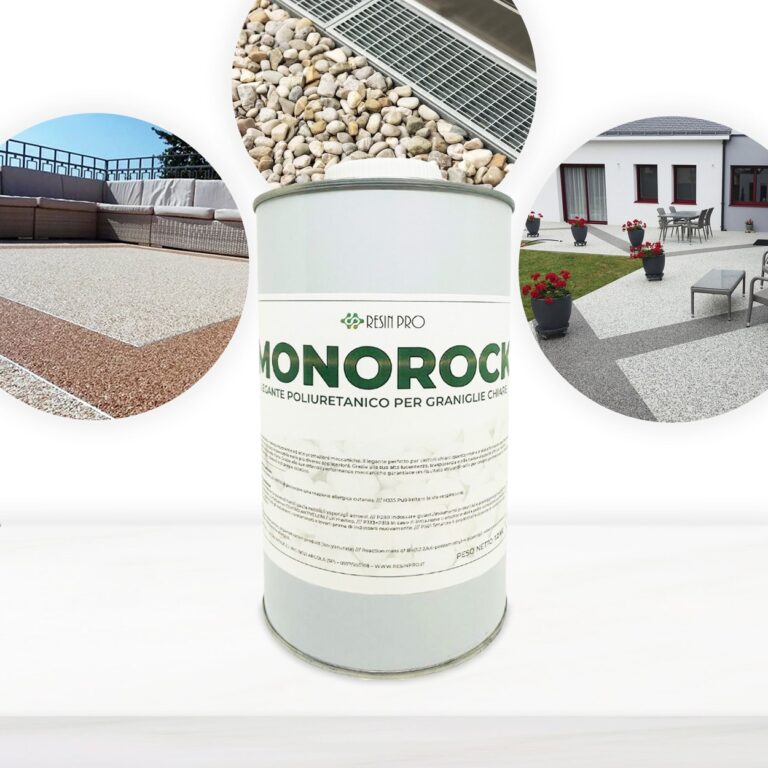
High-Performance Single-Component Polyurethane Resin The perfect binder for white or light-colored pebbles. This resin has been specifically formulated to ensure an impeccable result in various applications. Thanks to its high gloss and transparency, and low viscosity, it offers a flawless, clear, and bubble-free result. Ideal for use as a binder for white or light-colored pebbles. Due to its optimal mechanical performance, it ensures an extraordinary result for creating continuous permeable floors that are durable and aesthetically pleasing. Consumption for Aggregate/Pebble Binder Depending on the chosen grain size, consider these indicative data for polyurethane resin for white or light aggregates: 7-10 mm – for 20-25 kg of aggregate, add 500g of polyurethane resin; 4-6 mm – for 20-25 kg of aggregate, add 650g of polyurethane resin; 2-4 mm – for 20-25 kg of aggregate, add 800g of polyurethane resin; 1-2 mm – for 20-25 kg of aggregate, add 1.2 kg of polyurethane resin; Note: It is advisable to verify the necessary amount of binder before application, as an excess of binder can cause swelling and foaming. The correct amount of binder is just enough to wet the surface of the aggregate without dripping. If you have any doubts, contact our support! These consumption rates are calculated based on the standard sale format of aggregates/pebbles, approximately 20-25 kg per bag. Primer For greater adhesion security, use Transparent Epoxy Resin as a primer for your surfaces: in this application, consider 150-200 g/m² applied with a simple roller; to ensure optimal grip, sprinkle quartz sand to refusal immediately after application. Resistance Excellent mechanical performance, with pebbles perfectly bound together and extraordinary resistance to yellowing. Main Features High transparency Excellent mechanical resistance Good chemical resistance and carbonation resistance High impregnation and reinforcement of technical fabrics Long working time Glossy and self-leveling surface High UV resistance for long-lasting creations - no yellowing High mechanical resistance for scratch protection Low viscosity reduces the presence of air bubbles after curing and facilitates carbon fiber impregnation Odorless and solvent-free Perfectly transparent and bubble-free thanks to its specific formula. Curing Time Complete curing is achieved in about 24 hours. Surface Preparation Apply on solid, compact, dry substrates that are not subject to capillary rising damp, clean, and free of oils and greases. Treat surfaces by shot blasting or sanding followed by residue vacuuming. Alternatively, a cementitious underlay or epoxy screed is recommended. The use of a suitable primer is recommended (see specific application cycle sheets). Product Use Mix the product with colored or monochromatic mineral aggregates of any grain size, using manual (low-speed drill with helical mixer) or automatic (concrete mixer) mixing. For a finished product with maximum chemical and mechanical resistance, use aggregates that are clean of oils or greases and free of moisture. The ratio of aggregate to binder is highly dependent on the shape, size, and porosity of the aggregate; as a guideline: 40:1 for 4-6 mm aggregate; 20:1 for 2-4 mm aggregate; 16:1 for 1-2 mm aggregate. Technical Assistance, Product info: Contacts
$50,49
 Free shipping on orders over €199,00
  Shipping Tracking!


 Google
 Facebook