• "Art Pro Deluxe" non-toxic ultra-high viscosity epoxy resin for artists. The best choice for Resin and Geode-art, making Coasters, Trays, Ocean-art, jewellery and casting surfaces. + gloves & detailed instruction for FREE. • Beloved by many artists around the world: ✔️ ULTRA HIGH viscosity -> easy control lines in resin and geode- art (coasters, trays, paintings) ✔️ Amazing glossy and self-levelling surface ✔️ High scratch resistance -> ideal for finish layers and use for coasters and trays ✔️ UV filter for protection against yellowing -> 10 years warranty ✔️ Safe and Certified -> Non-toxic, Solvent-free, non-flammable, and totally safe ✔️ High transparency -> a true liquid crystal ✔️ Easy to use -> fast curing time (1st stage - 10-12h; 2nd - 18h) ✔️ Trusted quality -> Thousands customers since 2015 Check and tag our social media for inspiration! We always happy to publish your art-work –Instagram Logo Icon - Download in Gradient Style 🌿Cruelty Free, Vegan Friendly🐹
$41,00
• “EPOXYTABLE 5-FIVE” - deep pour epoxy resin for tables & large projects. Free 25ml pigment* + Gloves + Detailed instruction. • The best choice for deep pouring: ✔️ Low exothermic reaction –> castings up to 5cm [1,96”] ✔️ Strong UV filters –> non-yellowing guaranteed for 5 years ✔️ Highly mechanical resistant surface, for maximum scratchproof properties ✔️ Low viscosity –> bubbles free ✔️ Long working time –> no rush in the process ✔️ Heat resistance –> up to 70°C [158 F] ✔️ Trusted quality –> We have already sold more than 26000 kits of this product, since we started in 2015 ✔️ Cruelty Free, Vegan Friendly🐹
$41,00
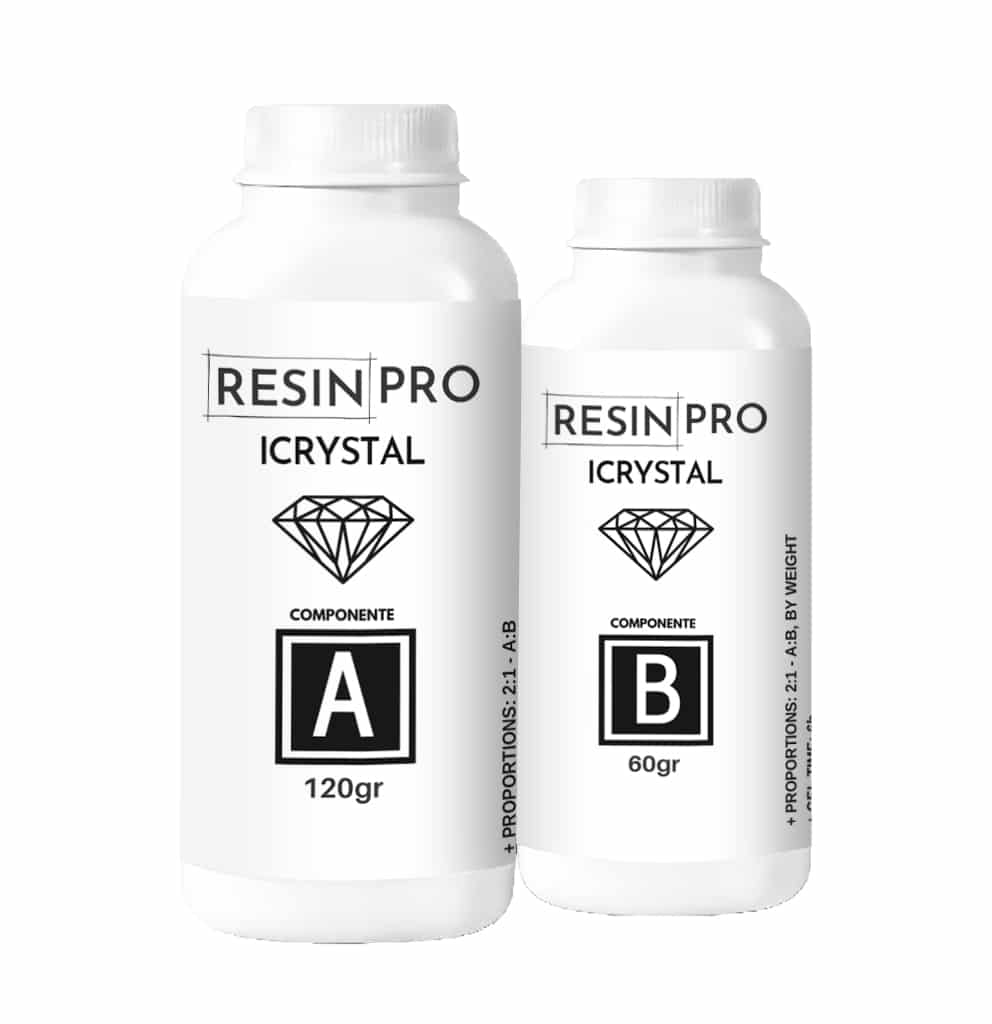
iCrystal Epoxy Resin At A Glance
Description: Water clear, two-part, multipurpose epoxy resin
Uses: Casting resin for table tops, jewelry, or as a coating for artworks
Thickness: Maximum of 5/8'' (1.5cm) per layer in tabletop applications
Viscosity: Low viscosity, quick sheds bubbles
Working Time: 15-30 minutes, depending upon mixture volume
Initial Cure Time: 1-4 Hours, depending upon volume and room temperature
Compatibility: Alcohol-based colorants, inert powders, dried organic materials
Mix Ratio: 2 parts A to 1 part B, by weight (Not volume)
Characteristics: Non-Yellowing, scratch resistant, Vegan-friendly
$10,12
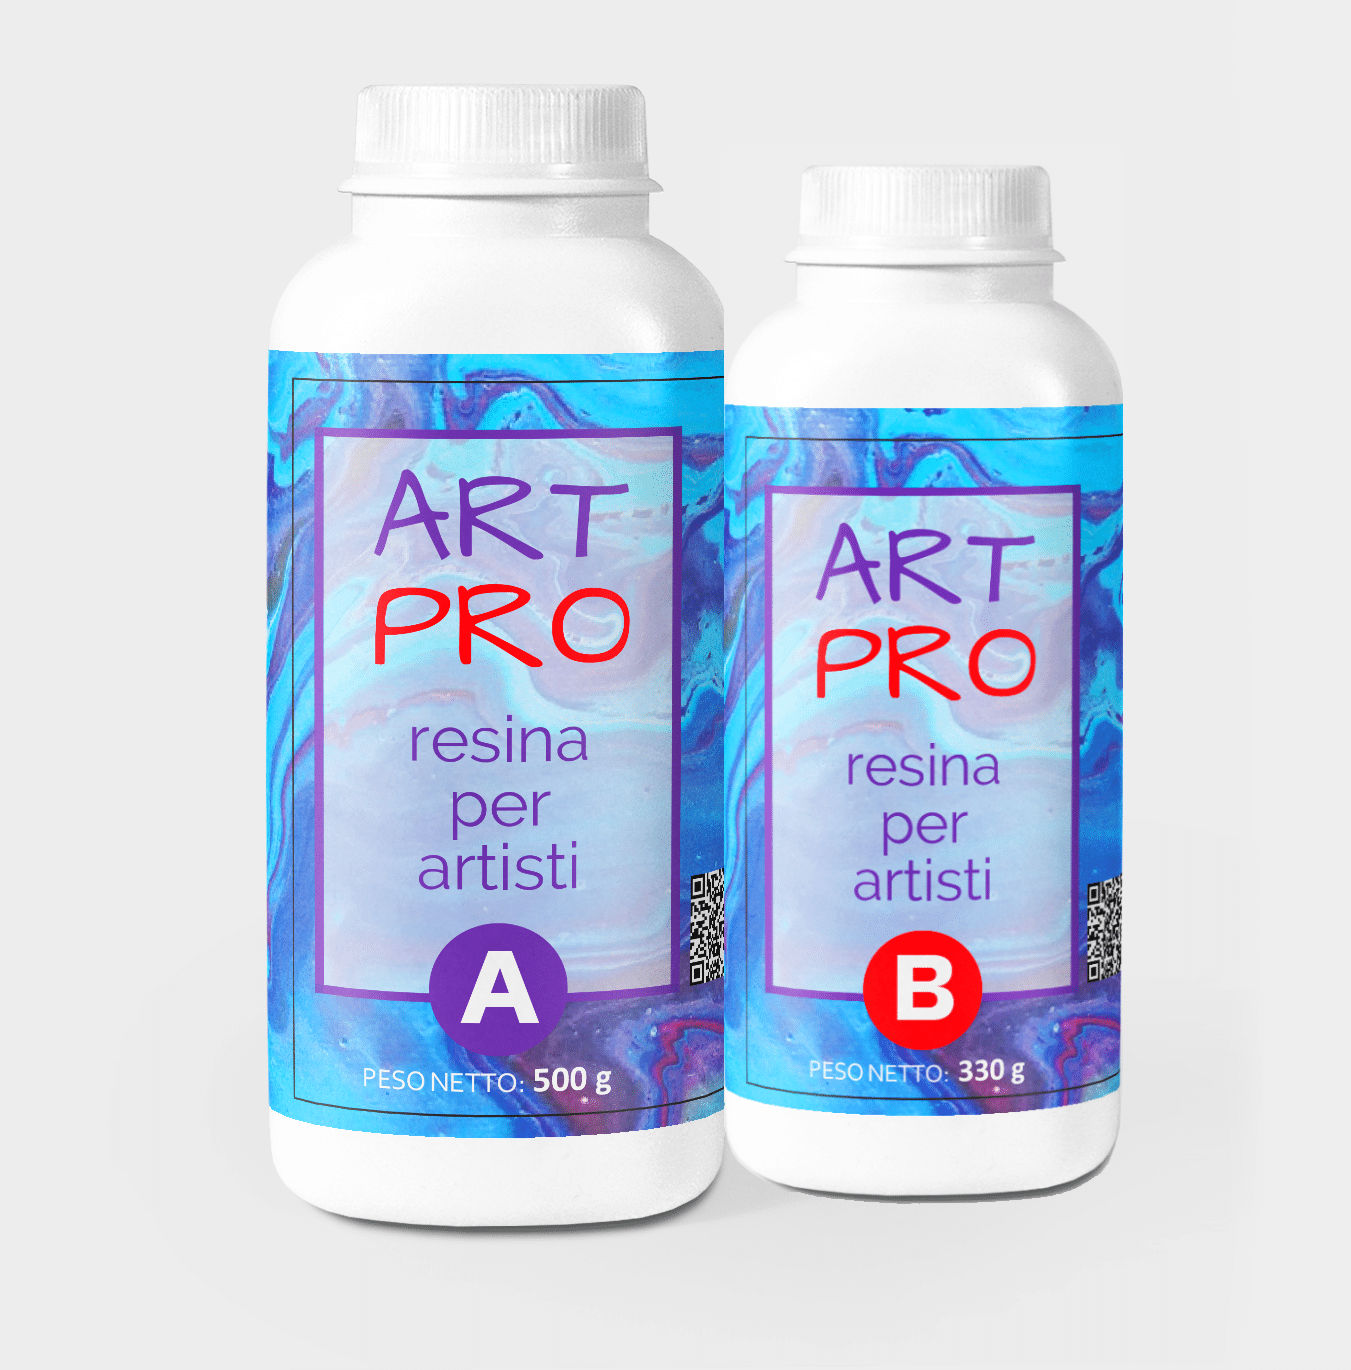
• "Art Pro" - Ultra Clear Non Toxic Medium Viscosity Epoxy Resin for Artists. The best choice for Resin Art, Coasters, Trays, Ocean and Geode Art and coating surfaces + gloves & detailed instruction for FREE.
• Superior formula proven by years of experience:
✔️ High transparency -> a true liquid crystal
✔️ Amazing glossy and self-levelling surface
✔️ High scratch resistance -> ideal for Surface and Floor coverings
✔️ UV filter for protection against yellowing -> 10 years warranty
✔️ Medium viscosity -> ideal for Resin Art (on surfaces & coasters and trays)
✔️ Easy to use -> 3:2 mixing ratio
✔️ Trusted quality -> Thousands customers since 2015
✔️ Cruelty Free, Vegan Friendly🐹
$38,00
Intense and brilliant color, ideal for Transparent Epoxy Resins. Mix small quantities to get a translucent effect. The high coverage of the “Colorful Original” range allows to obtain a full and bright color. The high concentration provides an opaque color with a few drops.
Usable to color the products of the RESIN PRO range.
💥 Ideal for epoxy creations and resin tables thanks to its features:
✔️ Intense colors
✔️ Easy to mix
✔️ Intense colors
✔️ High concentration
✔️ Easy to get a translucent effect
✔️ 5 stars on Trustpilot
🌿Cruelty Free, Vegan Friendly🐹
$16,00
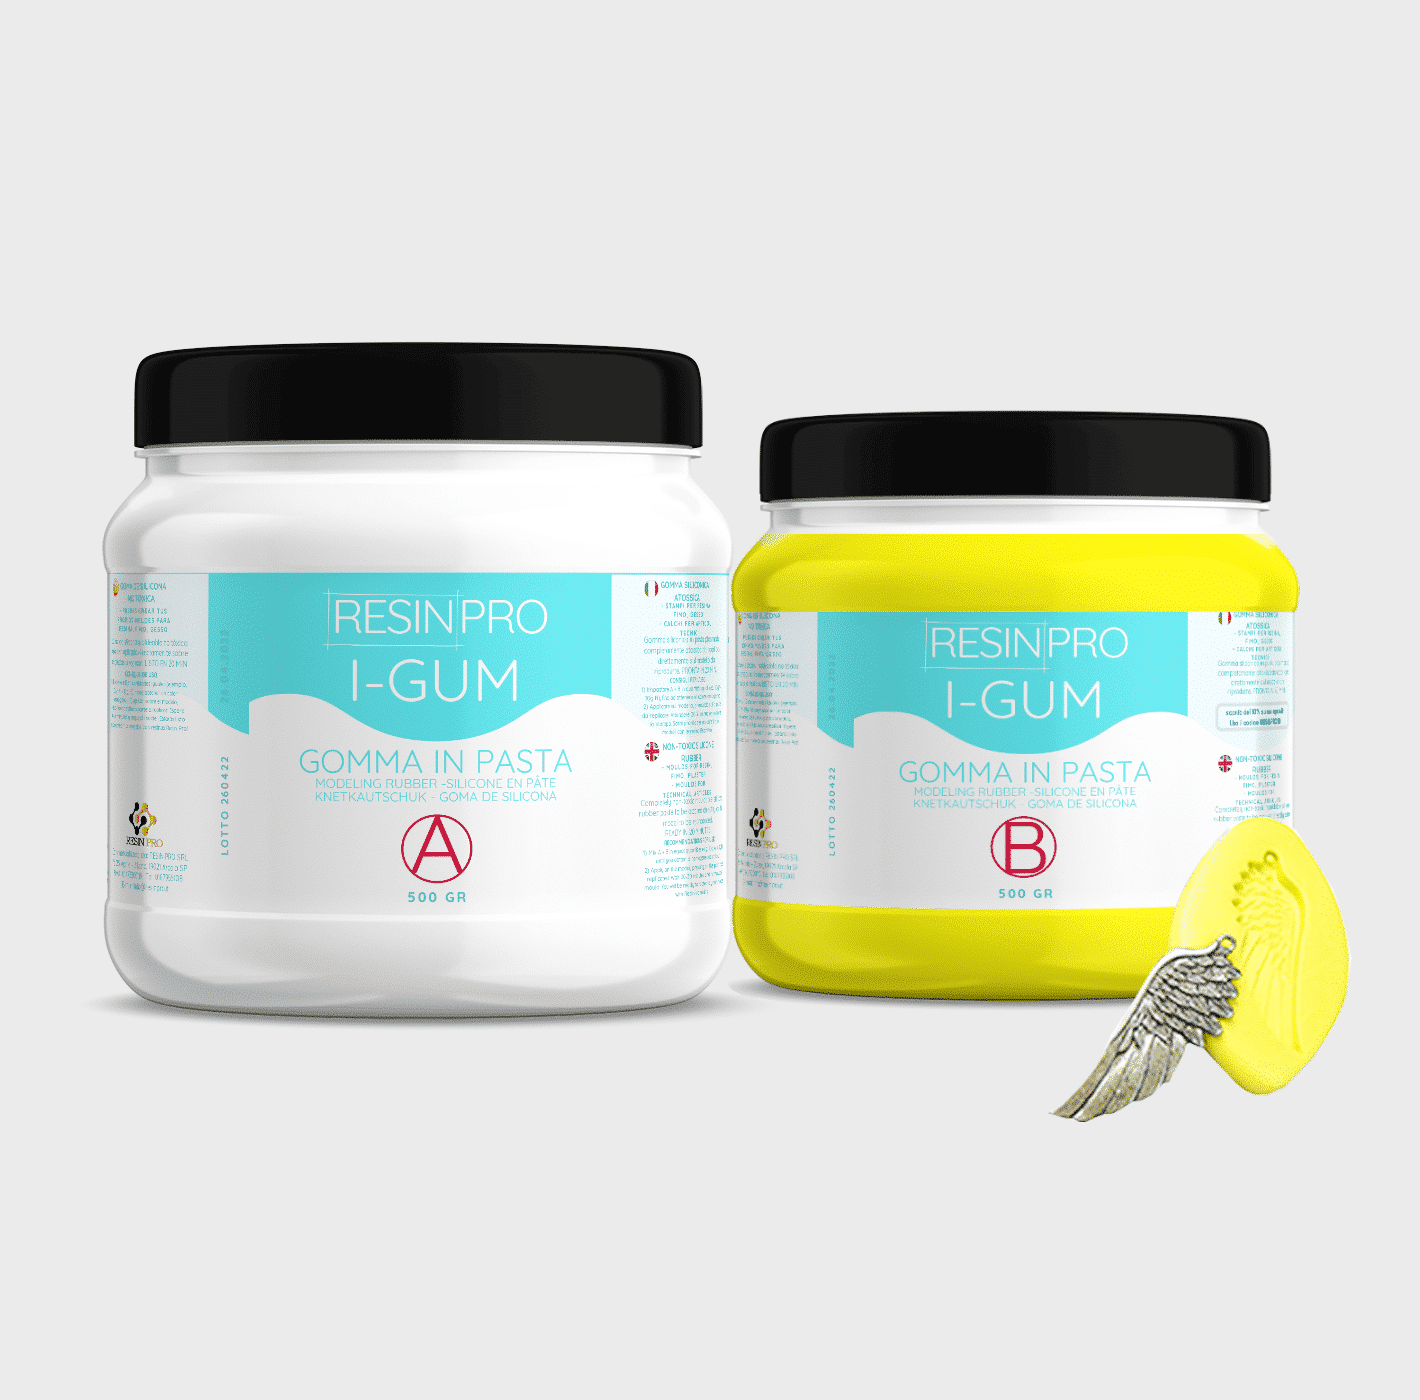
• "I-GUM" - Non-Toxic Silicone Rubber - Paste Form
Pasty silicone rubber "I-GUM" is a two–component product for creating moulds and forms for pouring with epoxy resin.
• Superior formula proven by years of experience:
✔️ Easy to use -> 1:1 mix ratio
✔️ Non-toxic -> You can work without gloves
✔️ Without smell
✔️ Long working time -> 20 minutes
✔️ European quality -> Directly from Italy
✔️ Ideal for creating moulds and frames for working with resin, polyurethanes, wax, cement and other materials
✔️ 🌿Cruelty Free, Vegan Friendly🐹
$22,00

Images
On sale
“Pure Mold” – Translucent Liquid Silicone Rubber for Mould Making, 1:1 Mix Ratio
Available, ready for shipping
Order now to receive your product between Wednesday, April 29 and Wednesday, May 6.
Shipping $16
Choose your kit:
Quantity
"Pure Mold" - Translucent Liquid Silicone Rubber for Mould Making, 1:1 Mix Ratio quantity
The kit: 1 KG (500 GR of A + 500 GR of B)
$52,95 Original price was: $52,95.$44,95Current price is: $44,95.-15%
💰 You save
$8.00
TRANSLUCENT AND FAST CASTING LIQUID SILICONE RUBBER FOR MOULDS
🧪【INNOVATIVE FORMULA】Create your moulds using PURE MOLD silicone rubber! Compatible with many materials including resins, plaster and cement. Its transparency will allow you to observe through the mould and its high mechanical characteristics make it a product suitable for both professional and hobby use.
💎【IMPECCABLE QUALITY】Guarantees the creation of resistant and detailed moulds that will last over time and will be reusable several times!
🌿【SAFE AND CERTIFIED】 100% Made in Italy, guaranteed by a Certificate of Non-toxicity and solvent-free and odorless, this rubber is configured as a safe and easy to use product!
⚙️【EASY TO USE】 Mixing ratio 1: 1; Hardness: 13 Shore; Catalysis in about 6-8 hours. The poly additive formula makes it more resistant than other silicones, allowing the creation of higher quality molds.
+ Easy mixing ratio 1:1
+ Less mould shrinkage over time
+ 30% longer service life
+ Fast (6-8H)
+ Translucent
+ Resistant
Good for:
epoxy resins,
polyester,
polyurethanes and acrylics,
cements and plasters.+ Liquid
🌿Cruelty Free, Vegan Friendly🐹
$44,00
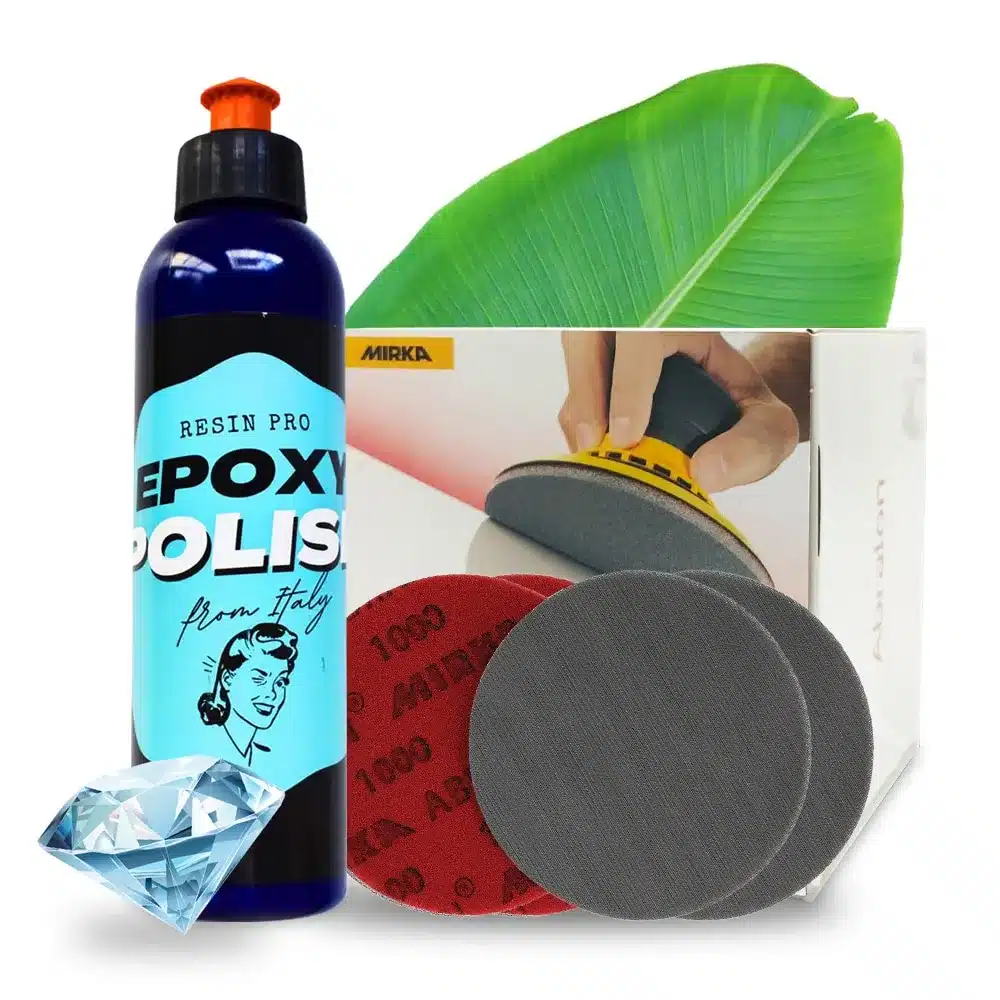
Great way to add some glossy finish to your epoxy project!
Was made especially for resin world.
Resin Pro offers the possibility to achieve a perfect polishing by using different types of abrasive pastes.
It can be used by hand or with an orbital polisher to make your resin creations shiny.
$36,00
Breaking down tough adhesives with a well-balanced formula
To effectively break down tough adhesives, it is essential to utilize a well-balanced formula. It is generally recommended to employ specific solvents tailored to the type of adhesive being tackled. For instance, for adhesives containing epoxy resins, organic solvents like acetone or denatured alcohol are suitable options. When dealing with silicone adhesives, it is best to opt for silicone-based solvents. It is crucial to meticulously adhere to the manufacturer's guidelines for the solvent and always conduct a compatibility test on a small inconspicuous area to ensure it harmonizes with the underlying material. If uncertainties arise or when dealing with particularly stubborn adhesives, seeking guidance from a professional in the field is advisable.
EPOXY RESIN
Epoxy resin stands as a thermosetting substance extensively utilized for crafting protective coatings and lustrous surfaces. Comprised of two components, resin, and hardener, which undergo a chemical reaction to produce a robust and enduring surface. Epoxy resins are favored for their exceptional bonding properties with a diverse array of materials, encompassing metals, wood, and plastics. They find applications in both industrial environments and DIY undertakings such as floor coatings, structural renovations, and artistic endeavors. Epoxy resins also deliver a transparent and glossy finish, ideal for safeguarding and enhancing surfaces.
Epoxy Resin Adhesives
Tailored as specialized adhesives, epoxy resin adhesives are engineered to establish strong bonds between varying materials like metal, glass, plastic, and wood using epoxy resin as a foundation. These adhesives are well-suited for DIY ventures and artistic creations demanding a stable and resilient bond. Epoxy resin adhesives are particularly esteemed for their capacity to forge enduring and steadfast connections, along with providing substantial resistance to mechanical strain and weathering. Prior to application, it is imperative to meticulously cleanse the surfaces to be bonded to guarantee flawless adhesion.
How to dissolve epoxy resin
Acetone serves as an effective solvent for dissolving epoxy resin. Simply pour acetone onto the resin, allowing it to sit for a few minutes to soften and facilitate removal. Subsequently, use a scraper or spatula to dislodge the dissolving resin while being cautious not to harm the underlying surface. It is crucial to work in a well-ventilated space and don appropriate personal protective gear like gloves and a mask to prevent exposure to acetone's harmful fumes.
Removing epoxy resin from clothing
To eliminate epoxy resin from clothing, follow these steps:
Cool the solidified resin with ice or a cooling agent.
Gently scrape off the hardened resin with a sharp object like a plastic card or spatula.
Apply a solvent such as acetone or isopropyl alcohol to the resin stain and let it sit for a few minutes.
Lightly dab with a clean cloth to absorb the dissolved resin.
Repeat the solvent application and dabbing until the stain vanishes completely.
Finally, launder the garment following the washing instructions on its label.
Intense and brilliant color, ideal for Transparent Epoxy Resins. Mix small quantities to get a translucent effect. The high coverage of the “Colorful Original” range allows to obtain a full and bright color. The high concentration provides an opaque color with a few drops.
Usable to color the products of the RESIN PRO range.
💥 Ideal for epoxy creations and resin tables thanks to its features:
✔️ Intense colors
✔️ Easy to mix
✔️ Intense colors
✔️ High concentration
✔️ Easy to get a translucent effect
✔️ 5 stars on Trustpilot
🌿Cruelty Free, Vegan Friendly🐹
$16,00
• "I-GUM" - Non-Toxic Silicone Rubber - Paste Form
Pasty silicone rubber "I-GUM" is a two–component product for creating moulds and forms for pouring with epoxy resin.
• Superior formula proven by years of experience:
✔️ Easy to use -> 1:1 mix ratio
✔️ Non-toxic -> You can work without gloves
✔️ Without smell
✔️ Long working time -> 20 minutes
✔️ European quality -> Directly from Italy
✔️ Ideal for creating moulds and frames for working with resin, polyurethanes, wax, cement and other materials
✔️ 🌿Cruelty Free, Vegan Friendly🐹
$22,00
Images
On sale
“Pure Mold” – Translucent Liquid Silicone Rubber for Mould Making, 1:1 Mix Ratio
Available, ready for shipping
Order now to receive your product between Wednesday, April 29 and Wednesday, May 6.
Shipping $16
Choose your kit:
Quantity
"Pure Mold" - Translucent Liquid Silicone Rubber for Mould Making, 1:1 Mix Ratio quantity
The kit: 1 KG (500 GR of A + 500 GR of B)
$52,95 Original price was: $52,95.$44,95Current price is: $44,95.-15%
💰 You save
$8.00
TRANSLUCENT AND FAST CASTING LIQUID SILICONE RUBBER FOR MOULDS
🧪【INNOVATIVE FORMULA】Create your moulds using PURE MOLD silicone rubber! Compatible with many materials including resins, plaster and cement. Its transparency will allow you to observe through the mould and its high mechanical characteristics make it a product suitable for both professional and hobby use.
💎【IMPECCABLE QUALITY】Guarantees the creation of resistant and detailed moulds that will last over time and will be reusable several times!
🌿【SAFE AND CERTIFIED】 100% Made in Italy, guaranteed by a Certificate of Non-toxicity and solvent-free and odorless, this rubber is configured as a safe and easy to use product!
⚙️【EASY TO USE】 Mixing ratio 1: 1; Hardness: 13 Shore; Catalysis in about 6-8 hours. The poly additive formula makes it more resistant than other silicones, allowing the creation of higher quality molds.
+ Easy mixing ratio 1:1
+ Less mould shrinkage over time
+ 30% longer service life
+ Fast (6-8H)
+ Translucent
+ Resistant
Good for:
epoxy resins,
polyester,
polyurethanes and acrylics,
cements and plasters.+ Liquid
🌿Cruelty Free, Vegan Friendly🐹
$44,00
Great way to add some glossy finish to your epoxy project!
Was made especially for resin world.
Resin Pro offers the possibility to achieve a perfect polishing by using different types of abrasive pastes.
It can be used by hand or with an orbital polisher to make your resin creations shiny.
$36,00
 Free shipping on orders over €199,00
  Shipping Tracking!


 Google
 Facebook