Complete kit to apply the fibreglass together with the Polyester Resin, for fast, simple and long-lasting repairs! Includes all the necessary to prepare, mix and apply the product. 700 gr [1,54 lb] of orthophthalic polyester resin; 20 ml [0,70 oz] of hardener (to be applied at 3%); 1 square meter of fibreglass MAT 300 gr /m2 [0,66 lb]; 1 brush for application; 2 latex gloves; 1 instruction sheet; 1 container to mix the components; Ideal to repair fenders, car bodies, boats, pipes, water tanks, swimming pools, etc. Are you looking for a simple, fast and inexpensive product to make your repairs in a professional way? We offer you this repair kit, in which you will find everything you need for your application, and we will ship it to your home in 24 hours. This kit is designed to be used as a reinforcement and/or structural material. It consists of a sheet of high-quality glass filaments, a polyester resin (including hardener) for the impregnation of fibreglass, as well as latex gloves, a brush and an instruction sheet for its application. With this practical kit you can immediately repair car bodies, boats, pipes, tanks, swimming pools, roofs, and many others! It is also applicable on several types of materials and surfaces, such as metal, wood, rigid plastic, polyester, glass, porcelain, fibreglass, etc. USE: As described above, this kit is used as a reinforcement and structural material. It features a 1 m2 of high-quality fibreglass mat (300g/m2 [0,66 lb]) together with polyester resin. AREAS OF APPLICATION Composite materials such as skis, canoes, boats, etc. Automotive: composite materials for vehicle components. Industrial: composite for the reinforcement of plastic parts, reinforcement fabrics for structures, decorations, insulators. Sealant for swimming pools, tanks and liquid containers.
$18,49
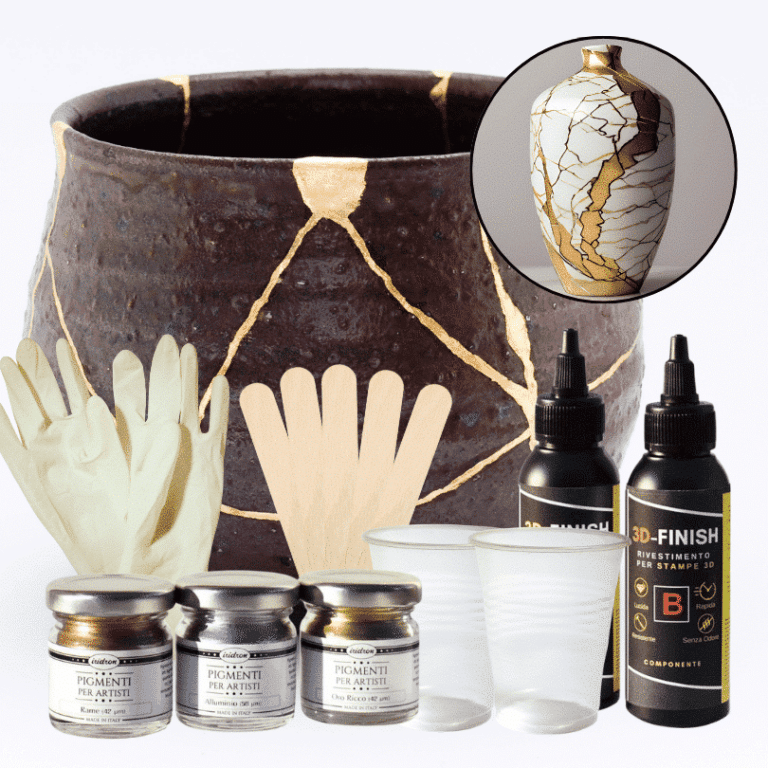
Kintsugi Repair Kit - Repair and Transform Your Ceramics with Elegance Celebrate imperfection with the ancient Japanese art Discover the traditional Japanese art of Kintsugi with our complete repair kit. Transform your broken ceramics into unique and fascinating works of art, highlighting imperfections with elegant gold, silver, or copper veins. Our kit is perfect for both beginners and experts, offering detailed instructions and everything you need to give new life and value to your most cherished items. 🌟 Specific epoxy resin (150g): slow catalysis to eliminate any bubbles or imperfections, allowing you to complete the work without rushing. 🎨 Dye of your choice (gold, copper, silver): customize your repair with a touch of elegance and refinement. ✨ Respect the tradition: follow the ancient art of Kintsugi and transform your ceramics into unique and precious treasures. The kit contains: 150g of resin for 3D decorations, 2 pairs of protective gloves, 2 mixing cups, and 5 spatulas for applying the resin, detailed instructions, everything you need in one kit. Give your ceramics a unique touch: repair them with style and make them even more beautiful. Buy the Kintsugi Repair Kit now and start creating your works of art today! Kintsugi Kit Instructions: Mix Resin: Measure 100A:50B by volume (or 100A:45B by weight) using a scale. Mix for 2 minutes, ensuring all surfaces are scraped. Add Colour: Mix your chosen metallic dye (gold, silver, or copper) into the resin to highlight the cracks. Prepare Surface: Ensure surfaces are clean, dry, and sanded. Apply Resin: Fill the cracks with the colored resin. Curing: Work in a temperature-controlled area, avoiding humidity. Safety: Wear protective gear.
$22,95
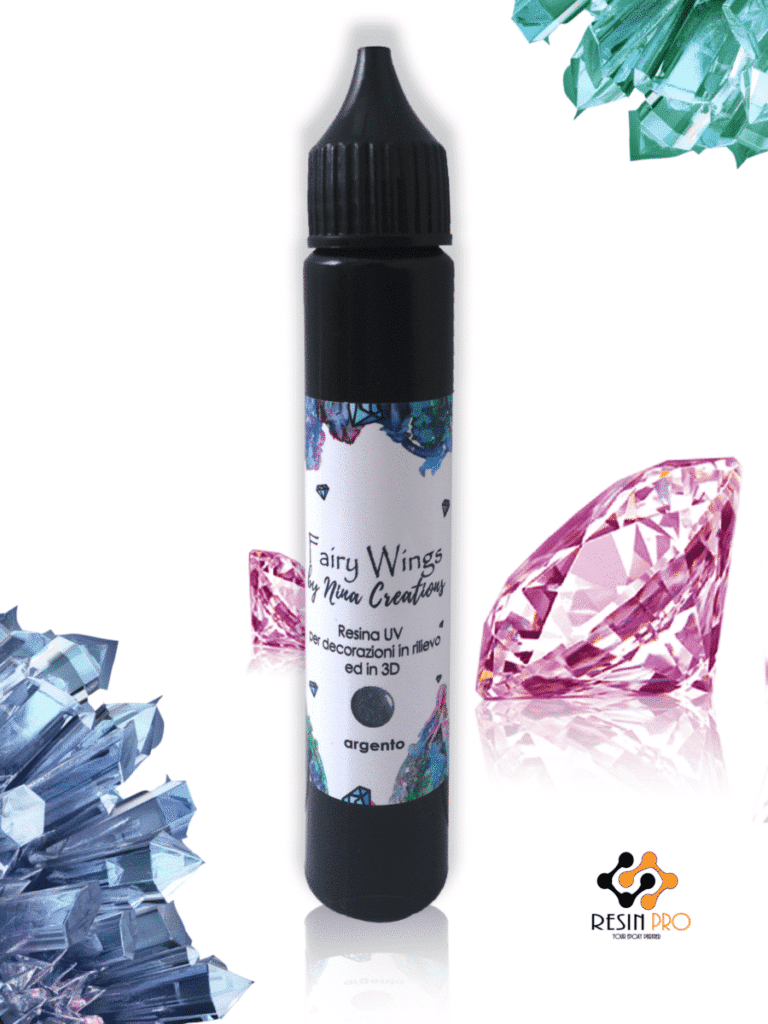
💥About UV resin "FAIRY WINGS" - UV Resin For Volumetric Reliefs. UV resin “Fairy Wings" is an acrylic gel that dries under the influence of the rays of a UV torch or UV lamp. This resin can be used to make three–dimensional reliefs, as well as decorative elements for products made of other materials, such as polymer clay. The difference between this resin and epoxy resin is in its one–component nature (it does not require mixing two different components, it is already ready for use), in a small filling thickness (applied in thin layers 3 mm thick) and in a high curing rate (only 3-5 minutes under UV rays). The curing time depends on the thickness of the layer or the amount of dye added to the gel. You can use lamps with a power of 3w, 9w and 36w. The main thing is that the wavelength of the lamp should be 365nm -405nm. 💥Instructions for use: 1) Clean the film on which you want to create a pattern with acetone/alcohol so that after the resin hardens, it can be easily peeled off (use a regular file /cover or our Shiny Shield film). 2) For convenience, you can outline the outline of the future drawing with a marker. Apply the gel evenly. 4) Keep the UV lamp turned on at a distance of 1-2 cm from the product for 2-5 minutes, directing the light at the product. If you want to make the contour thickness more than 3 mm, then work in layers, “drying” each layer with UV rays before applying a new one. It is recommended to work with the material in personal protective equipment: gloves, a respirator mask and protective glasses. Store the product with the cap tightly closed in a dark and dry place out of the reach of children. Work with the material by children under 18 years of age is allowed only in the presence of parents or other responsible persons and only when the child uses personal protective equipment for the skin, respiratory organs and eyes.
$16,95
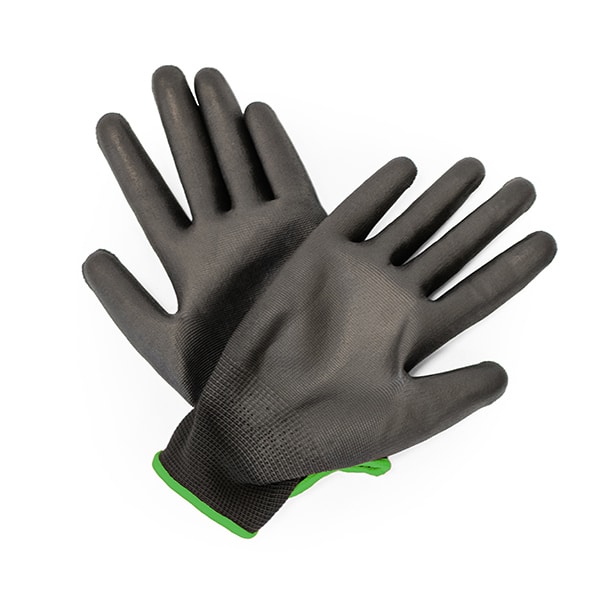
PU Coated Safety Grip Gloves Enhance your grip and protect your hands with our PU Coated Safety Grip Gloves. Designed for precision and comfort, these gloves feature a polyurethane coating for excellent abrasion resistance and a secure hold, making them ideal for handling tools and materials during resin work and other detailed tasks. Durable, lightweight, and versatile for professional and DIY use. 1 pair per pack Available size: 7/S; 8/M; 9/L; 10/XL
$3,52
Reducing Invisible Air Issues
To reduce problems related to invisible air, consider using vapor-permeable coatings or transparent epoxy resins. These materials can effectively seal surfaces, preventing the formation of mold and moisture. Additionally, incorporating anti-condensation silicones can help enhance indoor air quality. Proper ventilation is essential to encourage air circulation and prevent moisture accumulation. For a DIY approach, utilizing specific air cleaning products like air purifiers or dehumidifiers can help maintain a healthy environment free from invisible pollutants.
Remedies for Eliminating Air Bubbles in Epoxy Resin
Air bubbles in epoxy resin can compromise the quality of your finished work. Here are some effective remedies to eliminate them:
- Opt for a casting resin with low viscosity and excellent self-leveling properties.
- Carefully mix the resin to avoid introducing air during the process.
- Utilize a vacuum degassing chamber to remove air bubbles before pouring.
- Slightly warm the resin to lower its viscosity and facilitate bubble release.
- Employ a fine-tipped tool to break surface bubbles during curing.
By implementing these techniques, you can achieve epoxy resin works free from bubbles.
Preventing Air Bubbles in Epoxy Resin
To prevent the formation of air bubbles in epoxy resin, it's crucial to follow specific steps during processing. Here are some helpful tips:
- Thoroughly mix the resin and hardener according to the manufacturer's instructions.
- Avoid rapid mixing to prevent air introduction.
- Use a container with tall walls to minimize splashing.
- Allow the mixture to settle after stirring to let air bubbles rise and dissipate.
- Use a torch to eliminate any remaining air bubbles in the resin.
By carefully adhering to these guidelines, you can create epoxy resin works without unwanted air bubbles.
Techniques for a Flawless Finish with Epoxy Resin
To achieve a flawless finish with epoxy resin, employ the following techniques:
Prepare the surface meticulously, ensuring it is clean, dry, and free from dust or grease.
Accurately mix the epoxy resin following the manufacturer's instructions to avoid air bubble formation.
Apply a thin layer of epoxy resin and level it with a brush or spatula to prevent unevenness.
Use a gas torch to remove surface air bubbles.
Cover the work with a lid or dome during the curing process to shield it from dust.
Thoroughly inspect the surface for imperfections and, if needed, lightly sand and apply an additional layer of resin for a flawless result.
Nitrile Gloves for Epoxy Resin Work Protect your hands with our durable nitrile gloves, designed specifically for working with epoxy resins. These gloves are chemical-resistant, latex-free, and provide excellent flexibility and tactile sensitivity, ensuring safety and precision during your projects. Perfect for professionals and hobbyists alike. 100pcs / 50 pairs per pack. Blue/Black colours. Available size: 8/M; 9/L; 10/XL
$12,65
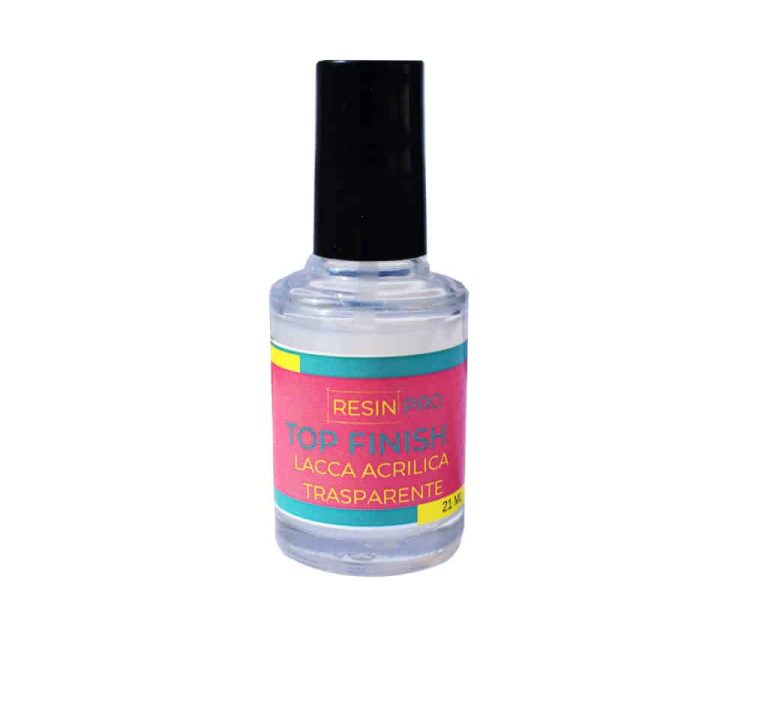
“TOP FINISH” ACRYLIC LACQUER - TRANSPARENT FINISH Acrylic lacquer to finish UV resin creations. If you've created a jewel with UV resin and noticed that the surface has remained slightly sticky, there are two ways in which you can deal with this problem: 1) Use a more powerful lamp (36 Wt.) 2) Finish with our “Top Finish” “Top finish” is a transparent acrylic lacquer, that dries in 15-20 minutes (without a UV lamp), leaving the surface shiny and glossy. “Top Finish” includes a handy pencil for easy application. Brush your creation with “Top Finish” and let it dry at room temperature for 15-20 minutes. And there you have it! Glossy and perfect items, super speed!
$2,31
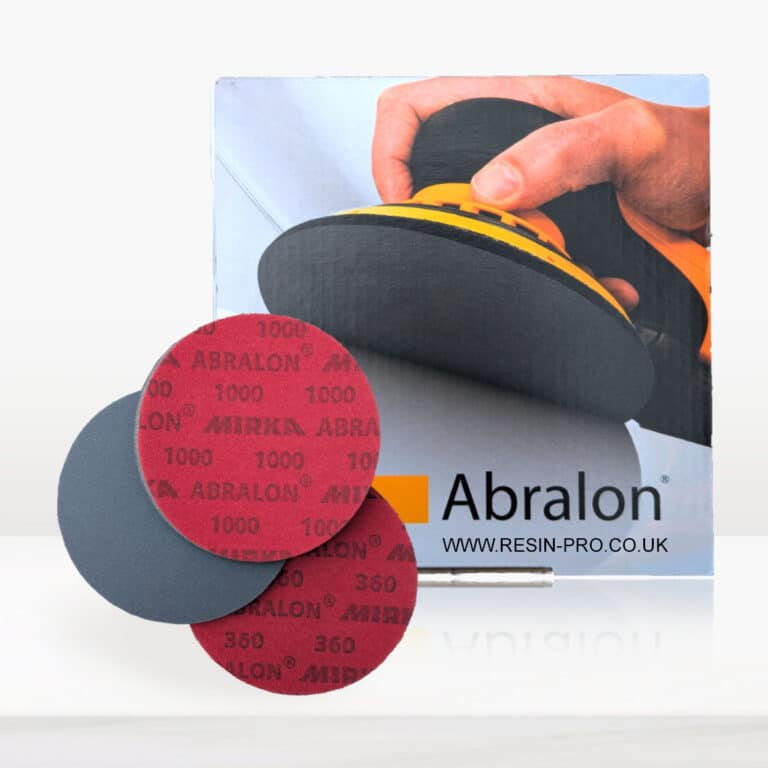
New line of polishing products SPECIFIC for plastic and resins industry. Ebonite Abralon Sanding Pads: - Ebonite Abralon Sanding Pad 150mm 360 grit - Ebonite Abralon Sanding Pad 150mm 500 grit - Ebonite Abralon Sanding Pad 150mm 1000 grit - Ebonite Abralon Sanding Pad 150mm 2000 grit - Ebonite Abralon Sanding Pad 150mm 3000 grit - Ebonite Abralon Sanding Pad 150mm 4000 grit Ebonite Abralon Sanding Pads Cosmetically appealing, consistent scratch pattern provides excellent traction. Combines the benefits of abrasive cloth and non-woven products. Opening in the fabric allows water to flow freely around the abrasive. Solid surface and foam backing provide even surface pressure. Last 5+ times longer than sandpaper. Use wet or dry (residual material can be removed by high pressure air). Now it's possible to get the most aggressive surface texture without that "cheese grater" look. Abralon sanding pads use silicon carbide particles that are precision sifted to a consistent grain size, then bonded evenly to a six-inch round fabric face for the most even scratch pattern available. WARNINGS: During processing, use protective masks, gloves, and other protective clothing. In case of contact with eyes, immediately rinse with cold water for 15 minutes and immediately consult a doctor. How to Use: Step 1: Thoroughly clean the surface with a cloth. Step 2: Now you can polish by hand or with an orbital polisher. We recommend using the lowest possible speed to get the best result. Start Polishing with 360-500 grit. Note: Sand the entire surface evenly with circular movements and light pressure. Moisten the pad or the surface with water from time to time. Step 3: Now use the 1000 grit sandpaper. Note: Moisten the sandpaper or the surface with water from time to time. Step 4: Afterwards, use 2000 grit sandpaper. Note: Moisten the sandpaper or the surface with water from time to time. Lastly, use 4000 grit sandpaper to finish sanding. Step 5: Remove the sandpaper from the polishing disc and attach a soft sponge to it. Rinse the surface or wipe it with a damp cloth to remove any residual grain of the sanding. Step 6: Apply EpoxyPolish Polishing cream on the damp sponge. Use by hand or with an orbital polisher, using a large circular motion and exerting slight pressure. Step 7: Clean the surface with plenty of water to remove all the remaining residues. Step 8: Enjoy the result!!!
$5,61

36 Wt. UV lamp for UV resin/gel Perfect for curing UV resin and speeding up the cure time. Provides a glossy and dry surface within seconds. Thanks to its internal refraction system, it irradiates from ALL DIRECTIONS, hardening the resin in a short time. You can just leave the mould inside the box, with no need to keep holding the UV lamp in your hand. Save your time! Cures UV resin / gel nail polish; Lifetime of 50.000 hours, professional and DIY use; 36 Wt. UV lamp reduces the cure time of the UV resin/gel by 50 % compared with standard devices. Equipped with 36 LED bulbs; Automatic sensors and pre-set timers. The UV lamp is provided with automatic sensors that enable the lamp to start functioning upon insertion of the item. The sensors automatically stop the device if you pull out your creation; The lamp works with all kinds of LED and UV gels, including restorative gels and Nail Art; Nominal input: 100-240V 50/Hz 1A; Nominal output DC 12V 1.5A; Sizes: 12 cm x 19 cm x 7.5 cm [4,72” x 7,48” x 2,95”]. USB powered (plug not included)
$18,95
 Free shipping on orders over €199,00
  Shipping Tracking!


 Google
 Facebook