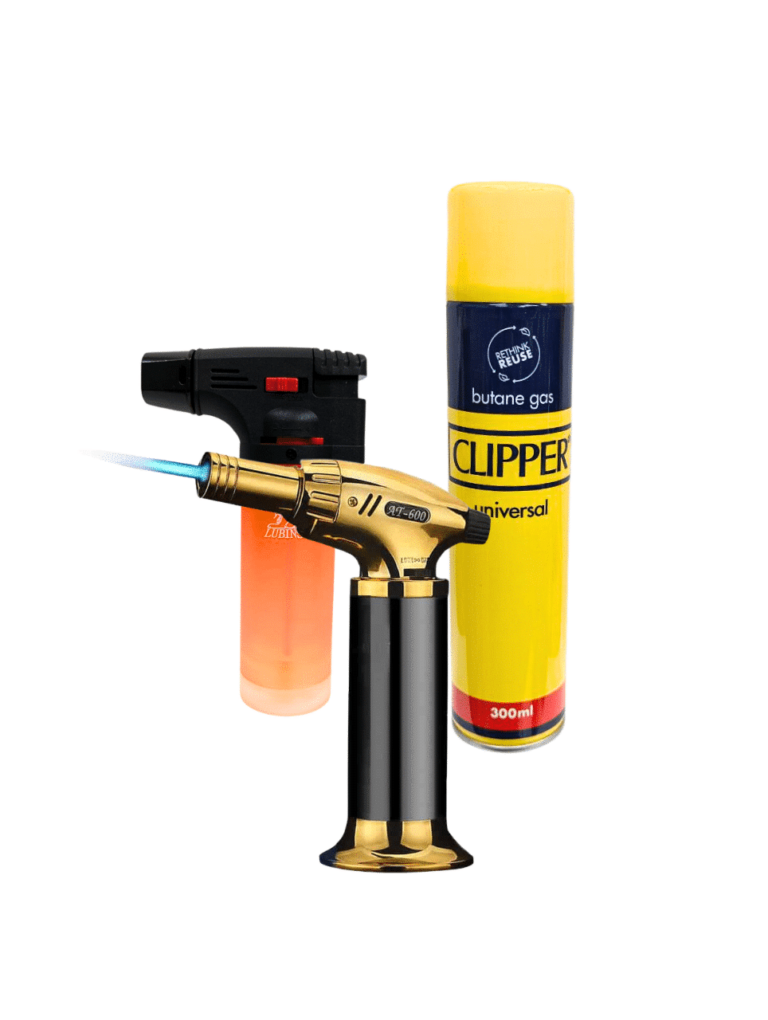
Manual gas heat gun with adjustable flame and safety lock. An excellent tool to neutralize the bubbles which form during the pouring of resin. WARNING! Avoid keeping the flame too close to the resin and do not direct it always on the same spot (move the gun over the entire surface). If the resin excessively overheats, a film may form on the surface. The gun must be loaded manually with the gas included in the kit. How to use: Remove the cap from the container, and insert it into the hole below the gun. Press and hold down for about 20-30 sec to fill the gun. During this process, it is normal for part of the gas to escape.
$5,95
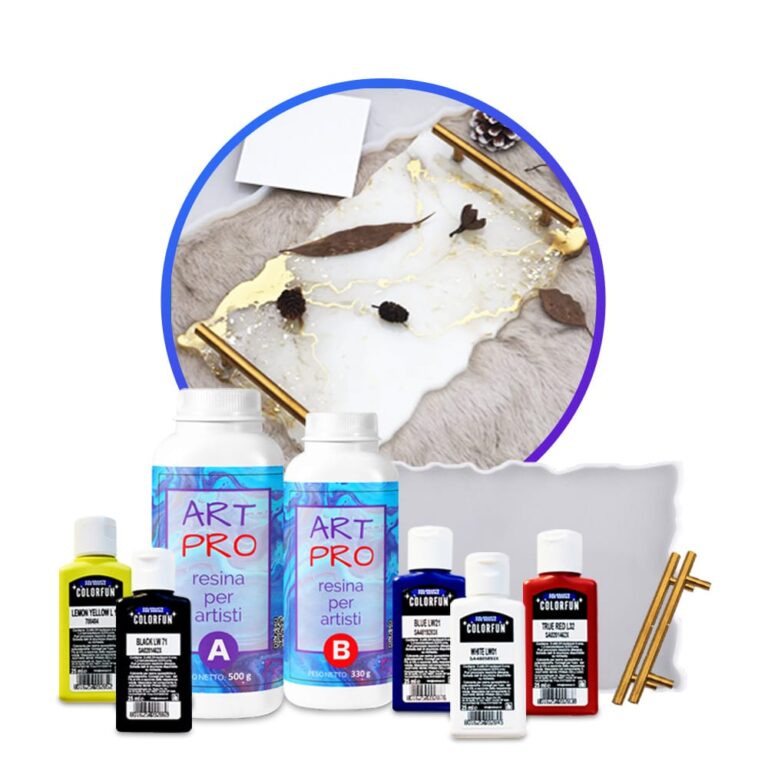
Creative Kit: Create your own resin tray! KIT INSTRUCTIONS This kit contains: 1.66 kg of epoxy resin Silicone mould "tray" + handles 5 dense dyes Spread out the plastic tarpaulin to protect the work surface. Make sure that the silicone mould is clean and all materials are at hand. Do not forget to wear disposable gloves and follow the safety instructions. Mix the epoxy resin according to the mixing ratio Art Pro 100: 66 – by weight) – 180 g A and 119 g B-for a filling thickness of 5 mm. Carefully weigh and mix both components for 3 minutes, making sure that all sides and bottom of the mixing container are included for effective mixing. Let the mixture stand for 2-3 minutes. Divide the resulting resin into separate containers for each colour you are going to use. Add resin-specific dyes to each container to get the desired shades. Mix thoroughly. Put the colours in one large container without mixing them, allowing them to stack on top of each other. Pour this mixture in layers into a mould for a dynamic abstract effect. In addition, you can pour each colour into different places of the mould according to your design concept. After 24 hours, you can remove the resin tray. After another 12-24 hours (the resin reaches full strength), you can make your tray workable by using the screws included in the kit to attach the tray handles. Drill the holes in the tray, then secure the handles with screws. Geodetic effect- To get the geode effect when casting, use the layering technique. Divide the mixed resin into separate containers for each colour you are going to use + one part with transparent resin and one white. Start by pouring clear resin into the center of the mould. Then alternate layers of white and transparent resin with coloured resin, allowing them to spread naturally. Finish by adding the last layer of transparent resin for a beautiful 3D effect. Let it harden to reveal a stunning geodesic-inspired design. Other ideas: Ocean Art Resin Tray: Capture the beauty of the ocean using different shades of blue and white resin, adding a few shells or a small starfish for an authentic nautical feel. Real Pressed Flowers: Add real dried flowers or leaves to the resin to create a natural and timeless look. Gold leaf Accents: Use a gold or metal sheet to add a touch of luxury to your tray.
$78,49
• "Art Pro Deluxe" non-toxic ultra-high viscosity epoxy resin for artists. The best choice for Resin and Geode-art, making Coasters, Trays, Ocean-art, jewellery and casting surfaces. + gloves & detailed instruction for FREE. • Beloved by many artists around the world: ✔️ ULTRA HIGH viscosity -> easy control lines in resin and geode- art (coasters, trays, paintings) ✔️ Amazing glossy and self-levelling surface ✔️ High scratch resistance -> ideal for finish layers and use for coasters and trays ✔️ UV filter for protection against yellowing -> 10 years warranty ✔️ Safe and Certified -> Non-toxic, Solvent-free, non-flammable, and totally safe ✔️ High transparency -> a true liquid crystal ✔️ Easy to use -> fast curing time (1st stage - 10-12h; 2nd - 18h) ✔️ Trusted quality -> Thousands customers since 2015 Check and tag our social media for inspiration! We always happy to publish your art-work –Instagram Logo Icon - Download in Gradient Style 🌿Cruelty Free, Vegan Friendly🐹
$41,00
• “EPOXYTABLE 5-FIVE” - deep pour epoxy resin for tables & large projects. Free 25ml pigment* + Gloves + Detailed instruction. • The best choice for deep pouring: ✔️ Low exothermic reaction –> castings up to 5cm [1,96”] ✔️ Strong UV filters –> non-yellowing guaranteed for 5 years ✔️ Highly mechanical resistant surface, for maximum scratchproof properties ✔️ Low viscosity –> bubbles free ✔️ Long working time –> no rush in the process ✔️ Heat resistance –> up to 70°C [158 F] ✔️ Trusted quality –> We have already sold more than 26000 kits of this product, since we started in 2015 ✔️ Cruelty Free, Vegan Friendly🐹
$41,00
To effectively fill holes in parquet flooring, follow these steps
- Preparation: Start by thoroughly cleaning the damaged area to remove any dust and dirt.
- Choice of Material: Purchase wood filler or epoxy resin in a color that closely matches the parquet.
- Application: Fill the hole with the filler or resin, ensuring the surface is leveled well with a spatula.
- Drying: Allow the material to dry completely following the manufacturer's instructions.
- Sanding: If needed, lightly sand the surface to blend it with the rest of the parquet.
- Finishing: Apply a protective coating for enhanced durability and resistance.
By following these steps, you can efficiently and durably fill the holes in the parquet flooring.
Epoxy Resin for Parquet Repair
Epoxy resin is a thermosetting material known for its mechanical and chemical resistance. Comprised of epoxy resin and hardener, it is widely used to create protective coatings, adhesives, and various artifacts. Due to its versatility and durability, epoxy resin is popular in the DIY sector for making jewelry, decorative objects, and floor coatings. Carefully follow the mixing and application instructions for optimal results.
Filling Parquet Cracks
Filling cracks in parquet flooring is essential to maintain a uniform appearance and protect the floor from damage. Use specific resins or silicones designed for wood in various shades to match the floor color. Before application, ensure the cracks are clean and free of debris. Carefully apply the filler, level it with a spatula, and remove excess with a damp cloth. After drying, lightly sand the surface for a seamless finish.
Repairing a Wooden Floor
To repair a damaged wooden floor, follow these steps:
Assess the damage and identify the affected areas.
For light scratches, use colored wax or specific oils to cover them.
Use an iron and a damp cloth to lift dents.
Fill cracks with a resin or silicone-based paste.
Apply a new layer of paint or protective coating to repaint or revarnish the floor.
By meticulously following these steps, you can effectively restore a damaged wooden floor.
Internal Floor Grouting
For optimal results when grouting internal flooring, follow these steps:
Clean the surface thoroughly to remove dirt and residues.
Prepare suitable grout based on the flooring material, such as epoxy resins or tile grouts.
Spread the grout into joints or holes with a spatula, leveling it carefully.
Remove excess grout with a damp sponge.
Allow the grout to dry completely as per the manufacturer's instructions.
Optionally, polish the surface for a refined finish.
By accurately following these steps, you can effectively and durably grout internal flooring.
Intense and brilliant color, ideal for Transparent Epoxy Resins. Mix small quantities to get a translucent effect. The high coverage of the “Colorful Original” range allows to obtain a full and bright color. The high concentration provides an opaque color with a few drops.
Usable to color the products of the RESIN PRO range.
💥 Ideal for epoxy creations and resin tables thanks to its features:
✔️ Intense colors
✔️ Easy to mix
✔️ Intense colors
✔️ High concentration
✔️ Easy to get a translucent effect
✔️ 5 stars on Trustpilot
🌿Cruelty Free, Vegan Friendly🐹
$16,00
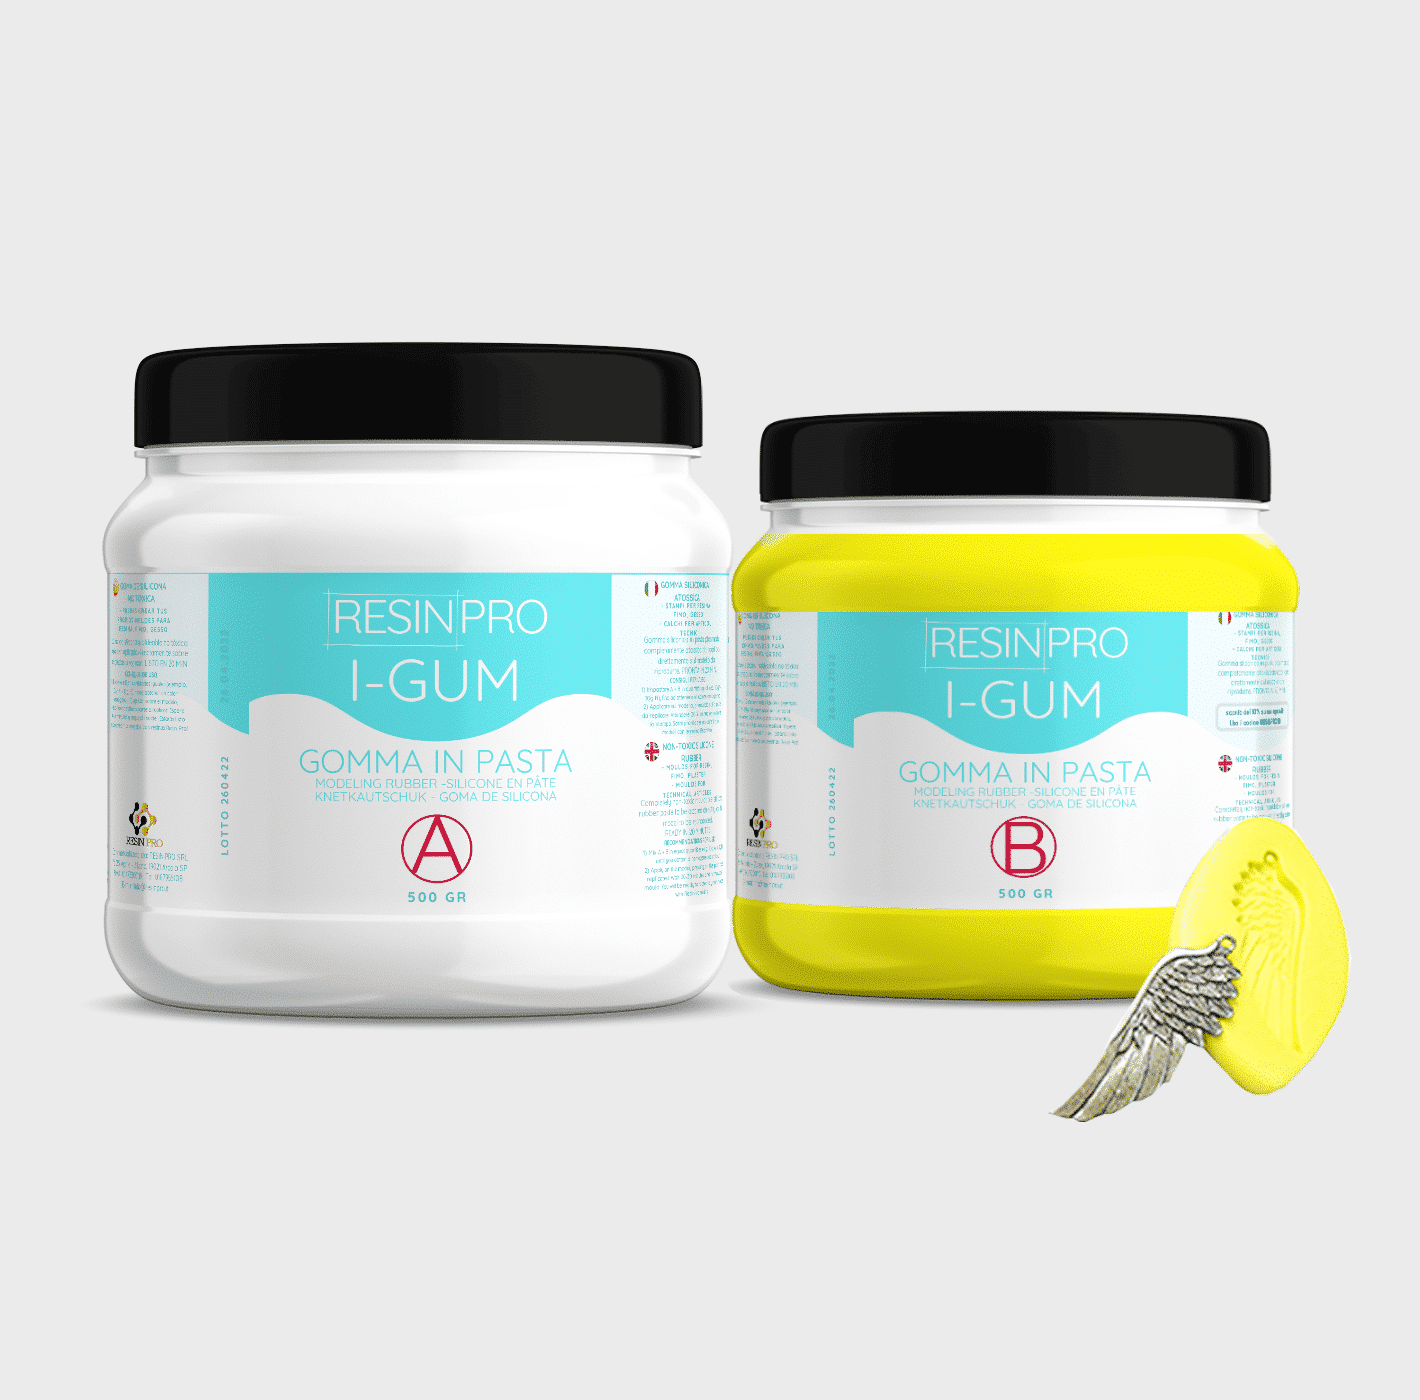
• "I-GUM" - Non-Toxic Silicone Rubber - Paste Form
Pasty silicone rubber "I-GUM" is a two–component product for creating moulds and forms for pouring with epoxy resin.
• Superior formula proven by years of experience:
✔️ Easy to use -> 1:1 mix ratio
✔️ Non-toxic -> You can work without gloves
✔️ Without smell
✔️ Long working time -> 20 minutes
✔️ European quality -> Directly from Italy
✔️ Ideal for creating moulds and frames for working with resin, polyurethanes, wax, cement and other materials
✔️ 🌿Cruelty Free, Vegan Friendly🐹
$22,00

Images
On sale
“Pure Mold” – Translucent Liquid Silicone Rubber for Mould Making, 1:1 Mix Ratio
Available, ready for shipping
Order now to receive your product between Wednesday, April 29 and Wednesday, May 6.
Shipping $16
Choose your kit:
Quantity
"Pure Mold" - Translucent Liquid Silicone Rubber for Mould Making, 1:1 Mix Ratio quantity
The kit: 1 KG (500 GR of A + 500 GR of B)
$52,95 Original price was: $52,95.$44,95Current price is: $44,95.-15%
💰 You save
$8.00
TRANSLUCENT AND FAST CASTING LIQUID SILICONE RUBBER FOR MOULDS
🧪【INNOVATIVE FORMULA】Create your moulds using PURE MOLD silicone rubber! Compatible with many materials including resins, plaster and cement. Its transparency will allow you to observe through the mould and its high mechanical characteristics make it a product suitable for both professional and hobby use.
💎【IMPECCABLE QUALITY】Guarantees the creation of resistant and detailed moulds that will last over time and will be reusable several times!
🌿【SAFE AND CERTIFIED】 100% Made in Italy, guaranteed by a Certificate of Non-toxicity and solvent-free and odorless, this rubber is configured as a safe and easy to use product!
⚙️【EASY TO USE】 Mixing ratio 1: 1; Hardness: 13 Shore; Catalysis in about 6-8 hours. The poly additive formula makes it more resistant than other silicones, allowing the creation of higher quality molds.
+ Easy mixing ratio 1:1
+ Less mould shrinkage over time
+ 30% longer service life
+ Fast (6-8H)
+ Translucent
+ Resistant
Good for:
epoxy resins,
polyester,
polyurethanes and acrylics,
cements and plasters.+ Liquid
🌿Cruelty Free, Vegan Friendly🐹
$44,00
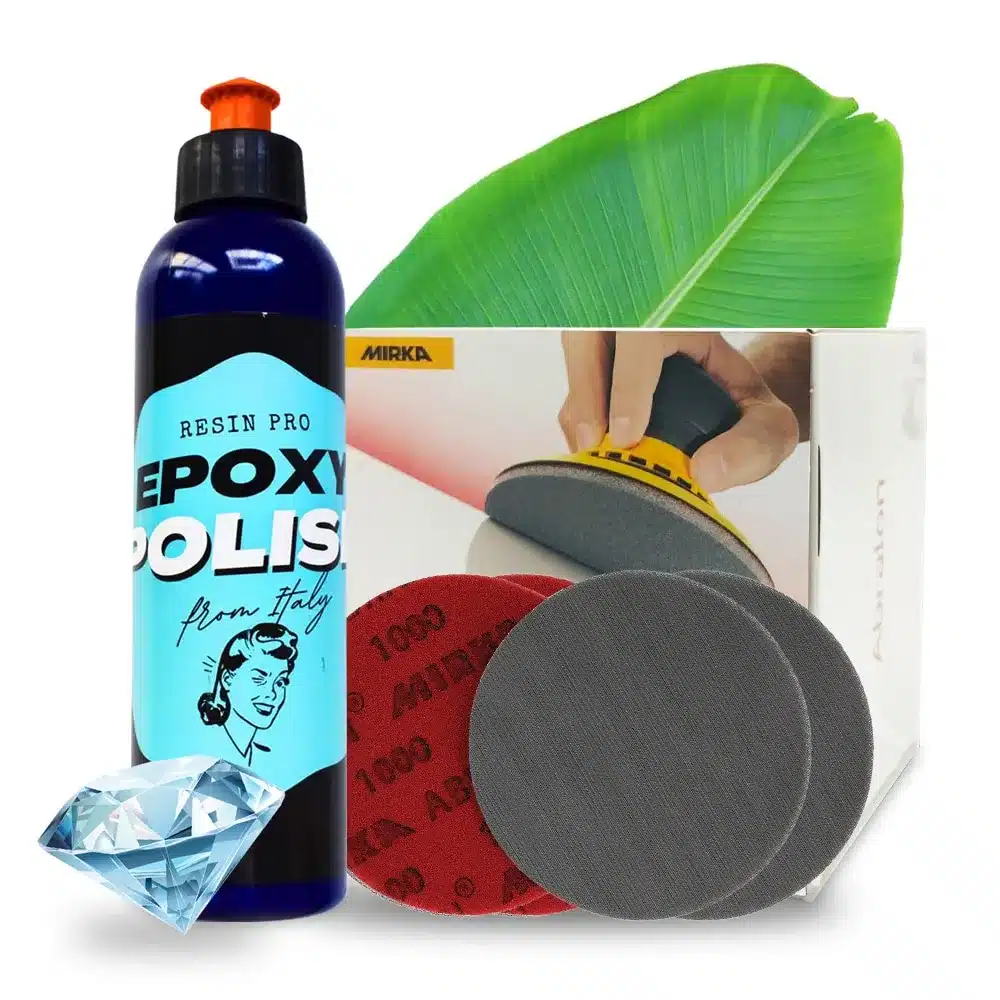
Great way to add some glossy finish to your epoxy project!
Was made especially for resin world.
Resin Pro offers the possibility to achieve a perfect polishing by using different types of abrasive pastes.
It can be used by hand or with an orbital polisher to make your resin creations shiny.
$36,00
 Free shipping on orders over €199,00
  Shipping Tracking!


 Google
 Facebook