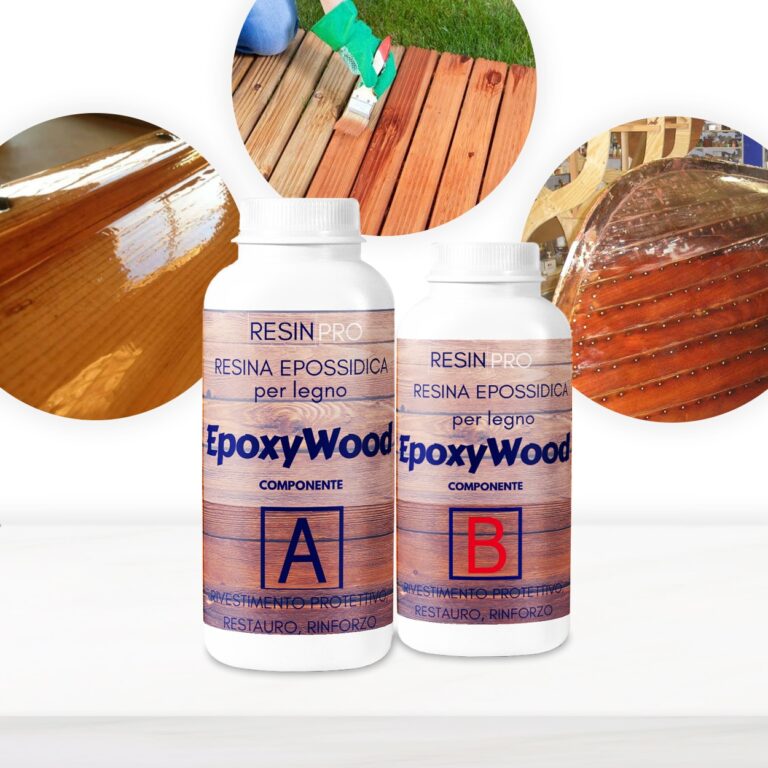
“EPOXYWOOD” Epoxy Resin for Wood - Protective coating, Restoration, Reinforcement Protects, strengthens and polishes the wood, deeply penetrating thanks to its low viscosity. Solvent-free, it can be applied to any type of wood, including fibreglass and metal. Great for wooden, fibreglass and metal surfaces. In addition to surface protection, it enhances the wood grain and provides a pleasant aesthetic effect. Filler applicable with additions of 2/3 of glass beads (available in our shop) Colour: STRAW-YELLOW, not suitable for high-thickness castings (in such cases, we recommend ResinPro Transparent Epoxy Resin) Solvent-free structural epoxy system formulated for the construction, the protection and the restoration of fibreglass, timber and many other substrates. Its properties of penetration, adhesion and weather-resistance make “EPOXYWOOD” essential for the maintenance and protection of surfaces. With “EPOXYWOOD” you can have high strength bonding, surface protection and waterproofing of the hull. Wood treated with “EPOXYWOOD” becomes completely waterproof and reinforced while maintaining its characteristics of flexibility and resistance. Surface preparation: Before applying “EPOXYWOOD”, ensure that the surface to be treated is perfectly dry and moisture-free. The wood to be treated must always be clean and free of oils or other solvents. We recommend to sand the surface before application.
$36,49
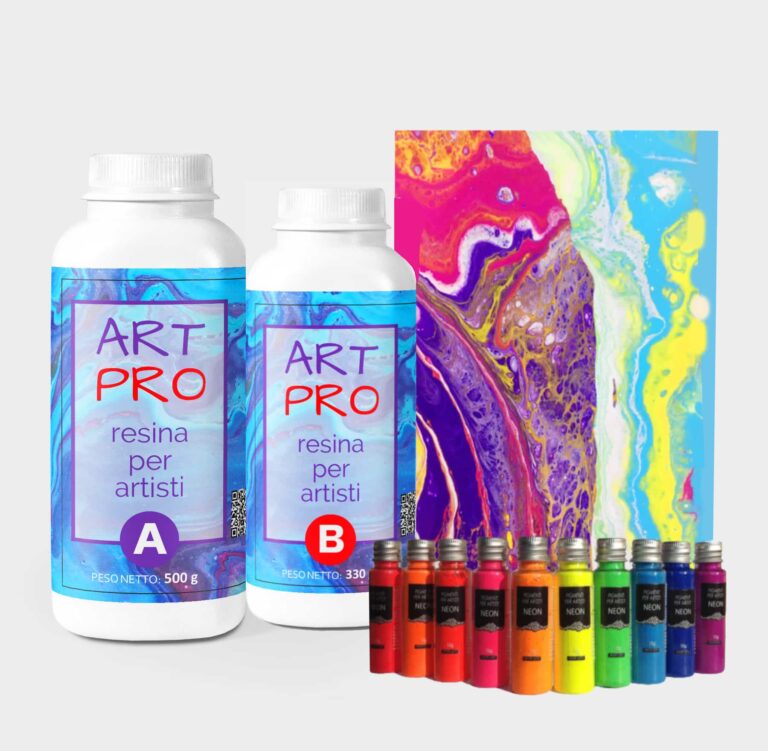
"RAPHAEL" KIT for Pour Paint & Resin Art Create your unique painting with the "RAPHAEL" kit. Experience the countless mixtures and design the perfect artwork! The "RAPHAEL" KIT includes: TRANSPARENT RESIN FOR ARTWORK AND DIY 1.66 KG [3,65 LB] NEON PIGMENTS SET RECTANGULAR FRAME CANVAS 30*30cm WOODEN SPATULA * 5pcs NITRILE GLOVES INSTRUCTION "TIPS HOW TO WORK WITH EPOXY" Transparent resin for artwork and DIY 1.66 KG [3,65 LB]. Transparent self-levelling UV-resistant epoxy system, which creates a hard and glossy protective layer for casting up to 1 cm [0,39”]. ART PRO, the epoxy resin for the artistic sector: thanks to its special formula and its dense structure, it allows you to create paintings with the "pour paint" and liquid paint technique. It does not leak out from the working surface, slowly reaching the corners of the frame. ART PRO preserves your original design and prevents any possible modification due to the casting of the resin: because of its special formula, the layers of colours do not expand and do not mix (unless you deliberately intervene), faithfully keeping with your creative idea! The surface is perfectly smooth and moisture-resistant. Solvent-free and odourless epoxy resin. Applications: - artworks, creation of art objects (paintings, panels, etc.) with the "fluid-art" (pour paint) technique (pouring up to 1 cm [0,39”]); - coating of surfaces, objects and furniture to add depth and brilliance to the colour; - create a 3D effect on prints, photos and images in general; - fixation of fillers (decorative elements, glass, stone, quartz, etc.) - creation of a perfectly transparent protective layer on your projects. The "ART-PRO" formula is specifically developed for coating in artistic applications. Compatible with colouring agents, powder pigments, alcohol-based and oil-based dyes, aerosol paints. Warning: the product is moisture sensitive, do not use on wet surfaces or with water-based dyes (e.g. Acrylics) Technical data: Usage ratio 100:66 (in weight) Pot Life (150 gr at 30°C) [0,33 lb at 86 F]: 1h20 ', Film (1 mm at 30°C) [0,03” at 86 F]: 6:00'. Full catalysis after 24 hours. Neon Pigments Set. PIGMENTS WITH COLOURED BASE are perfect for decoupage, decoration and anything related to DIY. By simply adding them to resins, paints or varnishes, you can express your creativity with truly brilliant shades (neon effect!). WARNING: pigments do not glow in the dark, as they are not fluorescent.
$69,95
• "Art Pro Deluxe" non-toxic ultra-high viscosity epoxy resin for artists. The best choice for Resin and Geode-art, making Coasters, Trays, Ocean-art, jewellery and casting surfaces. + gloves & detailed instruction for FREE. • Beloved by many artists around the world: ✔️ ULTRA HIGH viscosity -> easy control lines in resin and geode- art (coasters, trays, paintings) ✔️ Amazing glossy and self-levelling surface ✔️ High scratch resistance -> ideal for finish layers and use for coasters and trays ✔️ UV filter for protection against yellowing -> 10 years warranty ✔️ Safe and Certified -> Non-toxic, Solvent-free, non-flammable, and totally safe ✔️ High transparency -> a true liquid crystal ✔️ Easy to use -> fast curing time (1st stage - 10-12h; 2nd - 18h) ✔️ Trusted quality -> Thousands customers since 2015 Check and tag our social media for inspiration! We always happy to publish your art-work –Instagram Logo Icon - Download in Gradient Style 🌿Cruelty Free, Vegan Friendly🐹
$41,00
• “EPOXYTABLE 5-FIVE” - deep pour epoxy resin for tables & large projects. Free 25ml pigment* + Gloves + Detailed instruction. • The best choice for deep pouring: ✔️ Low exothermic reaction –> castings up to 5cm [1,96”] ✔️ Strong UV filters –> non-yellowing guaranteed for 5 years ✔️ Highly mechanical resistant surface, for maximum scratchproof properties ✔️ Low viscosity –> bubbles free ✔️ Long working time –> no rush in the process ✔️ Heat resistance –> up to 70°C [158 F] ✔️ Trusted quality –> We have already sold more than 26000 kits of this product, since we started in 2015 ✔️ Cruelty Free, Vegan Friendly🐹
$41,00
Chipped wood filler is a specialized product used to repair damage or cracks on wooden surfaces that have chipped. Typically composed of resins or silicones, this filler is formulated to adhere securely to the wood, restoring its original appearance. Properly preparing the damaged area by cleaning it thoroughly is crucial before applying the filler. Once the chipped wood filler has dried, it can be sanded and painted to achieve a seamless and long-lasting finish. This product is highly valued in the DIY sector for its efficient and durable repair of superficial wood damage.
DIY Wood Filler
DIY wood filler is a versatile and convenient product for fixing minor defects and cracks on wooden surfaces. To effectively utilize it, follow these straightforward steps:
- Preparation: Begin by meticulously cleaning the area to be treated, eliminating any dirt and residue.
- Application: Use a putty knife or plastic spatula to evenly spread the wood filler, filling the cavity uniformly.
- Leveling: Ensure a smooth finish by leveling the filler with the surrounding surface.
- Drying: Allow the filler to dry completely, following the manufacturer's instructions.
- Sanding: Once dry, gently sand the area to achieve a smooth and consistent surface.
By adhering to these steps, you can easily and effectively repair and restore damaged wooden surfaces for long-lasting results.
How to Repair Chipped Wood
To repair chipped wood, follow these steps
- Clean the damaged area to eliminate dust and debris.
- Fill the chip with transparent epoxy resin or wood filler.
- Level the surface using a putty knife and let it dry thoroughly.
- Smooth the surface by gently sanding it with fine-grit sandpaper.
- Apply a protective coating, such as wood paint or oil, to safeguard the repair and ensure durability.
By following these steps, you can effectively repair chipped wood, prolonging its lifespan and preserving its aesthetic appeal.
Repairing Damaged Wood with Filler
To repair damaged wood with filler, follow these steps:
Thoroughly clean the damaged area to remove any remnants of old filler or paint.
Prepare the filler by creating a consistent paste following the manufacturer's instructions.
Apply the filler to the damaged area with a spatula, ensuring even leveling.
Allow the filler to dry completely per the recommended drying times.
Once dry, gently sand the surface with fine-grit sandpaper.
Apply a wood primer to the filled area.
Finally, paint or varnish the filled area to match the wood's color.
By following these steps, you can effectively repair damaged wood surfaces.
Intense and brilliant color, ideal for Transparent Epoxy Resins. Mix small quantities to get a translucent effect. The high coverage of the “Colorful Original” range allows to obtain a full and bright color. The high concentration provides an opaque color with a few drops.
Usable to color the products of the RESIN PRO range.
💥 Ideal for epoxy creations and resin tables thanks to its features:
✔️ Intense colors
✔️ Easy to mix
✔️ Intense colors
✔️ High concentration
✔️ Easy to get a translucent effect
✔️ 5 stars on Trustpilot
🌿Cruelty Free, Vegan Friendly🐹
$16,00
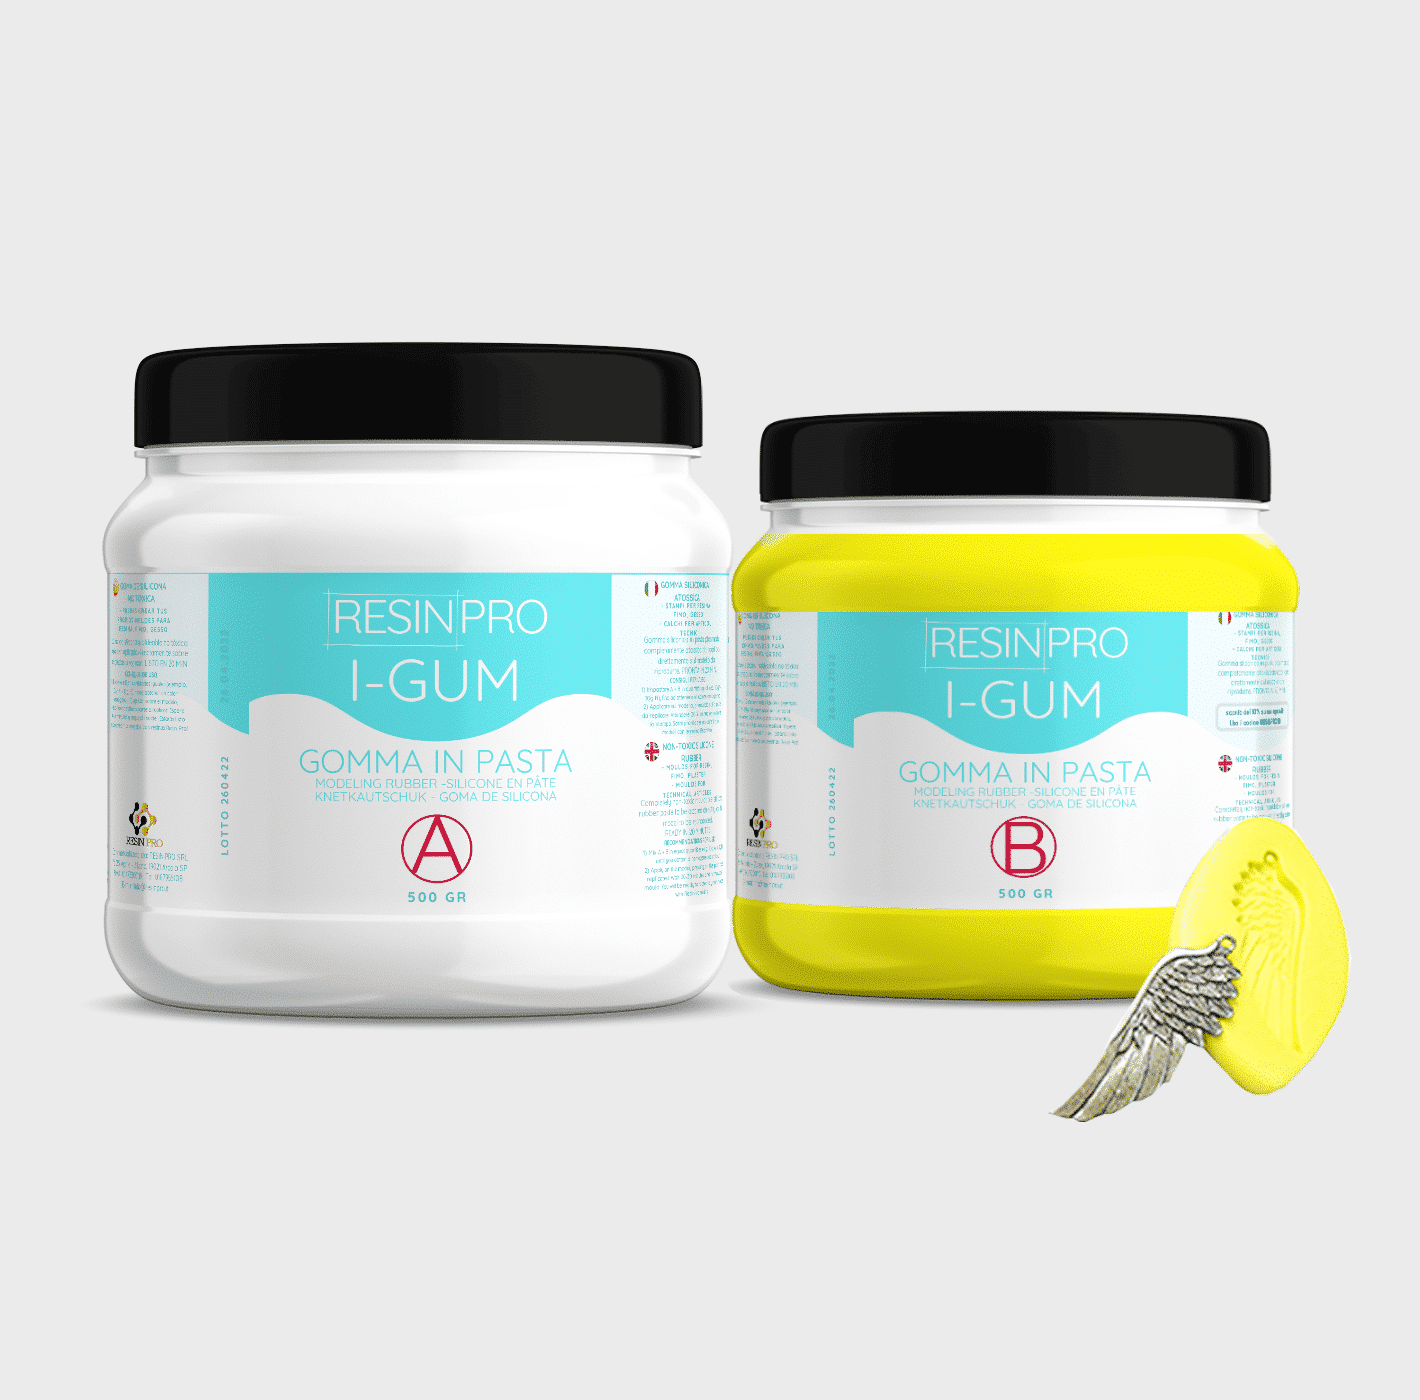
• "I-GUM" - Non-Toxic Silicone Rubber - Paste Form
Pasty silicone rubber "I-GUM" is a two–component product for creating moulds and forms for pouring with epoxy resin.
• Superior formula proven by years of experience:
✔️ Easy to use -> 1:1 mix ratio
✔️ Non-toxic -> You can work without gloves
✔️ Without smell
✔️ Long working time -> 20 minutes
✔️ European quality -> Directly from Italy
✔️ Ideal for creating moulds and frames for working with resin, polyurethanes, wax, cement and other materials
✔️ 🌿Cruelty Free, Vegan Friendly🐹
$22,00

Images
On sale
“Pure Mold” – Translucent Liquid Silicone Rubber for Mould Making, 1:1 Mix Ratio
Available, ready for shipping
Order now to receive your product between Wednesday, April 29 and Wednesday, May 6.
Shipping $16
Choose your kit:
Quantity
"Pure Mold" - Translucent Liquid Silicone Rubber for Mould Making, 1:1 Mix Ratio quantity
The kit: 1 KG (500 GR of A + 500 GR of B)
$52,95 Original price was: $52,95.$44,95Current price is: $44,95.-15%
💰 You save
$8.00
TRANSLUCENT AND FAST CASTING LIQUID SILICONE RUBBER FOR MOULDS
🧪【INNOVATIVE FORMULA】Create your moulds using PURE MOLD silicone rubber! Compatible with many materials including resins, plaster and cement. Its transparency will allow you to observe through the mould and its high mechanical characteristics make it a product suitable for both professional and hobby use.
💎【IMPECCABLE QUALITY】Guarantees the creation of resistant and detailed moulds that will last over time and will be reusable several times!
🌿【SAFE AND CERTIFIED】 100% Made in Italy, guaranteed by a Certificate of Non-toxicity and solvent-free and odorless, this rubber is configured as a safe and easy to use product!
⚙️【EASY TO USE】 Mixing ratio 1: 1; Hardness: 13 Shore; Catalysis in about 6-8 hours. The poly additive formula makes it more resistant than other silicones, allowing the creation of higher quality molds.
+ Easy mixing ratio 1:1
+ Less mould shrinkage over time
+ 30% longer service life
+ Fast (6-8H)
+ Translucent
+ Resistant
Good for:
epoxy resins,
polyester,
polyurethanes and acrylics,
cements and plasters.+ Liquid
🌿Cruelty Free, Vegan Friendly🐹
$44,00
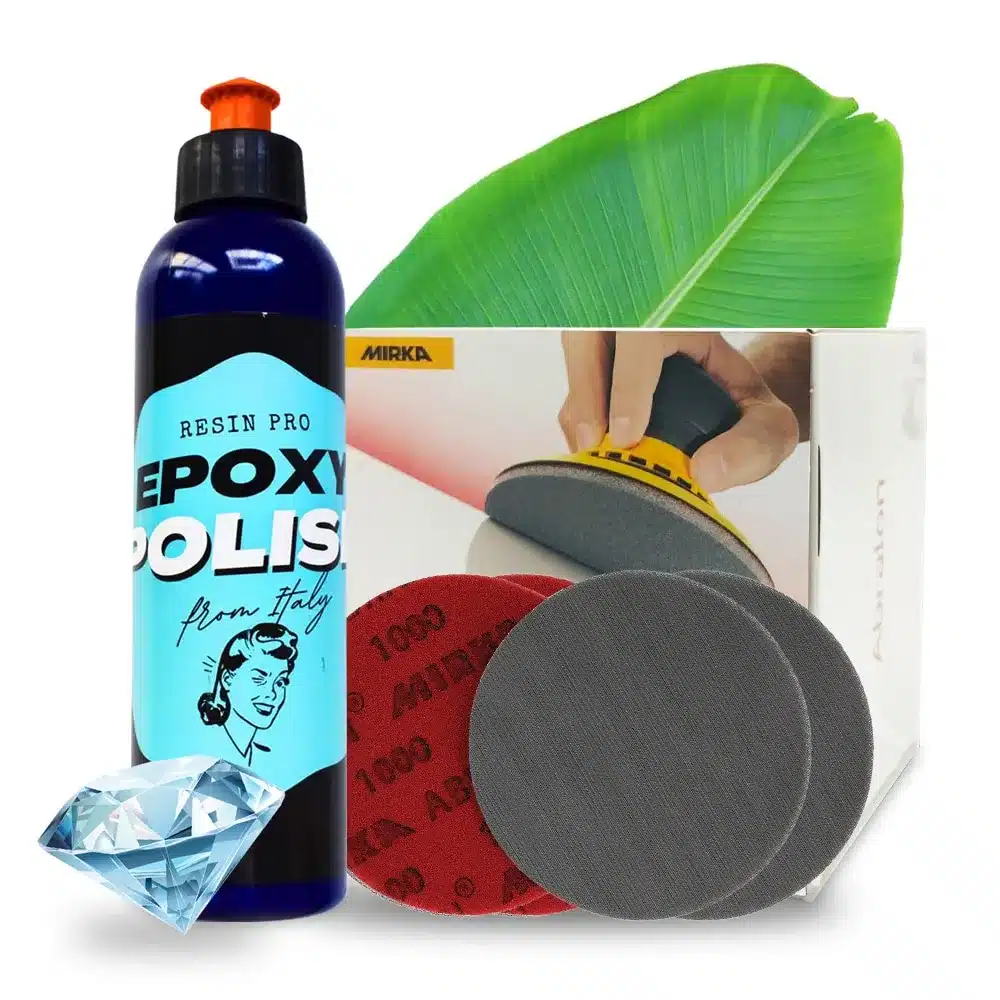
Great way to add some glossy finish to your epoxy project!
Was made especially for resin world.
Resin Pro offers the possibility to achieve a perfect polishing by using different types of abrasive pastes.
It can be used by hand or with an orbital polisher to make your resin creations shiny.
$36,00
 Free shipping on orders over €199,00