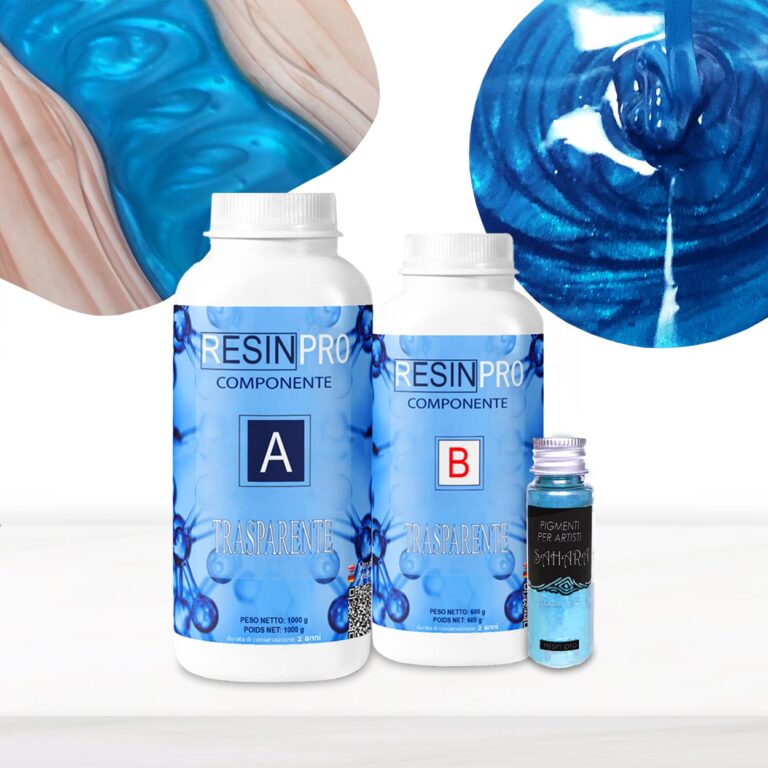
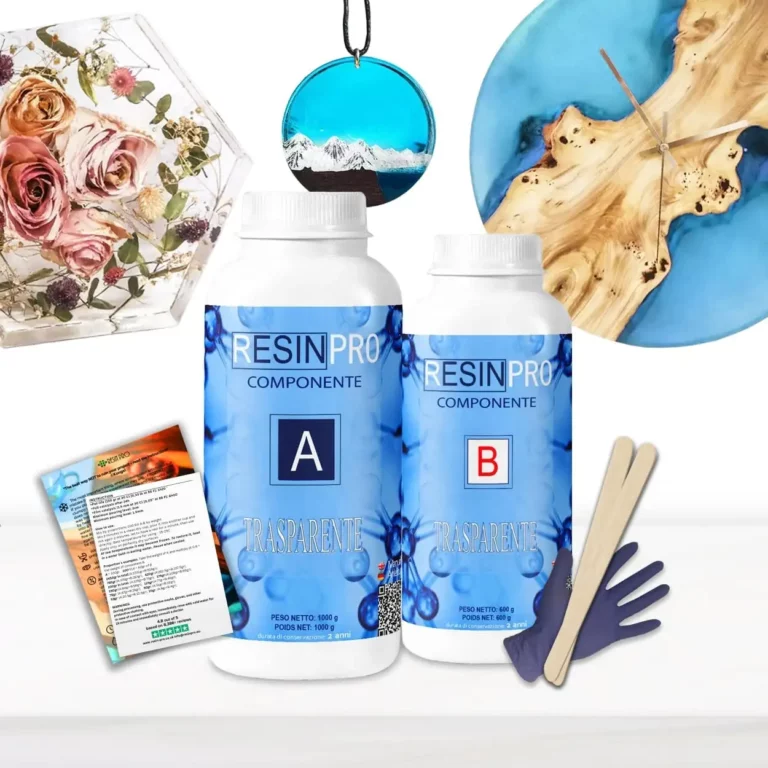
💥 Bestseller for: –Wood-working: Coating, Countertops and Tables, Lamps and Works of art; –Restoration and surface coating: Wood, Concrete, Ceramics, Canvas, Glass fiber, Floors; –DIY: Coasters, Penny-floors, Jewellery making, Dynamic modelling and Artistic creations; –Industrial: Boat care and maintenance; Impregnation of technical fabrics (fiberglass, carbon fiber, etc). 💥About “TRANSPARENT” – Ultra Clear Multipurpose Epoxy Resin: Our Non-Toxic Transparent Epoxy Resin is a high-quality, multipurpose resin that has become a top choice for thousands of customers around the world. It is perfect for creating stunning art pieces, tables jewellery, countertops, DIY projects, and woodworking. This resin is formulated to be safe and non-toxic, making it a great option for artists who are conscious of their environmental impact. It is odourless and VOC-free, making it safe to use indoors. While our Non-Toxic Transparent Epoxy Resin is safe to use, we do advise taking proper safety precautions when working with any type of resin. We recommend using gloves and masks or working in a well-ventilated area to avoid any potential irritation or allergic reactions. Non-Toxic Transparent Epoxy Resin is self-levelling and has a high-gloss finish. It is easy to use and can be mixed with a variety of pigments to create a wide range of colours. One of the best features of our Non-Toxic Transparent Epoxy Resin is its ability to create a super solid and shiny surface after full curing time. It can be used on a variety of surfaces, including wood, stone, ceramics, and more. It is perfect for creating unique and stunning pieces that are sure to impress. Plus, with its long shelf life, you can store it for future projects. Choose our Non-Toxic Transparent Epoxy Resin for a safe, high-quality, multipurpose option for all your creative needs. 💥Key features: ⚙️ ULTRA TRANSPARENT EPOXY RESIN: -The crystal clear epoxy resin is suitable for both beginners and professionals. Start making jewellery, tables, and any other DIY – creation that involves the use of resin. 🧪 PROFESSIONAL QUALITY: -Made from high quality materials – Excellent transparency, No bubbles, Odourless – because of unique formula for DIY, craft and artistic creations. Ideal for casting and embedding objects too. Compatible with silicone, wood, fabric, glass and paper. 🌿 SAFE AND CERTIFIED: -All our resins are Certified Non-Toxic, Solvent-free, non-flammable, and totally safe. 💧 EASY TO USE: -The 100:60 mixing ratio makes this product very easy to use. Being a two-component resin, simply mix RESIN A + HARDENER B in the ratio indicated above the package and let it harden without the need for further additives. Can be coloured as desired. 📞 FREE PROFESSIONAL ASSISTANCE SERVICE: -Since we are directly a manufacturer, we have access to a professional laboratory that will happily help you with any complex project. 🇬🇧 UK BASED TRUSTED COMPANY: -RESIN-PRO team fulfils your order as fast as possible. We produce and realise epoxy resins since 2015. Just check our social media, where you will find thousands of projects made with our products around the world. 💥Suitable for: –Wood-working: Coating, Countertops and Tables, Lamps and Works of art; –Restoration or surface coating: Wood, Concrete, Ceramics, Canvas, Glass fiber, Floors; –DIY: Coasters, Penny-floors, Jewellery making, Dynamic modelling and Artistic creations; –Industrial: Boat care and maintenance; Impregnation of technical fabrics (fiberglass, carbon fiber, etc). + Heat and chemical resistance (Up to 70C); + Long working time; + Odourless; + Excellent mechanical strength; Get inspired by creative works [pinterest_carousel gallery_id="776800704417739265"]
$28,49
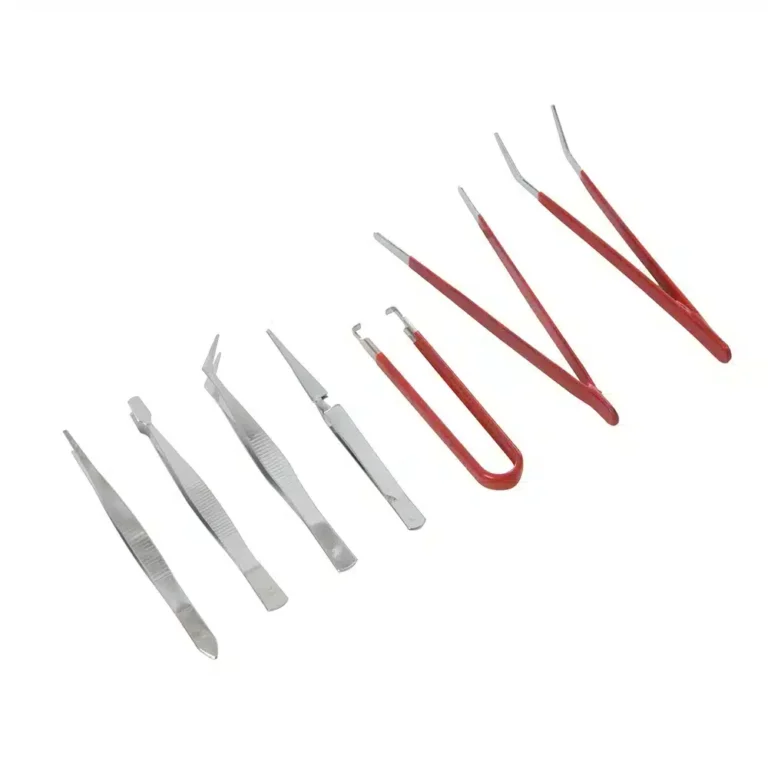
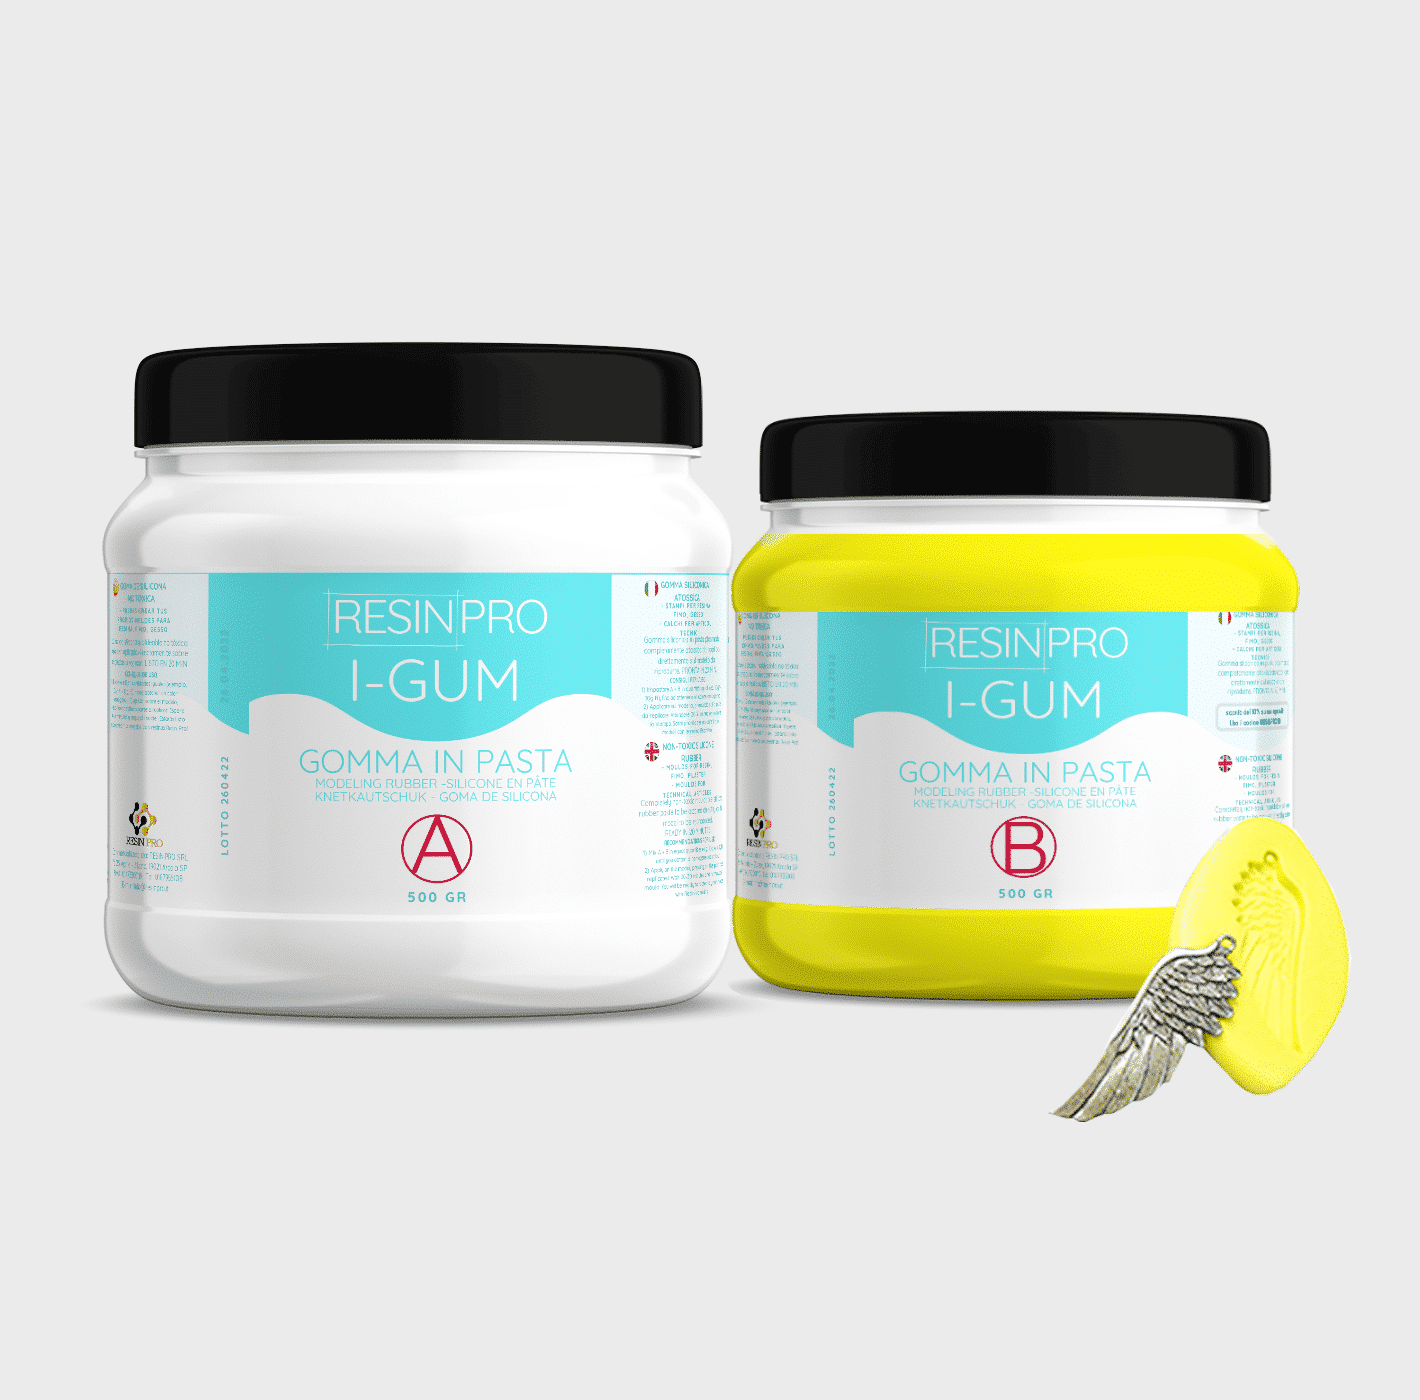
Carbon steel. Ideal for model building, clock repairs and other delicate work. Includes straight point, straight jaw, straight jaw with cushioned grip, angled jaw, angled jaw with cushioned grip, duck bill and bent cross with cushioned grip. Carbon steel Ideal for model building, clock repairs & other delicate work Includes straight point, straight jaw, straight jaw with cushioned grip, angled jaw, angled jaw with cushioned grip, bent cross with cushioned jaw & duck bill Features: Variety of Tips: The set includes pointed, slanted, and flat-tipped tweezers, among others, catering to different needs such as placing small objects, handling delicate components, and applying intricate details. Durable Construction: Made from high-quality stainless steel, these tweezers are built to last. They are resistant to corrosion and staining, ensuring long-term reliability even when working with sticky or resin-coated materials. Precision Handling: The fine tips and ergonomic design provide excellent control and accuracy, making it easy to manipulate tiny elements or achieve precise placements within your epoxy resin projects. Comfortable Grip: Each tweezer is designed with a comfortable handle that reduces hand strain during extended use, allowing for steady and precise movements. Versatile Use: Ideal for a range of tasks, including embedding decorations, positioning small items, or fine-tuning details, this set is perfect for both professional and hobbyist resin crafters. With this Tweezer Set, you'll be equipped to handle all aspects of your epoxy resin work with confidence, achieving professional-quality results and enhancing your overall crafting experience.
$9,95
💥 Bestseller for: –Wood-working: Coating, Countertops and Tables, Lamps and Works of art; –Restoration and surface coating: Wood, Concrete, Ceramics, Canvas, Glass fiber, Floors; –DIY: Coasters, Penny-floors, Jewellery making, Dynamic modeling and Artistic creations; –Industrial: Boat care and maintenance; Impregnation of technical fabrics (fiberglass, carbon fiber, etc). 💥About “TRANSPARENT” – Ultra Clear Multipurpose Epoxy Resin: Our Non-Toxic Transparent Epoxy Resin is a high-quality, multipurpose resin that has become a top choice for thousands of customers around the world. It is perfect for creating stunning art pieces, tables jewelry, countertops, DIY projects, and woodworking. This resin is formulated to be safe and non-toxic, making it a great option for artists who are conscious of their environmental impact. It is odorless and VOC-free, making it safe to use indoors. While our Non-Toxic Transparent Epoxy Resin is safe to use, we do advise taking proper safety precautions when working with any type of resin. We recommend using gloves and masks or working in a well-ventilated area to avoid any potential irritation or allergic reactions. Non-Toxic Transparent Epoxy Resin is self-leveling and has a high-gloss finish. It is easy to use and can be mixed with a variety of pigments to create a wide range of colors. One of the best features of our Non-Toxic Transparent Epoxy Resin is its ability to create a super solid and shiny surface after full curing time. It can be used on a variety of surfaces, including wood, stone, ceramics, and more. It is perfect for creating unique and stunning pieces that are sure to impress. We offer free shipping on this product, so you can get started on your project right away. Plus, with its long shelf life, you can store it for future projects. Choose our Non-Toxic Transparent Epoxy Resin for a safe, high-quality, multipurpose option for all your creative needs. 💥Key features: • ⚙️ 【ULTRA TRANSPARENT EPOXY RESIN】-The crystal clear epoxy resin is suitable for both beginners and professionals. Start making jewelry, tables, and any other DIY – creation that involves the use of resin. • 🧪 【PROFESSIONAL QUALITY】-Made from high-quality materials – Excellent transparency, No bubbles, Odourless – because of a unique formula for DIY, craft and artistic creations. Ideal for casting and embedding objects too. Compatible with silicone, wood, fabric, glass and paper. • 🌿 【SAFE AND CERTIFIED】-All our resins are Certified Non-Toxic, Solvent-free, non-flammable, and totally safe. • 💧 【EASY TO USE】-The 100:60 mixing ratio makes this product very easy to use. Being a two-component resin, simply mix RESIN A + HARDENER B in the ratio indicated above the package and let it harden without the need for further additives. Can be colored as desired. • 📞 【FREE PROFESSIONAL ASSISTANCE SERVICE】-Since we are directly a manufacturer, we have access to a professional laboratory that will happily help you with any complex project 💥Suitable for: –Wood-working: Coating, Countertops and Tables, Lamps and Works of art; –Restoration or surface coating: Wood, Concrete, Ceramics, Canvas, Glass fiber, Floors; –DIY: Coasters, Penny-floors, Jewellery making, Dynamic modeling and Artistic creations; –Industrial: Boat care and maintenance; Impregnation of technical fabrics (fiberglass, carbon fiber, etc). + Heat and chemical resistance (Up to 70C); + Long working time; + Odourless; + Excellent mechanical strength;
$10,67
• "Art Pro Deluxe" non-toxic ultra-high viscosity epoxy resin for artists. The best choice for Resin and Geode-art, making Coasters, Trays, Ocean-art, jewellery and casting surfaces. + gloves & detailed instruction for FREE. • Beloved by many artists around the world: ✔️ ULTRA HIGH viscosity -> easy control lines in resin and geode- art (coasters, trays, paintings) ✔️ Amazing glossy and self-levelling surface ✔️ High scratch resistance -> ideal for finish layers and use for coasters and trays ✔️ UV filter for protection against yellowing -> 10 years warranty ✔️ Safe and Certified -> Non-toxic, Solvent-free, non-flammable, and totally safe ✔️ High transparency -> a true liquid crystal ✔️ Easy to use -> fast curing time (1st stage - 10-12h; 2nd - 18h) ✔️ Trusted quality -> Thousands customers since 2015 Check and tag our social media for inspiration! We always happy to publish your art-work –Instagram Logo Icon - Download in Gradient Style 🌿Cruelty Free, Vegan Friendly🐹
$41,00
 Free shipping on orders over €199,00