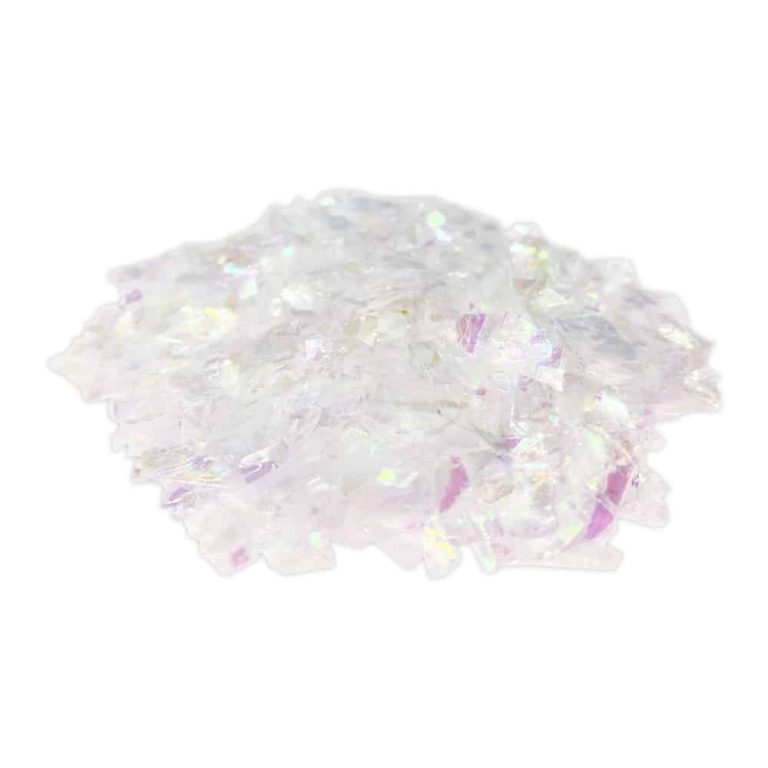
Pearl Glitter 10 gr is great for decorating works made of epoxy resin: it is added directly to the liquid resin and makes the product much more interesting 🙂 The glitter is made of metalized polyester film with an aluminum content of 98%.
$4,07
Natural sand for decorating artwork made of epoxy resin. Sand is perfect for decorating your paintings and panels made of epoxy resin: add a little marine exoticism to your works!
$3,08
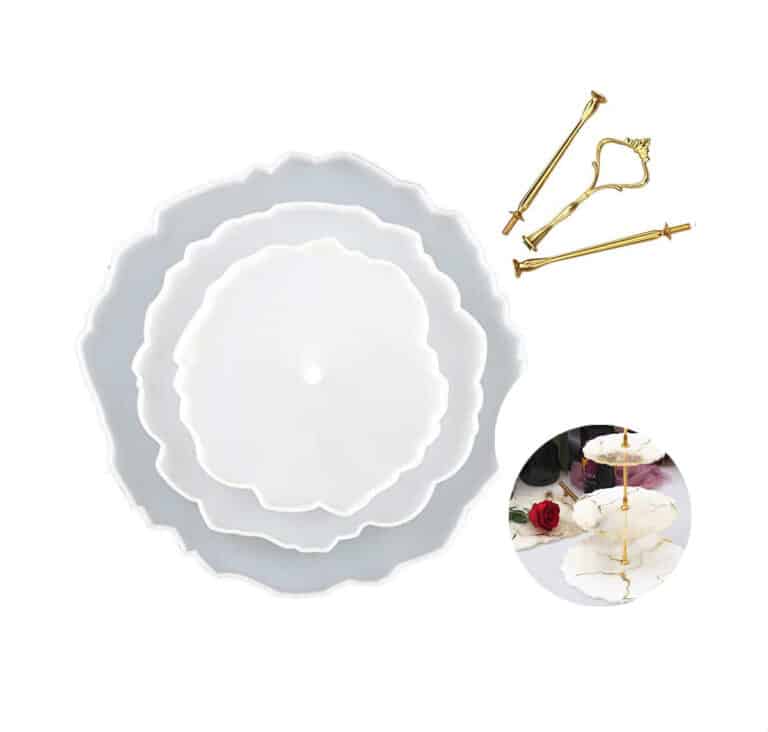
HIGH-QUALITY SILICONE MOULD FOR HANDCRAFTS This flat Coaster Mould has a smooth interior and produces a beautiful coaster with a professional finish. Use our heat-resistant resin to make something that is not only functional but also ideal for making three-tier fruit and dessert trays, coasters, decorative elements and home and office decorations. This product can be reused over the years. The Set includes: Silicone molds: D. 155 mm – 1 pcs → 6.1 in – 1 pc D. 205 mm – 1 pcs → 8.1 in – 1 pc D. 255 mm – 1 pcs → 10.0 in – 1 pc Support rod (by variation): 110 mm – 2 pcs → 4.3 in – 2 pcs 122 mm x P. 47 – 1 pcs → 4.8 in x P. 1.9 – 1 pc If you're using these moulds to make coasters, we recommend that you add a 3mm thick clear layer of Heat-Resistant resin first in your mould. Let it set and then add more resin with colour, ink, glitter, flowers etc. Once turned out (after 3-4 days), what was the bottom will be the top and heat-resistant up to 200C! Remember that our Heat-Resistant resin needs up to 72 hours to achieve full cure, so don't place a hot cup on it too early. DO-IT-YOURSELF. Material: Silicone, Colour: Semi-transparent; Reusable, Non-stick, Easy to use and clean. Warning: do not use aggressive solvents, High-quality moulds, heat-resistant: -40°C to + 210°C [-104° F to +410° F]
$17,49
Resin does not stick to our reusable silicone brush, making it suitable for applying resin to artistic surfaces and impregnating wood. Economical and easy to clean with warm soapy water.
$6,45
Resin wedding decorations offer a contemporary and innovative way to personalize weddings and special events. Resin allows for the creation of bespoke items such as centerpieces, placeholders, ring bearer dishes, and more. Its versatility enables it to be colored, enhanced with glitter, or adorned with decorative inserts to perfectly complement the event's style. Resin decorations are not only resilient and durable but also serve as a lasting memento of that special day. With a dash of creativity and craftsmanship, one can design personalized and unique decorations to elevate the magic of the wedding day.
Resin Wedding Table Decorations
Resin wedding table decorations are a sophisticated and modern choice to infuse a distinctive charm into your celebration. Resin, being a versatile material, can be molded into various shapes and hues, making it ideal for crafting one-of-a-kind and customized centerpieces. From decorative items like candle holders and vases to coasters, each piece can be tailored to suit your wedding theme and style. To add an extra touch of refinement and sophistication, resin decorations can be adorned with dried flowers, glitter, gold leaves, or other intricate details. Opting for resin table decorations for your wedding will undoubtedly bring a touch of elegance and originality to your special day.
Creating jewelry with epoxy resin is a creative and rewarding endeavor. To begin, you will need transparent epoxy resin, jewelry molds, colors, pigments, and protective gear such as gloves and a mask. Here are the key steps to crafting resin jewelry:
- Prepare your workspace and carefully adhere to the manufacturer's instructions for the resin.
- Thoroughly blend the epoxy resin with the catalyst following the recommended ratios.
- Introduce colors and pigments if you desire to create colored jewelry.
- Pour the resin into your molds and add any decorative elements like dried flowers or glitter.
- Allow the resin to cure for the required duration.
- Once hardened, demold the jewelry and refine them as needed.
By following these steps, you can fashion unique and personalized jewelry using resin.
DIY Transparent Resin
DIY transparent resins are versatile and user-friendly products for crafting art pieces, jewelry, or protective coatings. These resins, often epoxy-based, are meticulously blended to achieve a uniform and transparent texture. Once poured and solidified, the transparent resin forms a glossy and robust surface, perfect for preserving flowers, embedding objects, or safeguarding surfaces. Prior to using the resin, it is vital to meticulously adhere to the manufacturer's guidelines to ensure proper mixing and curing. With a bit of practice, creating distinctive and personalized pieces with DIY transparent resin is within reach.
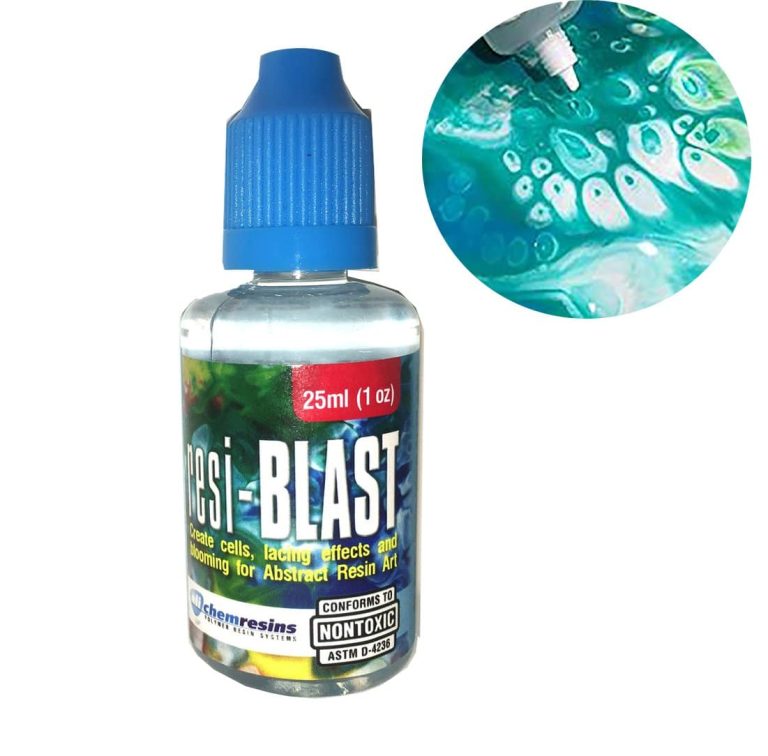
RESI-Blast 25 ml [0,85 oz] to create cell effects and decoration. One-component liquid to be added in drops over the resin when still liquid and coloured in layers to get an incredible effect! RESI-Blast is non-toxic and solvent-free. The product creates a surface dispersion of the resin, resulting in beautiful automatically generated cell structures (check the pictures!) This liquid reacts with epoxy resin, polyester and polyurethane (still liquid), and polymer resins stimulating movement and "blooming " in concentric outward circles. Add RESI-blast directly into the pigmented resin before pouring it over the surface or let it drip off over the surface immediately after the layering the pigmented resin. Innovative materials in the service of your imagination! Resin, Rubbers, Pigments, FIMO and much more in your home with a simple click!
$29,49

Complete kit to apply the fibreglass together with the Polyester Resin, for fast, simple and long-lasting repairs! Includes all the necessary to prepare, mix and apply the product. 700 gr [1,54 lb] of orthophthalic polyester resin; 20 ml [0,70 oz] of hardener (to be applied at 3%); 1 square meter of fibreglass MAT 300 gr /m2 [0,66 lb]; 1 brush for application; 2 latex gloves; 1 instruction sheet; 1 container to mix the components; Ideal to repair fenders, car bodies, boats, pipes, water tanks, swimming pools, etc. Are you looking for a simple, fast and inexpensive product to make your repairs in a professional way? We offer you this repair kit, in which you will find everything you need for your application, and we will ship it to your home in 24 hours. This kit is designed to be used as a reinforcement and/or structural material. It consists of a sheet of high-quality glass filaments, a polyester resin (including hardener) for the impregnation of fibreglass, as well as latex gloves, a brush and an instruction sheet for its application. With this practical kit you can immediately repair car bodies, boats, pipes, tanks, swimming pools, roofs, and many others! It is also applicable on several types of materials and surfaces, such as metal, wood, rigid plastic, polyester, glass, porcelain, fibreglass, etc. USE: As described above, this kit is used as a reinforcement and structural material. It features a 1 m2 of high-quality fibreglass mat (300g/m2 [0,66 lb]) together with polyester resin. AREAS OF APPLICATION Composite materials such as skis, canoes, boats, etc. Automotive: composite materials for vehicle components. Industrial: composite for the reinforcement of plastic parts, reinforcement fabrics for structures, decorations, insulators. Sealant for swimming pools, tanks and liquid containers.
$18,49
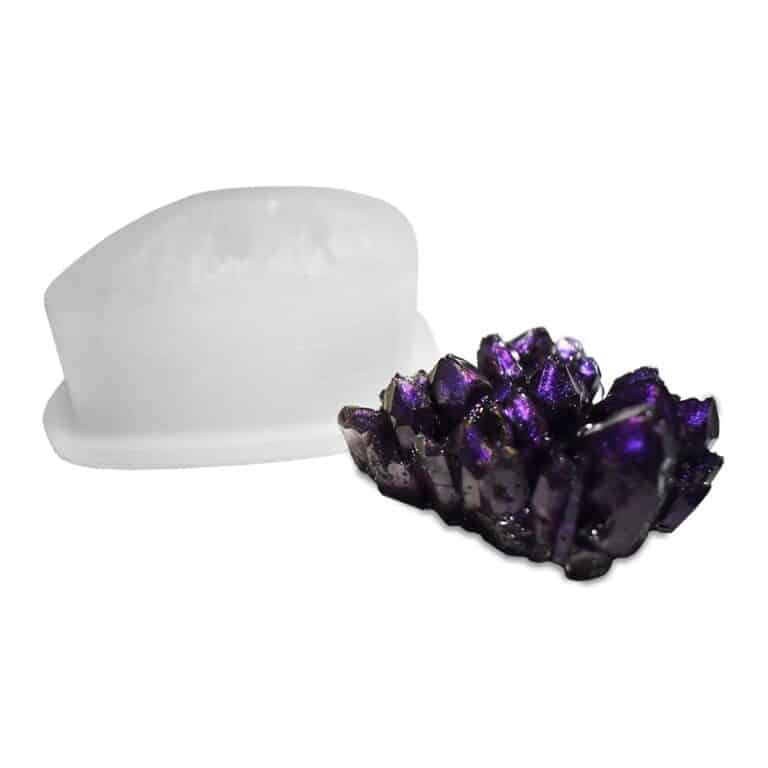
HIGH-QUALITY SILICONE MOULD FOR HANDCRAFTS Easy to use, highly polished and perfect for creating beautiful jewellery or decorations. Suitable to be used with soap, plaster, resin, ice, ceramic, clay, wax and other casting materials proper for DIY. Moulds for objects, jewels and chocolate. DO-IT-YOURSELF. Material: Silicone, Colour: Semi-transparent; Reusable, Non-stick, Easy to use and clean. Measurements: Mould - 5.0 x 3.5 CM Ready product - 4.3 x 3 CM Warning: do not use aggressive solvents, High-quality moulds, heat-resistant: -40°C to + 210°C [-104° F to +410° F]
$3,85

The structure of the lessons that you will get access to: Preparation of the workspace and mixing of resin. We will show you how to quickly level the work surface, what temperature and what other conditions are needed for a good solidification of the resin. Let’s prepare the moulds for pouring. We will show you how to mix the resin, give you ready-made calculations of proportions and teach you how to use the automatic proportion calculator in a couple of clicks. Working with glitters: Let’s explain how to add our glitter and sparkles to the filling so that they do not float to the surface and how to ensure we don’t over-pour or use too little resin. Let’s show you three different ways to add glitters. Dropping ink into the resin: This is where the magic happens, because the process of dropping ink into the resin is simply mesmerising! The inks can be seen spinning in the resin! We prepare the ink, and drop it into the resin at the right time and in a way and sequence that creates the most beautiful and unique results – we will show everything! In the course, we shared 6 wonderful colour schemes for ink combinations from the PIÑATA line. After the course you will feel confident about which colours are better for which combination, and which colours can be diversified if desired. Finishing touches! We take the work out of the mould at the right time, and check the backdrop for sharp corners. If there are any found, we “smooth” them with a nail file as shown in the video. Also, here we will show you how to use a marker for creating gold or silver edges. The finishing layer: How to apply the finish correctly for the best effect. How to calculate the amount of resin for the finish of a decoration and how to overcome smudges, if they suddenly flow onto the back of the product. Bows: We will teach you how to tie a festive bow on a decoration so that it looks even more attractive and aesthetically pleasing, as well as beautifully hung on a festive tree. Bonus additional technique of filling “Silk” – how to do it and what will be needed for this? Bonus additional technique of filling “Flame ” – how to do it and what will be needed for this? Bonus additional technique for filling the “Cloud” – How is it done and what is needed for this? Bonus additional technique of filling with shiny ink-three options for working with them
$28,49
 Free shipping on orders over €199,00
  Shipping Tracking!


 Google
 Facebook