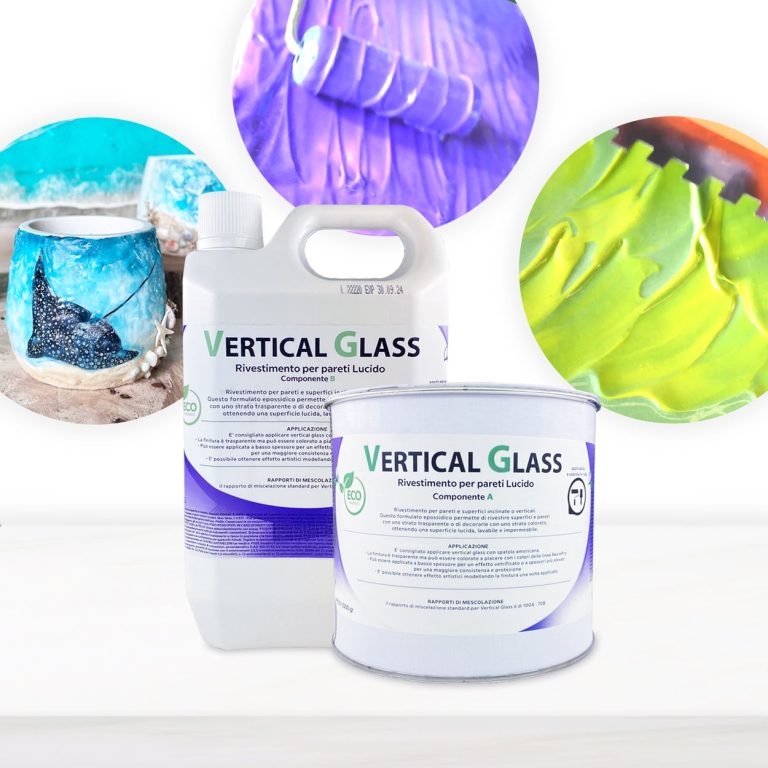
Coating for inclined or vertical walls and surfaces / This epoxy formulation allows you to coat surfaces and walls with a transparent layer or decorate them with a colored layer, resulting in a glossy, washable and waterproof surface. The Vertical Glass resin differs from normal resins allows creatives to create sharp shapes and designs on surfaces and canvases without the resin mixing unintentionally losing the original design! Transparent, UV-resistant epoxy system that creates a hard, glossy protective layer. Vertical Glass allows you to keep your initial design, faithfully respecting your creative idea! The surface will be perfectly smooth and resistant to moisture. Solvent-free and odorless epoxy resin. Applications: Floors and Walls (pre-existing) also vertical; Protection of material coatings and other artistic decorations; Coating, repair and decoration of shower trays and sanitary ware; Coating of surfaces, objects and furniture to give depth and brilliance to the color, even in Vertical! Features: For a smooth coating, it is applied with a spatula to the surface of any material: tile, concrete, wood, brick, etc. It has good hiding power, and completely covers the work surface in one application Creates a glossy, smooth and moisture-resistant layer To create a matte surface, it is easily sanded (48 hours after application, with a grain size of 1000-2000 P) Protects from moisture and gives a new life to surfaces It can be painted with dyes and pigments from our assortment Does not self-align: saves the drawing that you set for it 🙂 Please note that in the unpainted form, the material is not completely transparent, and there is a slight “milky” shade with almost imperceptible micro-particles, so we recommend painting it It is used for: Floor coverings, walls, furniture and other surfaces Protection of surfaces of materials Painting, repair and decoration of showers and bathrooms Creation of paintings, murals and other works of art
$109,49

💥 BESTSELLER FOR: -Wood-working: Coating, Countertops and Tables, Works of art; -Restoration or surface coating: Wood, Concrete, Ceramics, Canvas, Glass fiber); -DIY: Jewellery making, and Dynamic modelling. 💥About “iCrystal ” – Transparent Epoxy Resin: Our iCrystal Transparent Epoxy Resin is a premium quality, multipurpose resin that is a popular choice for customers looking to create stunning art pieces, jewellery, countertops, and DIY projects. The new formula is specifically designed to provide maximum transparency, allowing you to create unique and beautiful pieces that will last for a long time. It is easy to use and can be mixed with a variety of pigments to create an endless range of works. iCrystal Transparent Epoxy Resin is safe and non-toxic, making it a great option for artists who are environmentally conscious. It is odourless, VOC-free, making it comfortable to use indoors. Although our epoxy resin is safe to use, we recommend taking proper safety precautions when working with any type of resin. It is important to wear gloves and masks and work in a well-ventilated area to avoid any potential irritation or allergic reactions. This Epoxy Resin is self-levelling and has a high-gloss finish, providing a smooth and professional look to your creations. It is also extremely durable, providing a super solid and shiny surface after full curing time. iCrystal epoxy resin can be used on a variety of surfaces, including wood, stone, ceramics, and more. It is perfect for creating unique and stunning pieces that are sure to impress. We offer free shipping on this product, so you can start your project right away. Plus, with its long shelf life, you can store it for future projects. Choose iCrystal Transparent Epoxy Resin for a safe, high-quality, and versatile option for all your creative needs. 💥Key features: ⚙️ 【CRYSTAL CLEAR EPOXY RESIN】-The clear epoxy resin is suitable for both beginners and professionals. Start making jewellery, paintings, and any professional creation that involves the use of resin. 🧪 【HIGH QUALITY】 -Crystal clear, No bubbles, Odourless - because of unique formula for DIY, craft and artistic creations. Ideal for casting and embedding objects too. Compatible with silicone, wood, fabric, glass, paper or photographs. Fast completed curing time - 24 h, Demould time is only 10 hours. 💧 【EASY TO USE】-The 100:50 mixing ratio makes this product very easy to use. Being a two-component resin, simply mix RESIN A + HARDENER B in the ratio indicated above the package and let it harden without the need for further additives. Can be coloured as desired. 🌿 【SAFE AND CERTIFIED】 -All our resins are Certified Non-Toxic, Solvent-free, non-flammable, and totally safe. 📞 【FREE PROFESSIONAL ASSISTANCE SERVICE】-Since we are directly a manufacturer, we have access to a professional laboratory that will happily help you with any complex project. 🇬🇧 【UK BASED TRUSTED COMPANY】-RESIN-PRO team fulfils your order as fast as possible. We produce and realise epoxy resins since 2015. Just check our social media, where you will find thousands of projects made with our products around the world. 💥Suitable for: -Model making; -DIY and wood-working; -Coatings of furniture and surfaces; -Artistic creations (paintings, liquid art, petri dish); -Jewellery and fashion; -Glass Fiber Repair; -Outdoor Protective Coatings; -Boat construction; -Impregnation of technical fabrics (glass fiber, carbon fiber, etc); Check and tag our social media for inspiration! We are always happy to publish your art-work –
$10,67

💥 Bestseller for: –Prototyping:Polyurethane resin is frequently employed for rapid prototyping in industries such as automotive, medical, product design, and more. Its quick curing time and high casting precision make it ideal for efficiently producing test prototypes; –Modeling:Thanks to its high durability and the ability to replicate intricate details, polyurethane resin is used in art and design for creating models. This includes artistic sculptures, architectural prototypes, and decorative elements; –Small Batch Production:The "vacuum casting" technique with polyurethane resin enables cost-effective and rapid production of small batches of items with high detail. This is useful for manufacturing limited quantities of products with consistent characteristics; –Repair and Restoration:Polyurethane resin can be employed for the restoration and repair of various materials, including wood, stone, plastic, and metal. It is used to fill cracks, create missing components, or restore surfaces; –Manufacturing Seals and Components: Due to its chemical resistance and high wear resistance, polyurethane resin is widely used in the production of seals, including rubber seals, gaskets, and components for automobiles and industrial machinery; –Creative Projects:Artists and craftsmen use polyurethane resin for a wide range of creative projects, including art installations, decorative items, unique shapes, and even jewelry. 💥About “POLYFORM” POLYURETHANE CASTING RESIN: PolyForm, our cutting-edge polyurethane casting resin, is a high-performance solution designed for rapid prototyping in the modeling and automation industries. With a carefully formulated blend that boasts high fluidity and a remarkable Shore A hardness of 100, PolyForm empowers you to bring your creative visions to life with precision and efficiency. Key Features: Versatile Application: PolyForm is ideal for a wide range of applications, from creating detailed models to automating production processes. Its adaptability makes it a valuable asset in various industries. Rapid Prototyping: Craft prototypes with ease using silicone molds and PolyForm resin. These prototypes serve as crucial tools for pre-processing, strength testing, and dimensional analysis before moving on to mass production. Vacuum Casting Technique: Explore the "Vacuum casting" technique with PolyForm, enabling the production of small series of objects with identical mechanical, aesthetic, and dimensional properties to the final product. Quick Curing: Experience a fast pot life of 3 minutes and a maturation time of 30 minutes, allowing you to work efficiently and bring your ideas to life in a short span. Non-Toxic Certification: PolyForm is certified non-toxic for skin contact post-catalysis, ensuring the safety of handling the artifacts created with this resin. Technical Specifications: Viscosity: 70 mPa*s Weight Ratio A/B: 90/100 Color: Beige Usage Guidelines: Not suitable for coloring with dyes Do not use at temperatures below 8-10°C. Wear gloves and protective eyewear during mixing and application. Clean tools with epoxy or nitro thinner. Dispose of packaging following local regulations. PolyForm is your reliable partner for bringing innovation to your projects. Whether you're a hobbyist or a professional, PolyForm delivers exceptional results, providing the precision and reliability you need for your creative endeavors. Start creating with PolyForm today! [CP_CALCULATED_FIELDS id="1"] Download Non toxicity Certificate
$20,95

FIX EXPRESS, two-component epoxy glue that repairs and fixes in just 5 minutes guaranteeing maximum mechanical resistance on wood, glass, fabric, ceramic paper, stone, plastics, rubber and metals. Weight/volume mixing ratio: 1A + 1B Don't wait any longer! Try FIX EXPRESS and discover the perfect solution for all your fixing and repair needs. Product features: Two-component epoxy glue, ideal for any application, both indoors and outdoors, solvent-free, for assembly of heterogeneous materials and quick repairs that hardens in just 5 minutes, guaranteeing maximum mechanical resistance on wood, glass, fabric, ceramic paper, stone, plastics, rubber and metals. ⏱️ Fast drying: Its advanced formula dries in just 5 minutes. After 20 minutes, it can be sanded and polished, giving you a perfect finish in no time. 💪 Strong and Versatile: Thanks to the epoxy molecules, FIX EXPRESS offers excellent adhesion on many different surfaces, making it a practical and powerful solution for every repair need. 🎨 Customisable: Can be easily coloured with Resinpro dyes, allowing you to unleash your creativity. 👍 Easy to use: Simply mix the two components in a 1:1 ratio for 30 to 45 seconds and apply immediately. The working time is 2-3 minutes, with complete setting in 5-6 minutes (at 25°C). 💧 Anti-Drip: Designed for a clean application, without unwanted drips during use. ✅ Safe and Practical: BPA-free and transparent, FIX EXPRESS is safe for use in any context. It comes with two separate bottles for easy dosing, avoiding accidental solidification. Applications for use with epoxy resin: It repairs and fixes in just 5 minutes with FIX EXPRESS, the two-component epoxy glue that guarantees maximum mechanical resistance on a wide range of materials: wood, glass, fabric, paper, ceramics, stone, plastic, rubber and metals. 🎨 Artistic creations: Ideal for unique and detailed works, paintings, photos, neons, jewellery, coatings, labels, doming, etc… ✅ Coatings: Achieves decorative, shiny and durable protective finishes. 💍 Jewellery: Designs shiny and resistant pieces, with a flexible finish. 🏗 Modeling: Perfect for creating mouldable, flexible and durable artistic works.
$36,49
Quick Fix for Bathroom Tile Chips
Dealing with chipped bathroom tiles can be bothersome, but luckily a speedy repair is within reach. To effectively mend the chips, it is recommended to utilize specific epoxy resins designed for tiles. Here is a step-by-step guide on how to proceed:
- Thoroughly clean the affected area.
- Prepare the epoxy resin following the manufacturer's instructions.
- Apply the resin carefully to the chipped area.
- Shape and level the resin to seamlessly blend with the surrounding surface.
- Allow the resin to thoroughly dry.
- Once dry, lightly sand the area for a smooth finish.
This efficient and straightforward process enables you to effectively address chippings on bathroom tiles.
DIY Bathroom Tile Repair
Repairing bathroom tiles on your own requires attention to detail and precision. Firstly, ensure you have all the essential tools: tile adhesive, trowel, grout, and replacement tiles. Carefully remove the damaged tiles using a hammer and chisel, clean the surface meticulously, and apply the tile adhesive using a notched trowel. Install the new tile, level it, and let it dry. Finish by grouting and sealing the spaces between the tiles. Remember, paying attention to details is crucial for an optimal outcome.
How to Fix a Chip in a Bathroom Tile
Chips in bathroom tiles can be effectively repaired by following these steps
Thoroughly clean the damaged area to eliminate dirt and debris.
Apply a colored epoxy resin to the chipped section, leveling it with the tile surface.
Allow the resin to dry for the specified time on the packaging.
Lightly sand the surface once dry to achieve a uniform finish.
Lastly, apply a water-resistant clear coating to safeguard the repair.
By adhering to these instructions, you can successfully repair the chip in the bathroom tile in a long-lasting and visually appealing manner.
Bathroom Tiles Repair Kit
A bathroom tiles repair kit comprises colored epoxy resins tailored for fixing cracks, chips, and minor damages on tiles. These kits generally contain all the necessary tools for a DIY project: epoxy resin, hardener, spatula, sandpaper, and detailed instructions. The repair process is straightforward: mix the resin with the hardener, apply it to the damaged area, level it with the spatula, and allow it to dry. Once hardened, the mended resin will be resistant to water and chemicals, effectively restoring the original look of bathroom tiles.
High quality transparent EVA glue sticks. Excellent adhesion to many substrates including wood, fabric, most plastics, ceramics and light gauge metals. Bonding time approximately 35 seconds. Compatible with Silverline Glue Guns (583333, 868815 & 100036). High quality transparent glue sticks For ceramics, glass, light gauge metals, wood, plastic, fabric & card Bonding time approximately 35 seconds
$6,95
Intense and brilliant color, ideal for Transparent Epoxy Resins. Mix small quantities to get a translucent effect. The high coverage of the “Colorful Original” range allows to obtain a full and bright color. The high concentration provides an opaque color with a few drops.
Usable to color the products of the RESIN PRO range.
💥 Ideal for epoxy creations and resin tables thanks to its features:
✔️ Intense colors
✔️ Easy to mix
✔️ Intense colors
✔️ High concentration
✔️ Easy to get a translucent effect
✔️ 5 stars on Trustpilot
🌿Cruelty Free, Vegan Friendly🐹
$16,00
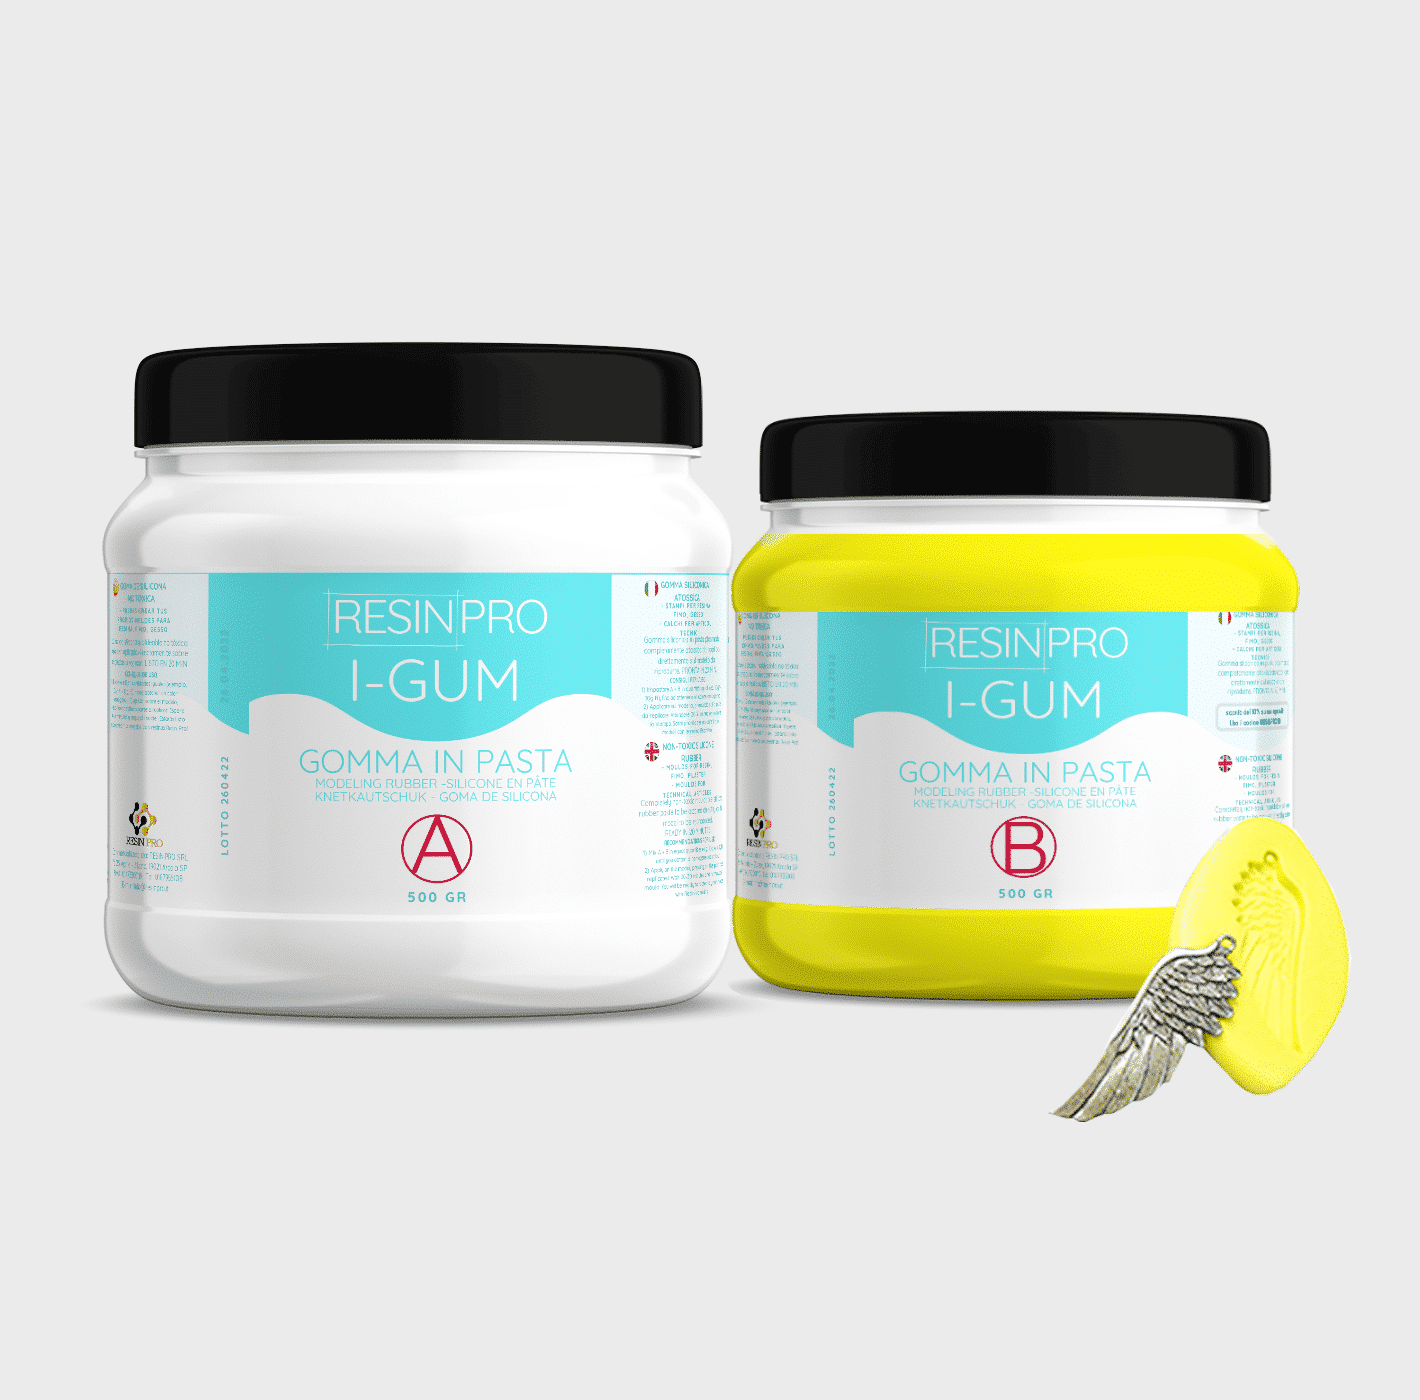
• "I-GUM" - Non-Toxic Silicone Rubber - Paste Form
Pasty silicone rubber "I-GUM" is a two–component product for creating moulds and forms for pouring with epoxy resin.
• Superior formula proven by years of experience:
✔️ Easy to use -> 1:1 mix ratio
✔️ Non-toxic -> You can work without gloves
✔️ Without smell
✔️ Long working time -> 20 minutes
✔️ European quality -> Directly from Italy
✔️ Ideal for creating moulds and frames for working with resin, polyurethanes, wax, cement and other materials
✔️ 🌿Cruelty Free, Vegan Friendly🐹
$22,00

Images
On sale
“Pure Mold” – Translucent Liquid Silicone Rubber for Mould Making, 1:1 Mix Ratio
Available, ready for shipping
Order now to receive your product between Wednesday, April 29 and Wednesday, May 6.
Shipping $16
Choose your kit:
Quantity
"Pure Mold" - Translucent Liquid Silicone Rubber for Mould Making, 1:1 Mix Ratio quantity
The kit: 1 KG (500 GR of A + 500 GR of B)
$52,95 Original price was: $52,95.$44,95Current price is: $44,95.-15%
💰 You save
$8.00
TRANSLUCENT AND FAST CASTING LIQUID SILICONE RUBBER FOR MOULDS
🧪【INNOVATIVE FORMULA】Create your moulds using PURE MOLD silicone rubber! Compatible with many materials including resins, plaster and cement. Its transparency will allow you to observe through the mould and its high mechanical characteristics make it a product suitable for both professional and hobby use.
💎【IMPECCABLE QUALITY】Guarantees the creation of resistant and detailed moulds that will last over time and will be reusable several times!
🌿【SAFE AND CERTIFIED】 100% Made in Italy, guaranteed by a Certificate of Non-toxicity and solvent-free and odorless, this rubber is configured as a safe and easy to use product!
⚙️【EASY TO USE】 Mixing ratio 1: 1; Hardness: 13 Shore; Catalysis in about 6-8 hours. The poly additive formula makes it more resistant than other silicones, allowing the creation of higher quality molds.
+ Easy mixing ratio 1:1
+ Less mould shrinkage over time
+ 30% longer service life
+ Fast (6-8H)
+ Translucent
+ Resistant
Good for:
epoxy resins,
polyester,
polyurethanes and acrylics,
cements and plasters.+ Liquid
🌿Cruelty Free, Vegan Friendly🐹
$44,00
 Free shipping on orders over €199,00