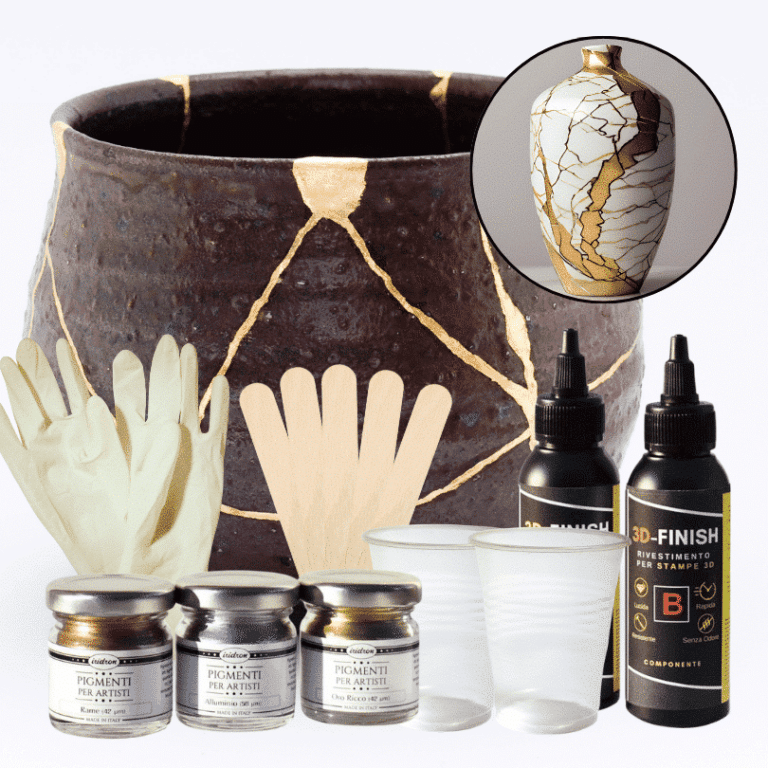
Kintsugi Repair Kit - Repair and Transform Your Ceramics with Elegance Celebrate imperfection with the ancient Japanese art Discover the traditional Japanese art of Kintsugi with our complete repair kit. Transform your broken ceramics into unique and fascinating works of art, highlighting imperfections with elegant gold, silver, or copper veins. Our kit is perfect for both beginners and experts, offering detailed instructions and everything you need to give new life and value to your most cherished items. 🌟 Specific epoxy resin (150g): slow catalysis to eliminate any bubbles or imperfections, allowing you to complete the work without rushing. 🎨 Dye of your choice (gold, copper, silver): customize your repair with a touch of elegance and refinement. ✨ Respect the tradition: follow the ancient art of Kintsugi and transform your ceramics into unique and precious treasures. The kit contains: 150g of resin for 3D decorations, 2 pairs of protective gloves, 2 mixing cups, and 5 spatulas for applying the resin, detailed instructions, everything you need in one kit. Give your ceramics a unique touch: repair them with style and make them even more beautiful. Buy the Kintsugi Repair Kit now and start creating your works of art today! Kintsugi Kit Instructions: Mix Resin: Measure 100A:50B by volume (or 100A:45B by weight) using a scale. Mix for 2 minutes, ensuring all surfaces are scraped. Add Colour: Mix your chosen metallic dye (gold, silver, or copper) into the resin to highlight the cracks. Prepare Surface: Ensure surfaces are clean, dry, and sanded. Apply Resin: Fill the cracks with the colored resin. Curing: Work in a temperature-controlled area, avoiding humidity. Safety: Wear protective gear.
$22,95
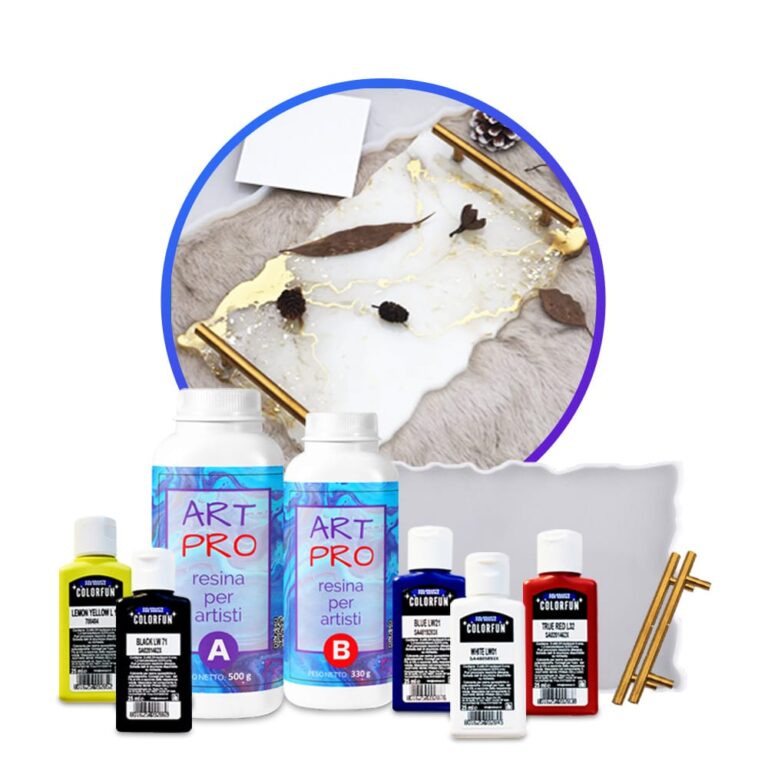
Creative Kit: Create your own resin tray! KIT INSTRUCTIONS This kit contains: 1.66 kg of epoxy resin Silicone mould "tray" + handles 5 dense dyes Spread out the plastic tarpaulin to protect the work surface. Make sure that the silicone mould is clean and all materials are at hand. Do not forget to wear disposable gloves and follow the safety instructions. Mix the epoxy resin according to the mixing ratio Art Pro 100: 66 – by weight) – 180 g A and 119 g B-for a filling thickness of 5 mm. Carefully weigh and mix both components for 3 minutes, making sure that all sides and bottom of the mixing container are included for effective mixing. Let the mixture stand for 2-3 minutes. Divide the resulting resin into separate containers for each colour you are going to use. Add resin-specific dyes to each container to get the desired shades. Mix thoroughly. Put the colours in one large container without mixing them, allowing them to stack on top of each other. Pour this mixture in layers into a mould for a dynamic abstract effect. In addition, you can pour each colour into different places of the mould according to your design concept. After 24 hours, you can remove the resin tray. After another 12-24 hours (the resin reaches full strength), you can make your tray workable by using the screws included in the kit to attach the tray handles. Drill the holes in the tray, then secure the handles with screws. Geodetic effect- To get the geode effect when casting, use the layering technique. Divide the mixed resin into separate containers for each colour you are going to use + one part with transparent resin and one white. Start by pouring clear resin into the center of the mould. Then alternate layers of white and transparent resin with coloured resin, allowing them to spread naturally. Finish by adding the last layer of transparent resin for a beautiful 3D effect. Let it harden to reveal a stunning geodesic-inspired design. Other ideas: Ocean Art Resin Tray: Capture the beauty of the ocean using different shades of blue and white resin, adding a few shells or a small starfish for an authentic nautical feel. Real Pressed Flowers: Add real dried flowers or leaves to the resin to create a natural and timeless look. Gold leaf Accents: Use a gold or metal sheet to add a touch of luxury to your tray.
$78,49
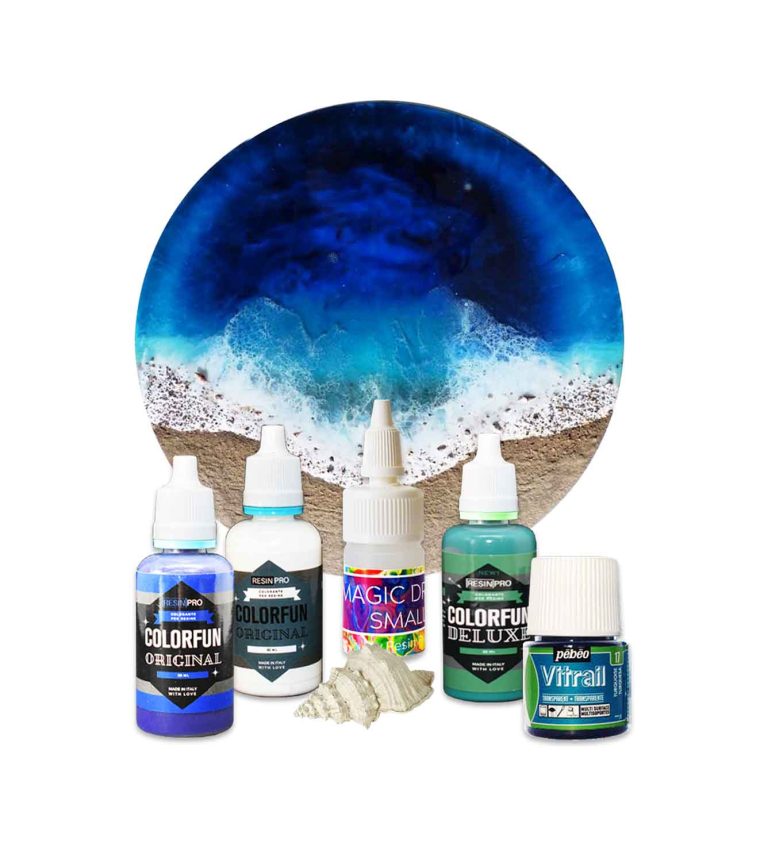
Create your personalized Sea Wave Effect! The ideal kit for creating cup coasters, geodes, “Ocean Art” style paintings and artistic coatings of all kinds, creating a natural sea wave effect. The “Ocean Art” KIT includes colours, pigments, additives and a non-toxic powder that reacts with wet epoxy resins by repelling itself away, thereby stimulating movement in concentric outward circles and waves. Creates cells and waves in resin art Safe & user-friendly Odourless Non-toxic & non-flammable Zero-VOC formula with no harsh chemical ingredients, solvents or alcohol-based ink Ideal for Ocean Resin Art The “Ocean Art” KIT includes: "Colorfun Deluxe" white colouring paste 30 ml "Colorfun Deluxe" Blue colouring paste 30 ml "Colorfun Deluxe" True Green colouring paste (Gradient green) 30 ml "Pebeo" Turquoise Semitransparent liquid pigment 45 ml "Magic Drops Small" liquid additive 15 ml How to use: Prepare about 300 gr [0,66 lb] of resin and, after mixing it well, divide it into 7 parts. Colour each part with the different pigments included in the kit (blue, opal green, white, turquoise, rich gold). Then use the “Pebeo” Turquoise pigment with two small glasses, and proceed as follows: pour a drop in the first glass and 2/3 in the second. In this way you will be able to perfectly recreate the sea-depth effect, giving an increasingly darker shade depending on the distance from the point where you will paint the coast. Then pour the darker resin in the farthest point from the "shore" (which you can create with a piece of wood or with sand) approaching the "coast" with increasingly transparent resin. In this way you will get a more gradual colouring that will give your creation the depth effect. Now apply the sand or wood, securing them with a layer of transparent resin. With the white pigment, draw thin lines in the shape of a wave which you will then “inflate” using a hairdryer or a straw. Then apply the golden pigment on the "sand" to give a final touch and shine. At this point, touch up your resin with “Magic Drops SMALL” by mixing it with the white pigment and applying it on the resin surface by pouring or dripping. Remove any residues or greasiness with alcohol or acetone, once the resin has catalysed. To get the best effect, we recommend to use “Art Pro” or “Art Pro Deluxe” epoxy resin (high viscosity). https://youtu.be/ZbgKRgRfjaI
$19,95
• "Art Pro Deluxe" non-toxic ultra-high viscosity epoxy resin for artists. The best choice for Resin and Geode-art, making Coasters, Trays, Ocean-art, jewellery and casting surfaces. + gloves & detailed instruction for FREE. • Beloved by many artists around the world: ✔️ ULTRA HIGH viscosity -> easy control lines in resin and geode- art (coasters, trays, paintings) ✔️ Amazing glossy and self-levelling surface ✔️ High scratch resistance -> ideal for finish layers and use for coasters and trays ✔️ UV filter for protection against yellowing -> 10 years warranty ✔️ Safe and Certified -> Non-toxic, Solvent-free, non-flammable, and totally safe ✔️ High transparency -> a true liquid crystal ✔️ Easy to use -> fast curing time (1st stage - 10-12h; 2nd - 18h) ✔️ Trusted quality -> Thousands customers since 2015 Check and tag our social media for inspiration! We always happy to publish your art-work –Instagram Logo Icon - Download in Gradient Style 🌿Cruelty Free, Vegan Friendly🐹
$41,00
Adding Gold Leaf to Epoxy Resin
The technique of incorporating gold leaf into epoxy resin is a beloved decorative method within the DIY and crafting community. To achieve this elegant effect, delicately place thin gold leaves onto a layer of liquid resin that serves as both an adhesive and a protective coating. Follow this by adding another layer of resin to fully encapsulate the gold leaf, creating a stunning translucent and luminous finish. While this process demands precision and patience, the end result is a one-of-a-kind and visually striking piece, perfect for jewelry, home decor, and artistic projects.
How to Include Dry Leaves in Epoxy Resin
To embed dry leaves in epoxy resin, carefully adhere to the following steps
- Leaf Preparation: Ensure the leaves are thoroughly dried to prevent air bubbles in the resin.
- Resin Selection: Opt for a transparent, self-leveling epoxy resin suitable for embedding objects.
- Resin Application: Pour a thin layer of resin into your chosen mold and allow it to slightly cure.
- Leaf Placement: Arrange the dry leaves on the resin layer as desired.
- Sealing with More Resin: Cover the leaves with an additional layer of resin, ensuring full immersion.
- Curing and Finishing: Allow the resin to cure following the manufacturer's guidelines and proceed with the final finish. By following these steps, you can successfully craft resin art featuring embedded dry leaves.
Designing Jewelry with Resin and Leaves
Crafting jewelry with resin and leaves is a captivating and inventive process. Here's how you can do it:
Collect flat and dry leaves.
Prepare the resin by mixing it with the catalyst according to the manufacturer's instructions.
Fill molds with a thin layer of resin.
Arrange the leaves in the desired sequence on the liquid resin.
Cover the leaves entirely with more resin.
Allow it to dry based on the recommended curing times. Once solidified, remove the jewelry from the molds and polish them for a dazzling and distinctive outcome.
Decorative Techniques with Leaves and Resin
Decorating with leaves and resin techniques is widely popular in the DIY and crafting realm. Here are steps to create unique decorations:
Gather flat and dry leaves.
Prepare epoxy resin following the manufacturer's directions and incorporate any desired colors or pigments.
Harmoniously arrange the leaves on a chosen support like a vase or frame.
Evenly pour resin over the leaves, ensuring complete coverage.
Allow it to dry according to the recommended curing times. This method enables the creation of personalized and original decorations using natural leaves and transparent resin.
Intense and brilliant color, ideal for Transparent Epoxy Resins. Mix small quantities to get a translucent effect. The high coverage of the “Colorful Original” range allows to obtain a full and bright color. The high concentration provides an opaque color with a few drops.
Usable to color the products of the RESIN PRO range.
💥 Ideal for epoxy creations and resin tables thanks to its features:
✔️ Intense colors
✔️ Easy to mix
✔️ Intense colors
✔️ High concentration
✔️ Easy to get a translucent effect
✔️ 5 stars on Trustpilot
🌿Cruelty Free, Vegan Friendly🐹
$16,00
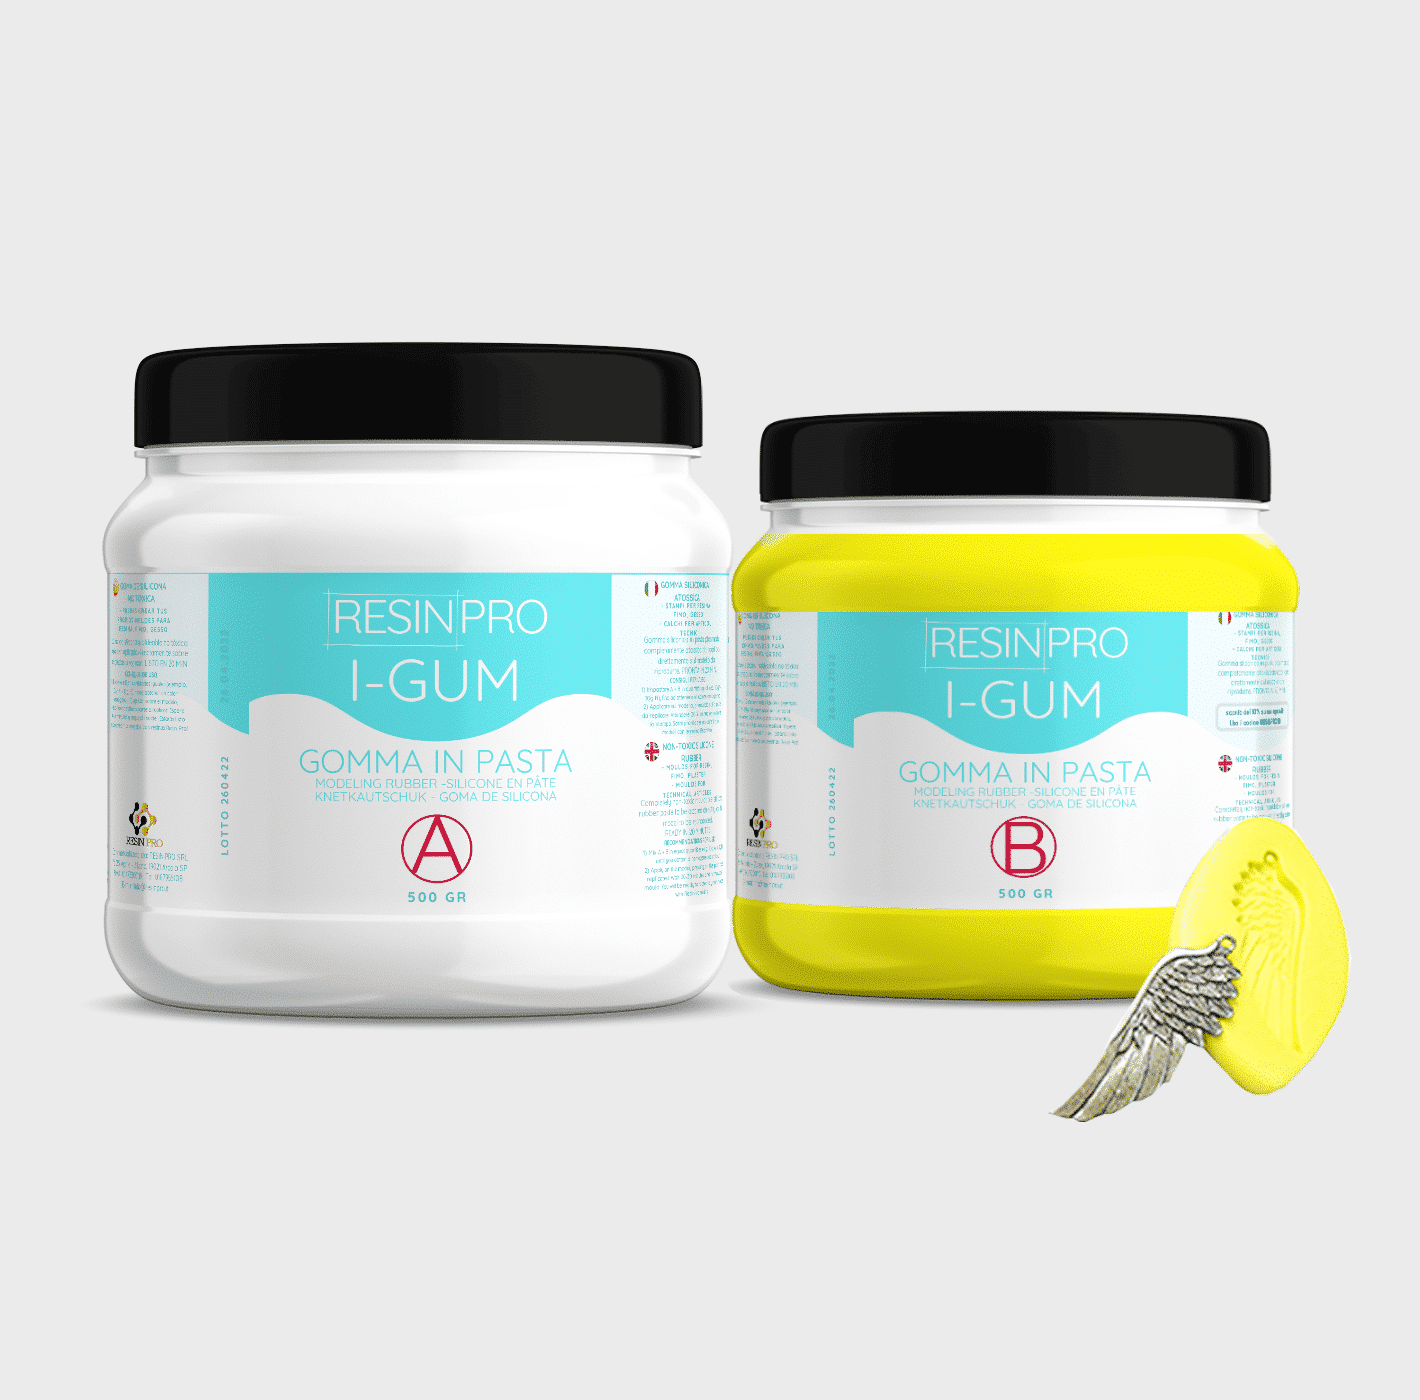
• "I-GUM" - Non-Toxic Silicone Rubber - Paste Form
Pasty silicone rubber "I-GUM" is a two–component product for creating moulds and forms for pouring with epoxy resin.
• Superior formula proven by years of experience:
✔️ Easy to use -> 1:1 mix ratio
✔️ Non-toxic -> You can work without gloves
✔️ Without smell
✔️ Long working time -> 20 minutes
✔️ European quality -> Directly from Italy
✔️ Ideal for creating moulds and frames for working with resin, polyurethanes, wax, cement and other materials
✔️ 🌿Cruelty Free, Vegan Friendly🐹
$22,00

Images
On sale
“Pure Mold” – Translucent Liquid Silicone Rubber for Mould Making, 1:1 Mix Ratio
Available, ready for shipping
Order now to receive your product between Wednesday, April 29 and Wednesday, May 6.
Shipping $16
Choose your kit:
Quantity
"Pure Mold" - Translucent Liquid Silicone Rubber for Mould Making, 1:1 Mix Ratio quantity
The kit: 1 KG (500 GR of A + 500 GR of B)
$52,95 Original price was: $52,95.$44,95Current price is: $44,95.-15%
💰 You save
$8.00
TRANSLUCENT AND FAST CASTING LIQUID SILICONE RUBBER FOR MOULDS
🧪【INNOVATIVE FORMULA】Create your moulds using PURE MOLD silicone rubber! Compatible with many materials including resins, plaster and cement. Its transparency will allow you to observe through the mould and its high mechanical characteristics make it a product suitable for both professional and hobby use.
💎【IMPECCABLE QUALITY】Guarantees the creation of resistant and detailed moulds that will last over time and will be reusable several times!
🌿【SAFE AND CERTIFIED】 100% Made in Italy, guaranteed by a Certificate of Non-toxicity and solvent-free and odorless, this rubber is configured as a safe and easy to use product!
⚙️【EASY TO USE】 Mixing ratio 1: 1; Hardness: 13 Shore; Catalysis in about 6-8 hours. The poly additive formula makes it more resistant than other silicones, allowing the creation of higher quality molds.
+ Easy mixing ratio 1:1
+ Less mould shrinkage over time
+ 30% longer service life
+ Fast (6-8H)
+ Translucent
+ Resistant
Good for:
epoxy resins,
polyester,
polyurethanes and acrylics,
cements and plasters.+ Liquid
🌿Cruelty Free, Vegan Friendly🐹
$44,00
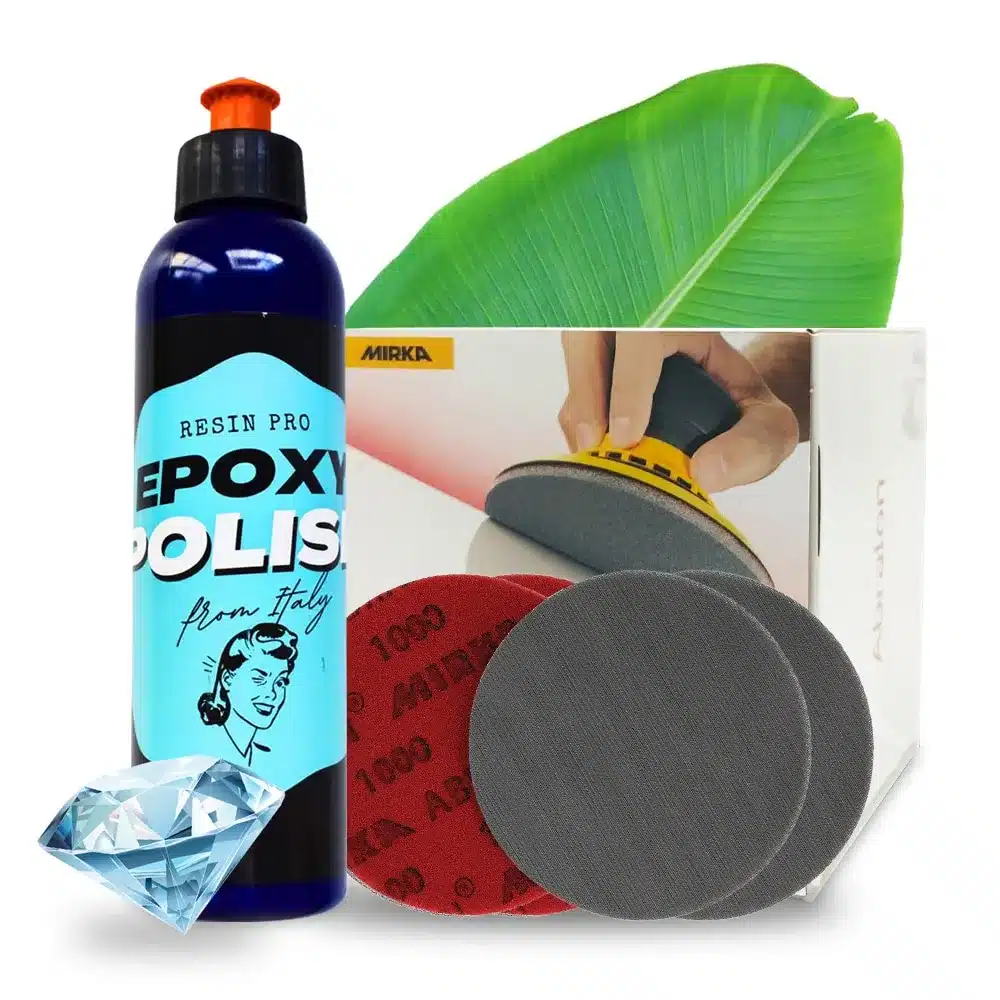
Great way to add some glossy finish to your epoxy project!
Was made especially for resin world.
Resin Pro offers the possibility to achieve a perfect polishing by using different types of abrasive pastes.
It can be used by hand or with an orbital polisher to make your resin creations shiny.
$36,00
 Free shipping on orders over €199,00
  Shipping Tracking!


 Google
 Facebook