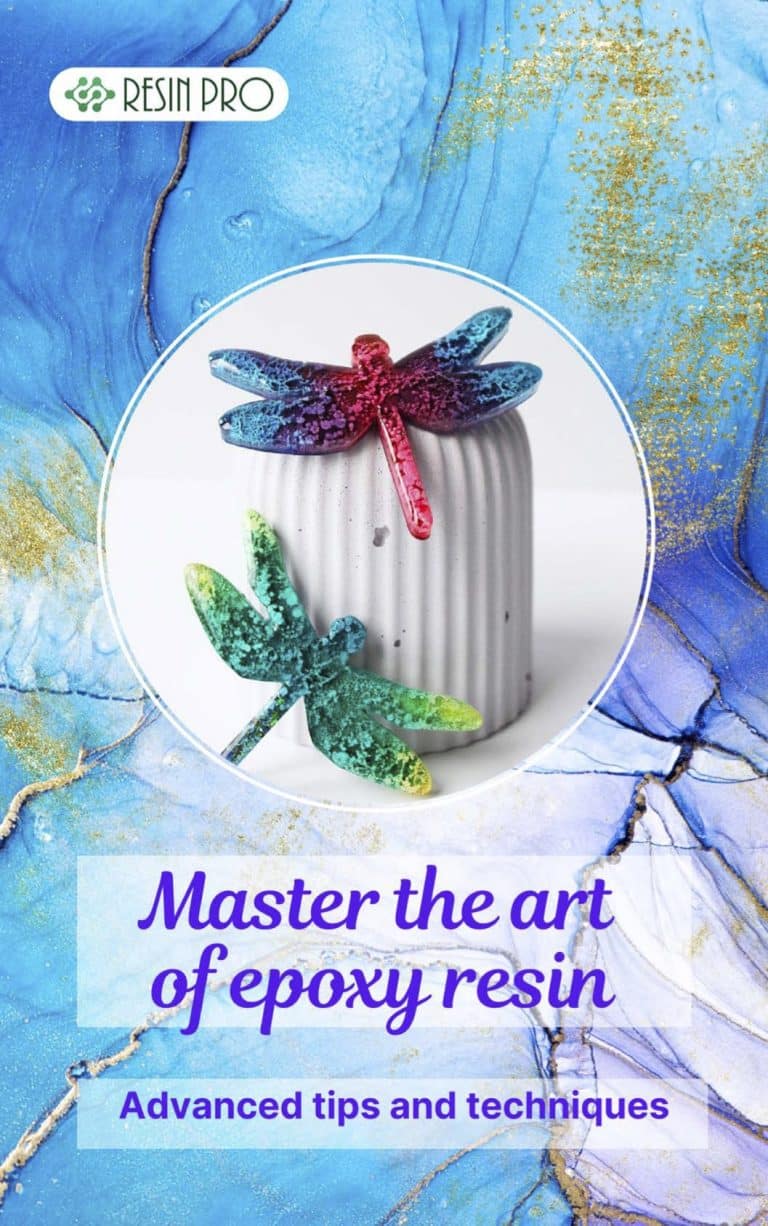
Discover the captivating world of epoxy resin with our e-book "Mastering the Art of Epoxy Resin: Tips and Advanced Techniques." Whether you're a passionate artist, an experienced DIYer, or looking to express your creativity, this book will guide you in learning and mastering this versatile technique. This comprehensive e-book offers an in-depth opportunity to learn advanced epoxy resin manipulation techniques. You'll uncover the secrets of harmonious blends, vibrant pigments, and flawless finishes to create unique works of art. Additionally, our practical tips will help you avoid common mistakes and overcome challenges encountered when working with this fascinating material. Whether you want to create epoxy resin jewelry, make stunning paintings, or design unique decorative objects, this e-book will be your essential companion. Unleash your creativity and master the art of epoxy resin with our expert advice and detailed instructions. Download "Mastering the Art of Epoxy Resin: Tips and Advanced Techniques" now to uncover the secrets of this versatile artistic method. Develop your artistic skills and create one-of-a-kind pieces that will captivate your friends and family. Don't miss this opportunity to become an epoxy resin expert and make your artistic mark
$21,95
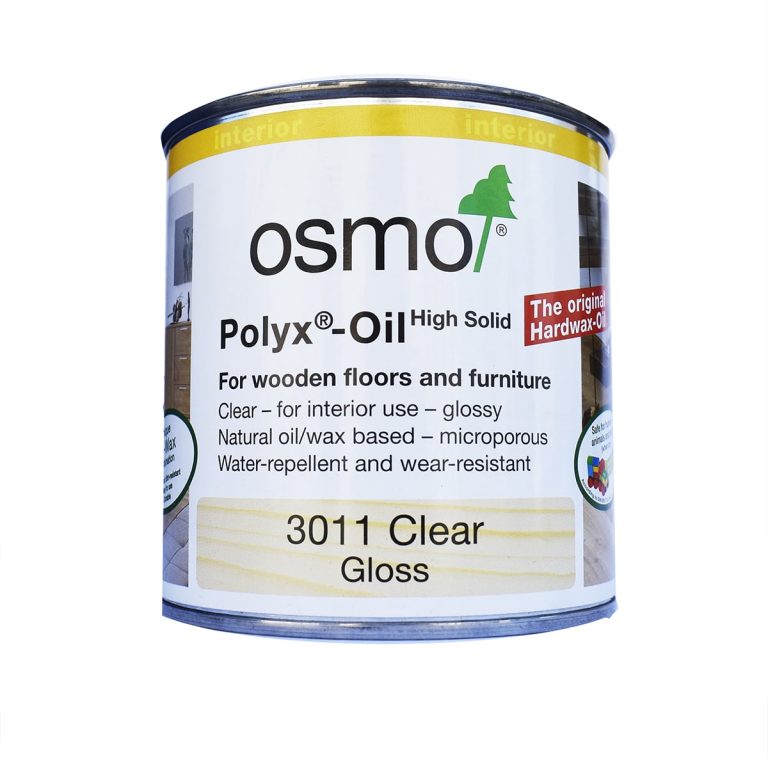
Osmo Hard-Oil-Wax is a general-purpose resin and wood finish derived from natural plant oils and waxes. Resistant to water, dirt, beer, wine, cola and saliva, Osmo Hard-Oil-Wax is microporous and molecularly bonds with the wood, thereby it does not crack, flake or peel. The new advanced formula of Osmo Hard-Oil-Wax has been specially elaborated in Germany to be the first Osmo Hard-Oil-Wax on the European market that can be easily applied with a brush or a roller, no buffing is necessary! It can be used for spot repair and/or restoration/renovation without the need to sand, therefore resin or wood will no longer need complete sanding and refinishing. Clear glossy wood/epoxy finish, which uniquely combines all the advantages of oils and waxes in one product. Osmo-Polyx - Oil Original gloss is resistant to water, dirt and abrasion, and it smoothens any wood surface. Suitable for wood and epoxy resin; microporous surface does not crack, flack or peel. Resistant to wine, beer, cola, coffee, tea, fruit juice, milk and water according to DIN 68861-1A- no water spots. When dry, finish is safe for people, animals and plants and it is also suitable for toys as per EN 71-3 (European norm) and is saliva resistant and sweat-resistant according to DIN 53160 (German industry standard). Recommended use: Osmo Polyx - Oil Original is perfect for the protection of all surfaces and wooden floors, such as solid wood, planks, strips, OSB and cork flooring, as well as furniture surfaces. Ingredients: Based on natural plant oils and paraffin, desiccants and hydrophobing agent. Dearomatized turpentine (benzene-free). EU limit value for this product (cat.A/i): 500 g/l [0,03 lb/oz] VOC (2010). This product contains max. 500 g/l [0,03 lb/oz] VOC. Detailed declaration of ingredients available upon request. Storage: up to 5 years and longer if the can is stored in a dry place and hermetically sealed. Surface preparation: wood and epoxy resin surface must be clean, dry and frost-free (moisture content max. 18%). Osmo Polyx Oil Original is ready to use and should not be diluted. Stir well before use. Clean old microporous stains thoroughly. Old paints and lacquers must be completely removed. As a general rule, wear a dust mask during sanding. Sand wood or epoxy surfaces carefully. Begin with coarse sandpaper – for final sanding use P.120-150, for broom or vacuum. The final result may be influenced by several factors, including the natural features of the wood. Therefore, a trial application is always recommended, especially for unfamiliar timbers. ADVANTAGES Extremely long-lasting and hardwearing Highly resistant to water and dirt Enhances the natural wood characteristics Resistant to common liquids such as water, juice, tea, cola and wine Saliva resistant and sweat-resistant, suitable for toys Microporous breathable finish which does not crack, peel or flake No need to sand for spot repairs or future applications TECHNICAL DATA Approx. coverage: 24 m²/L [7,63 ft²/oz] with one coat No. of coats: 2 coats Application temperature: +5°C to 35°C [41 F to 95 F] Drying time: 8-10 hrs. Sizes: 0.375 L [13,19 oz] Viscosity 95-240 mPas Specific weight: 0.88-0.95 g/cm3 [0,03 lb/in3] Methods of Applications: with Osmo Flat Brush, Floor brush, Oil Finish Applicator Fleece (Hand Pad Holder) or Microfibre Roller, thinly apply to the clean and dry surface along the grain and distribute well. Let it dry for approx. 8-10 hours under good ventilation. Once dry, quickly apply a second thin coat. When renovating or recoating an already oiled surface, one coat applied to the clean and dry surface is usually enough. WARNINGS: During processing, use protective masks, gloves, and other protective clothing. In case of contact with eyes, immediately rinse with cold water for 15 minutes and immediately consult a doctor.
$35,99
⚙️ In the world of resins: Used to remove surface bubbles from resin mixtures, if applied in drops on top of resin already mixed with mica pigments, it will create fantastic cells with very beautiful degradation and colour mixing. 💦 As a remedy for removing the formation of bubbles: By applying it to the inner surface of silicone moulds with a spray gun, you will remove bubbles on resin parts. 🎨 A multi-purpose product, ideal for: To remove bubbles from epoxy resin mixtures. To create the effect of craters and cells, it is applied to a mixture of epoxy resins with mica pigments. Solvent for coatings or for non-polar industrial processes. As a cleaning agent, it is highly recommended for cleaning electronic devices, LCD displays, DVDs… To remove stains from most fabrics, wood, cotton, etc... To remove oil-based paint residues for reuse. As a moisturiser in lithographic printing. A solvent for polishing varnish used in joinery. If you want to create beautiful effects on countertops, floors and surfaces, as well as easily remove bubbles in your resin products, then this is your product. Pure 99.9% Isopropyl Alcohol Resin Pro, also known as 2-propanol or isopropanol, is used as an electrical contact cleaner among many other applications. Trade Name: Medical ALCOHOL In the resin world, it is used to remove surface bubbles from mixtures, and when applied in drops over resin mixed with mica pigments, cells are formed. APPLICATION: For cleaning electronic components: Apply the product directly to the equipment, let it dry at room temperature or accelerate drying by applying compressed air, and finally reassemble the equipment. Do not use while the equipment is on. PRECAUTIONS: View the safety tab. Isopropyl alcohol in the vapor state is denser than air and is highly flammable, giving a very wide range of fuels. It should be kept away from sources of heat and fire. CHARACTERISTICS, PHYSICAL AND CHEMICAL PROPERTIES: Physical condition: Colourless liquid, very volatile Attention! Safety Guidelines for Using Isopropyl Alcohol (99.9%) Isopropyl alcohol (IPA) is a highly flammable substance. Improper use—especially near heat sources like torches or heat guns—can result in fire or explosion. To ensure safe use, follow these precautions: Primary Risks Highly flammable: IPA vapors can ignite from sparks, open flames, or hot surfaces. Forms explosive vapor-air mixtures, especially in enclosed or poorly ventilated spaces. Strictly Prohibited: Using gas torches or heat guns near areas treated with IPA. Spraying IPA near active heat sources. Storing IPA near flames, heaters, or hot tools. Recommended Safety Measures: 1. Ventilation: Always work in a well-ventilated area when using IPA. 2. Wait Time: After applying IPA, wait at least 5–10 minutes to allow complete evaporation before using any heat tools. 3. Safe Distance: Keep IPA containers at least 2 meters (6 feet) away from heat or flame sources. 4. Storage: Store IPA in a tightly sealed container, away from direct sunlight or high temperatures. 5. Fire Safety: Have a CO₂ or dry chemical fire extinguisher nearby when working with flammable substances and open flames. In Case of Fire: Do not use water to extinguish the fire. Use an appropriate extinguisher, cut off air supply if safe, and call emergency services if needed.
$14,08
Most Common Mistakes in Microcement Application
Avoiding the most common mistakes in microcement application is crucial for achieving a flawless final result and ensuring the durability of the coating. Here are some essential points to consider to prevent issues during the installation process:
Surface Preparation
Ensuring that the surface is clean, dry, smooth, and free from dust, grease, or other contaminants is vital. Inadequate preparation can impact the adhesion of the microcement.
Base Layer Application
Follow the manufacturer's guidelines for preparing and applying the base layer. Irregular thickness or uneven application can result in cracks or detachment.
Drying Time
Respecting the specified drying times between layers is essential. Applying microcement on a still damp layer can lead to adhesion and drying problems.
Decorative Layer Application:
Applying the microcement evenly and without interruptions during application is key to avoiding color discrepancies or irregularities in the finish.
Sealing:
After applying the microcement, ensure proper sealing of the surface to protect it from moisture, stains, and wear. Use specific sealants designed for microcement.
By diligently following these recommendations and working with precision, you can steer clear of the most common mistakes in microcement application and achieve a long-lasting, high-quality final outcome.
How to Avoid Common Errors during Microcement Application
To prevent common errors during microcement application, it is crucial to adhere closely to the procedures and recommendations provided by manufacturers. Here are some useful tips to help you navigate the process successfully:
Surface Preparation:
Ensure that the surface is clean, dry, and free from dust, grease, or other residues. Check for cracks or imperfections that could affect the adhesion of the microcement.
Primer Application:
Use the recommended primer to enhance the adhesion of the microcement to the surface. Follow the manufacturer's instructions regarding dosage and drying times.
Mixing and Application of Microcement:
Maintain the correct mixing proportions between powder and liquid to avoid consistency issues. Apply the microcement in thin, uniform layers to prevent excessive material buildup.
Sanding and Sealing:
After application, conduct thorough sanding to achieve a smooth, uniform surface. Apply a protective layer of sealant to safeguard the microcement from wear, stains, and moisture.
Maintenance:
Follow the manufacturer's maintenance instructions for the proper care of the microcement floor. Avoid using harsh products that could damage the coating.
By meticulously following these guidelines and working with care and precision, you can steer clear of common errors during microcement application and achieve professional-quality results.
Importance of Correct Microcement Application
The correct application of microcement is paramount in ensuring a durable, high-quality final result over time. Here's why it matters:
Optimal Adhesion:
Proper surface preparation and precise application of microcement ensure optimal adhesion to the substrate, preventing detachment and cracks over time.
Waterproofing:
Correct microcement application guarantees a waterproof coating, ideal for areas exposed to water such as bathrooms and kitchens.
Resistance and Durability:
Applying microcement correctly with uniform, compact layers enhances resistance to wear, chemicals, and mechanical stress.
Impeccable Aesthetics:
Precise microcement application results in a smooth, seamless surface without visible joints, providing a modern and elegant aesthetic.
Ease of Maintenance:
With correct application, microcement is easier to clean and maintain over time, reducing the need for repairs or replacements.
In summary, precise microcement application is essential for achieving a superior aesthetic and functional outcome that caters to both the visual and practical requirements of the treated surfaces.
Consequences of Improper Microcement Application
Improper microcement application can lead to various undesirable consequences that jeopardize the appearance and durability of the coating. Here are some issues that may arise from incorrect microcement application:
Cracking:
Incorrect application can result in surface cracks and fissures caused by excessive thickness, improper material mixing, or inadequate surface preparation.
Delamination:
Poor adhesion of microcement to the underlying support can lead to delamination, where the microcement layer detaches from the base due to insufficient surface cleaning or residual moisture.
Stains and Smudges:
Incorrect application may result in the formation of stains, smudges, or irregularities on the surface due to uneven material spread or inadequate drying between layers.
Premature Wear:
Without proper post-application sealing, the surface may experience excessive wear and damage from daily use. Inadequate maintenance can further compromise the long-term durability of the coating.
To avoid these consequences, it is crucial to engage qualified professionals for microcement application, diligently follow the manufacturer's instructions, accurately prepare the surface, apply microcement layers uniformly, and seal the coating to ensure protection and longevity.
Intense and brilliant color, ideal for Transparent Epoxy Resins. Mix small quantities to get a translucent effect. The high coverage of the “Colorful Original” range allows to obtain a full and bright color. The high concentration provides an opaque color with a few drops.
Usable to color the products of the RESIN PRO range.
💥 Ideal for epoxy creations and resin tables thanks to its features:
✔️ Intense colors
✔️ Easy to mix
✔️ Intense colors
✔️ High concentration
✔️ Easy to get a translucent effect
✔️ 5 stars on Trustpilot
🌿Cruelty Free, Vegan Friendly🐹
$16,00
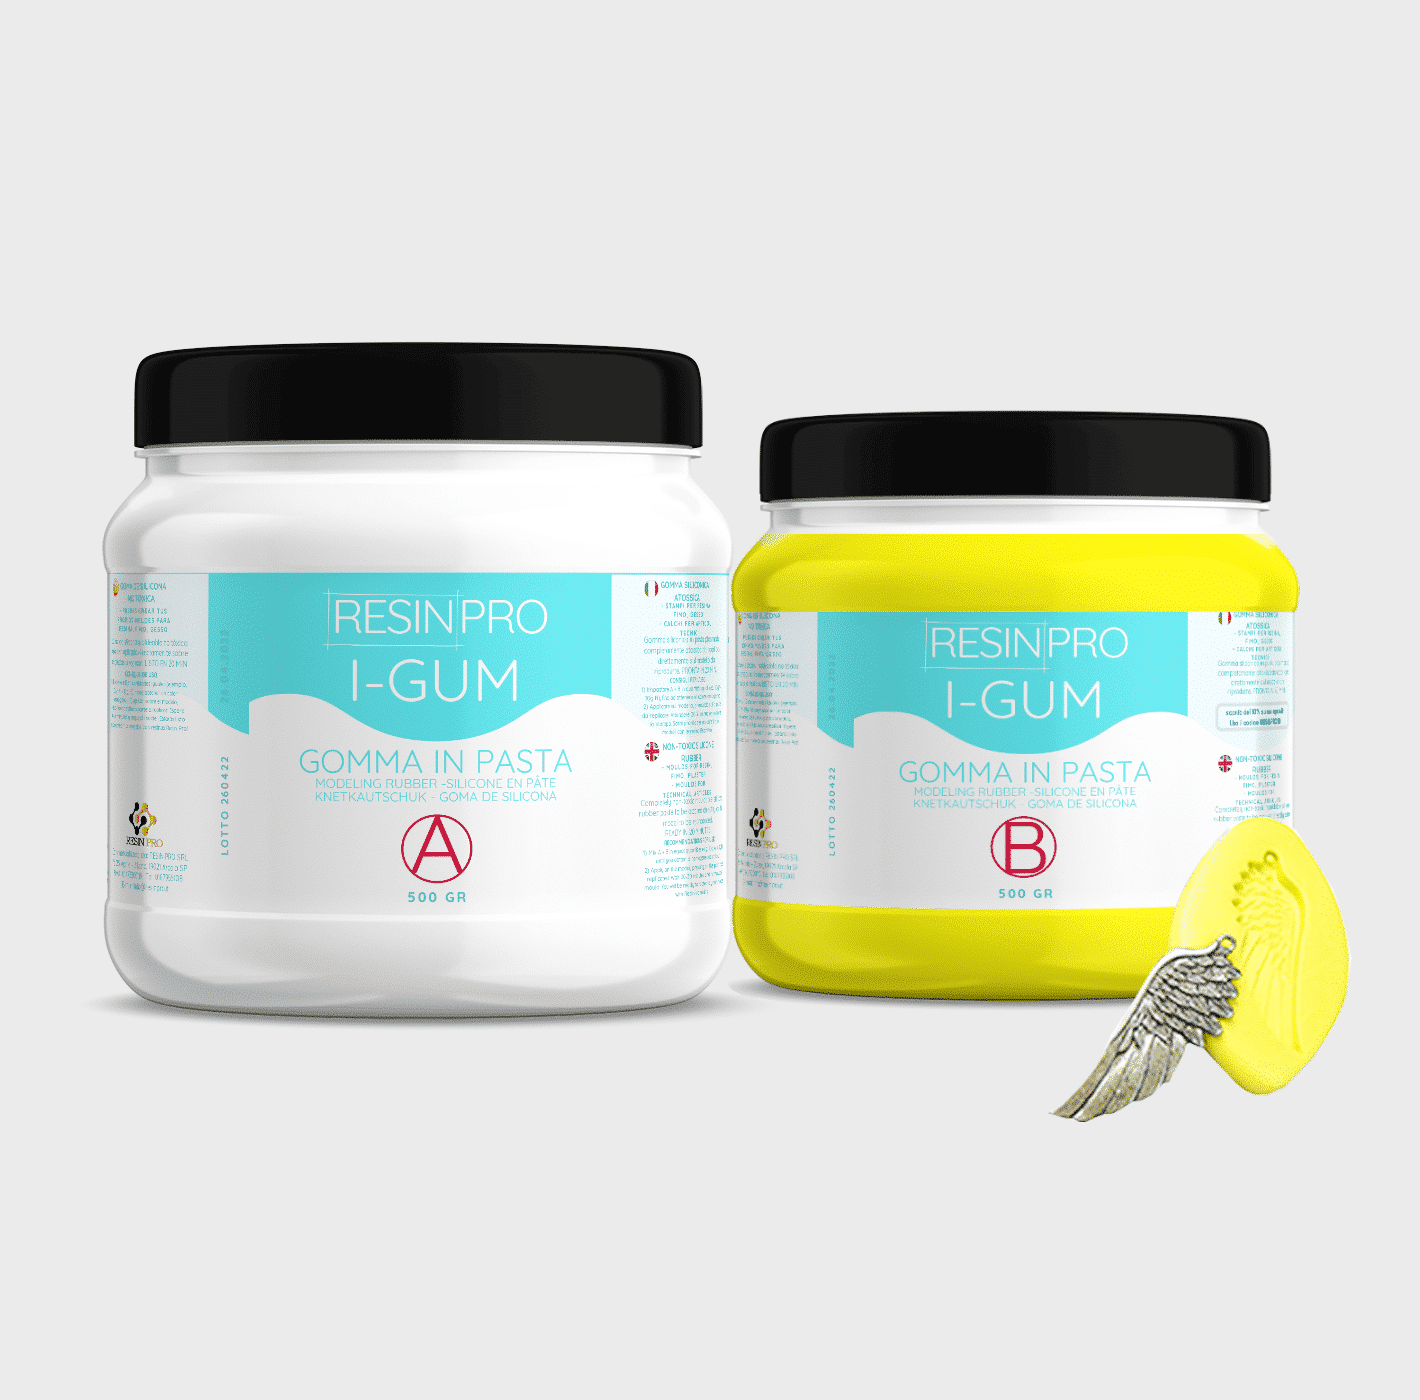
• "I-GUM" - Non-Toxic Silicone Rubber - Paste Form
Pasty silicone rubber "I-GUM" is a two–component product for creating moulds and forms for pouring with epoxy resin.
• Superior formula proven by years of experience:
✔️ Easy to use -> 1:1 mix ratio
✔️ Non-toxic -> You can work without gloves
✔️ Without smell
✔️ Long working time -> 20 minutes
✔️ European quality -> Directly from Italy
✔️ Ideal for creating moulds and frames for working with resin, polyurethanes, wax, cement and other materials
✔️ 🌿Cruelty Free, Vegan Friendly🐹
$22,00

Images
On sale
“Pure Mold” – Translucent Liquid Silicone Rubber for Mould Making, 1:1 Mix Ratio
Available, ready for shipping
Order now to receive your product between Wednesday, April 29 and Wednesday, May 6.
Shipping $16
Choose your kit:
Quantity
"Pure Mold" - Translucent Liquid Silicone Rubber for Mould Making, 1:1 Mix Ratio quantity
The kit: 1 KG (500 GR of A + 500 GR of B)
$52,95 Original price was: $52,95.$44,95Current price is: $44,95.-15%
💰 You save
$8.00
TRANSLUCENT AND FAST CASTING LIQUID SILICONE RUBBER FOR MOULDS
🧪【INNOVATIVE FORMULA】Create your moulds using PURE MOLD silicone rubber! Compatible with many materials including resins, plaster and cement. Its transparency will allow you to observe through the mould and its high mechanical characteristics make it a product suitable for both professional and hobby use.
💎【IMPECCABLE QUALITY】Guarantees the creation of resistant and detailed moulds that will last over time and will be reusable several times!
🌿【SAFE AND CERTIFIED】 100% Made in Italy, guaranteed by a Certificate of Non-toxicity and solvent-free and odorless, this rubber is configured as a safe and easy to use product!
⚙️【EASY TO USE】 Mixing ratio 1: 1; Hardness: 13 Shore; Catalysis in about 6-8 hours. The poly additive formula makes it more resistant than other silicones, allowing the creation of higher quality molds.
+ Easy mixing ratio 1:1
+ Less mould shrinkage over time
+ 30% longer service life
+ Fast (6-8H)
+ Translucent
+ Resistant
Good for:
epoxy resins,
polyester,
polyurethanes and acrylics,
cements and plasters.+ Liquid
🌿Cruelty Free, Vegan Friendly🐹
$44,00
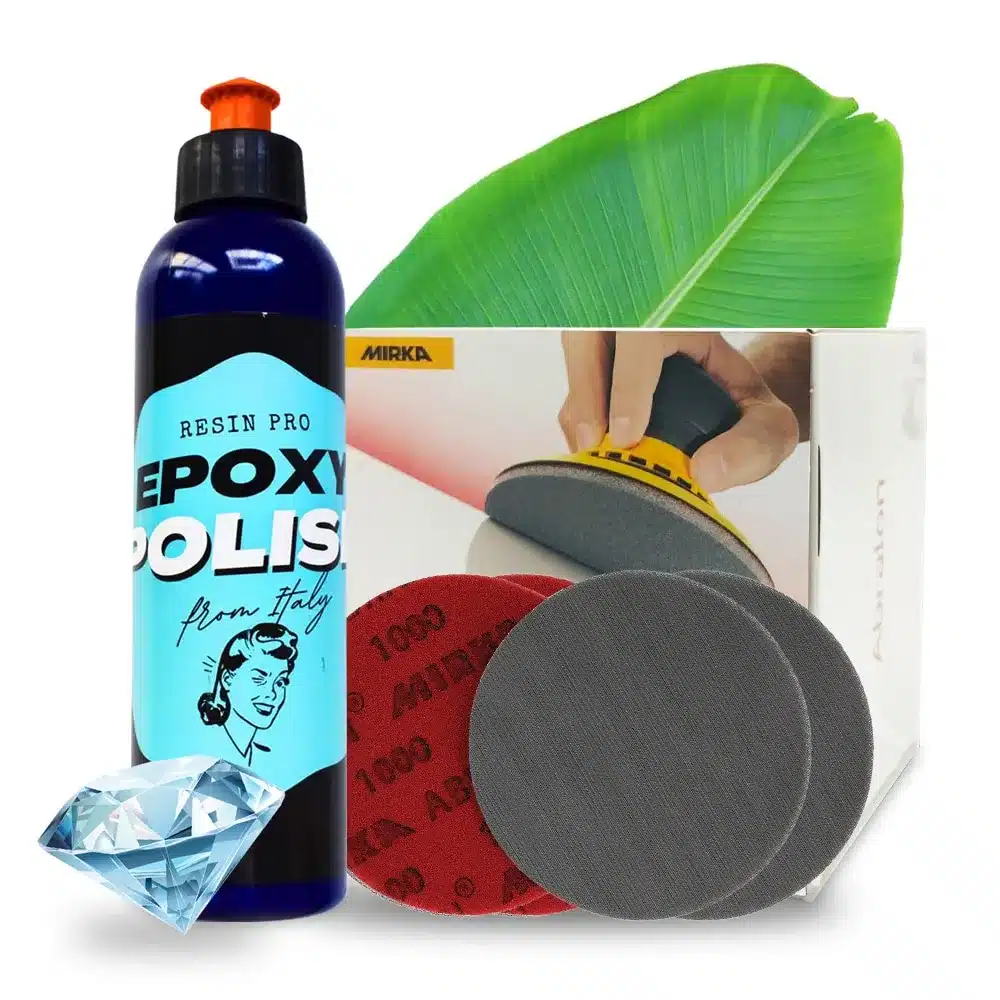
Great way to add some glossy finish to your epoxy project!
Was made especially for resin world.
Resin Pro offers the possibility to achieve a perfect polishing by using different types of abrasive pastes.
It can be used by hand or with an orbital polisher to make your resin creations shiny.
$36,00
 Free shipping on orders over €199,00