 Free shipping on orders over €199,00
  Shipping Tracking!


 Google
 Facebook


Non-Slip Wood Paint
Non-slip wood paints are specifically formulated products designed to improve the safety of wooden surfaces by reducing the risk of slips and falls. These paints typically contain abrasive particles or special additives that create a rough, non-slip surface on wood. Applying non-slip paint to wooden floors, decks, stairs, or other wooden areas can effectively enhance safety, especially in environments prone to moisture or slippery conditions. It is crucial to carefully adhere to the manufacturer's instructions for a proper and durable application.
Transparent Epoxy Resin for Wood
Transparent epoxy resin is a resilient and long-lasting coating that offers excellent protection against scratches, moisture, and weathering for wood surfaces. This type of resin is perfect for preserving the natural beauty of wood, allowing its aesthetic qualities to shine through. With its transparency, epoxy resin accentuates the wood's grain and nuances, providing a sophisticated and natural appearance to the treated surface. Its chemical resistance makes it a suitable choice for both indoor and outdoor applications, ensuring lasting protection.
How to Protect Wood with Epoxy Resin
To effectively protect wood with epoxy resin, follow these steps
- 1. Prepare the wood: Ensure the wood is clean, dry, and free from any impurities.
- 2. Mix the epoxy resin: Follow the manufacturer's instructions and mix the resin with the hardener.
- 3. Apply the resin: Evenly spread the resin on the wood using a brush or roller.
- 4. Remove air bubbles: Use a gas torch to eliminate any air bubbles on the surface.
- 5. Let it dry: Allow the resin to dry completely for the specified time.
- 6. Apply additional layers if needed: Add extra layers of resin for enhanced protection.
- 7. Let it cure: Allow the resin to cure fully following the manufacturer's instructions.
By meticulously following these steps, you can ensure effective protection of wood with epoxy resin.
Guide to Crafting a Resin and Wood Table
To craft a resin and wood table, follow these guidelines:
- 1. Prepare the wood: Cut and sand the wood into the desired shape.
- 2. Protect the edges: Seal the wood edges with tape to prevent resin leakage.
- 3. Mix the resin: Follow the manufacturer's instructions, add colors or pigments if desired.
- 4. Pour the resin: Distribute the resin evenly over the prepared area.
- 5. Remove air bubbles: Use a torch to eliminate air bubbles from the resin.
- 6. Let it dry: Allow the resin to dry for the specified time.
- 7. Sand and finish: Sand the surface and apply a clear protective coating.
By following these steps diligently, you can create a top-quality resin and wood table.



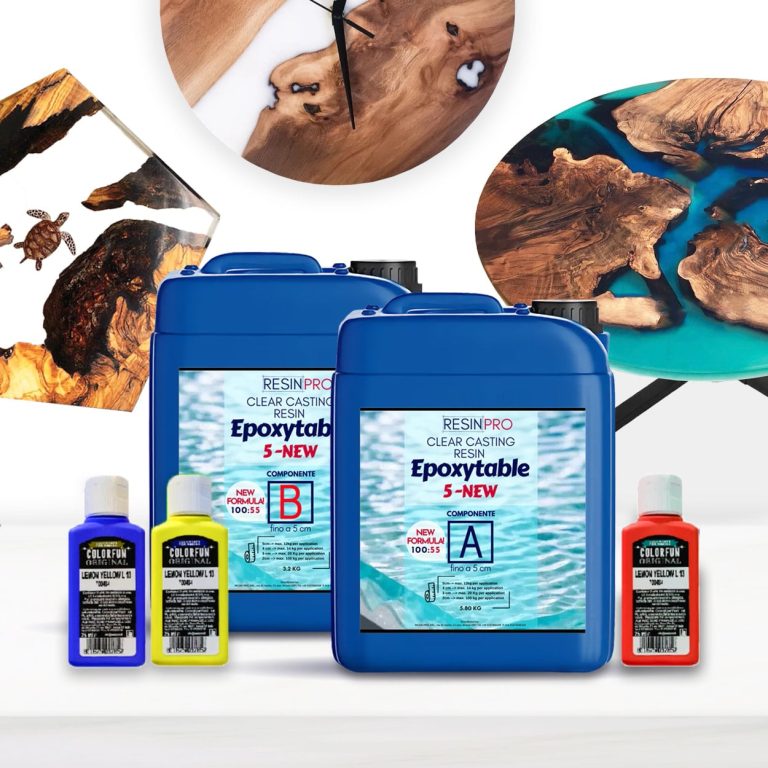
ResinPro: one supplier for all your needs
15 years of experience at your complete disposal, supplying resins and accessories for creativity, industry, DIY, flooring and marine applications.
At your home, directly from the manufacturer!
ResinPro is the direct manufacturer of our resin range for companies and hobbyists, guaranteeing the lowest prices on the market.
Learn more


The widest range of resins in the US!
We offer resins for every need, from artistic creations to marine and construction applications, far beyond the “limited” selection typically found in local DIY stores.


Expert technical support!
Our technicians provide free remote consulting to help you avoid mistakes and ensure you achieve the result you want — unlike “generic retailers” who sell 1,000 different products.
get a free consultationRESIN PRO is a leader in resin production and distribution!
24-hour delivery: We ship across the US on the same day. Enjoy convenient home delivery with our appointment service—our courier will contact you in advance and deliver the package to your preferred location, or leave it at an alternative address of your choice.


Full support!
We provide continuous support from preparation to final application, including remote technical assistance, ensuring a smooth experience.
Talk with a specialist and place a phone order without registration and without credit cards!




