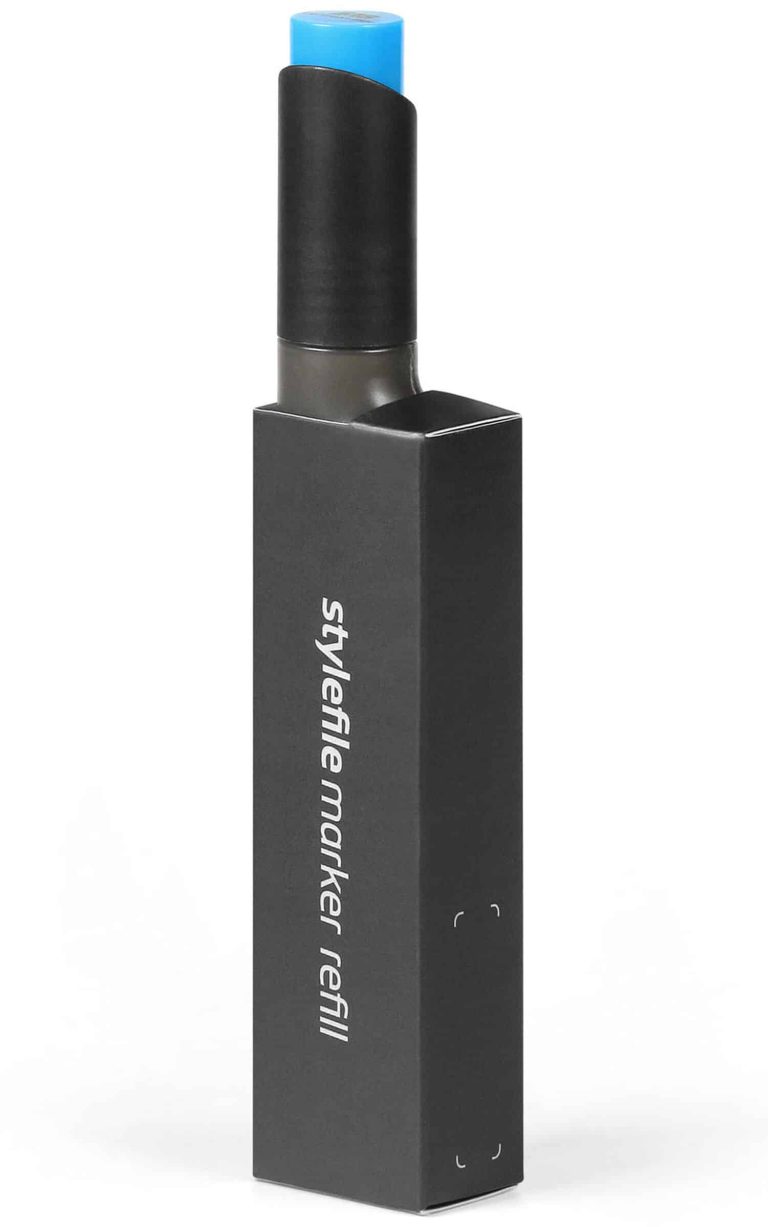
Stylefile Marker Refill You get 25 ml of alcohol-based ink, which is suited for multiple refills and because of the special refill tip your bag and your fingers remain clean. The tip is designed to prevent unwanted dripping and only works if you give it a controlled squeeze.
$4,07
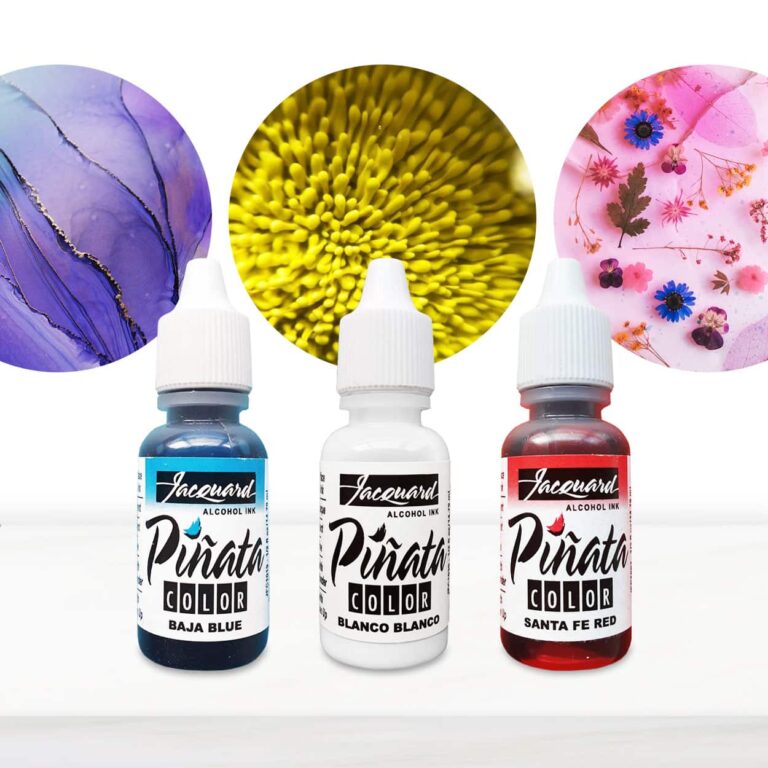
Piñata Colors are highly saturated, fast-drying alcohol inks for any hard surface, including glass, metal, plastic, ceramic, stone, leather, resin, polymer clay, YUPO® and more. Indelible and impervious to water, Piñata Colors clean up with alcohol and re-wet themselves, allowing for unique effects and techniques not easily achieved with water-based inks. As a dye-based, highly transparent ink*, Piñata Colors are unparalleled for vibrancy. Only the most lightfast dyes have been selected for the palette. Acid-free with excellent adhesive properties, Piñata Colors are the go-to inks for all non-porous surfaces. TECHNIQUES fine arts, scrapbooking, crafts, faux stained glass, card making, resin arts, faux finishing techniques and staining wood and leather SURFACES glass, metal, plastic, vinyl, ceramic, stone, leather, epoxy resins, YUPO®, foil, wood, encaustic, Claybord™, fiberglass, acrylic, polymer clay and more Warning: using inks in percentages higher than 1% may alter the mechanical resistance of the creation. In order to create the Blast Effect, it is necessary to use the colour WHITE. https://www.instagram.com/p/BuTHQjWDUSX/?utm_source=ig_web_copy_link Instruction: These beautiful, color-saturated, acid-free, transparent inks have an alcohol base which makes them indelible and moisture-resistant when dry. That means you can work freely on most any clean, oil-free surface, and makes them the ideal professional product. Highly versatile, Piñata can be used in a variety of applications, including rubber stamping, fine art, fiber art, and scrap booking. Also use Piñata in calligraphy, faux finishing techniques, graphic and airbrush applications, as well as wood and leather staining. Techniques: Mixing Piñata with Claro — it will stay shiny and not change color. It extends the drying and working time. Claro is also a transparentizer. Claro dropped or brushed on top of dry Piñata will make it spread, creating rings of marble or stone-like texture. Slight dulling occurs, but most will remain shiny. Just like real stone! Mixing Piñata with alcohol produces a slightly lighter color. When sponging this mixture, expect to see tiny bubble-like textures. This is very effective in making background papers and other interesting textural faux effects. Alcohol dropped or brushed on top of dry Piñata removes the shine. This is particularly effective on terra cotta surfaces or in faux finishing techniques where shine would detract from the overall effect. Spritz or brush layers of color over color. When wet, each layer will push aside the under layers creating amazing effects. Allowing each layer to dry will produce beautiful glazes and truly spectacular colors with clarity and depth. Add blanco Blanco to any of the Piñata Colors and achieva a completely new glowing range of pastel variations with a touch of opacity. Resists: Crayons: draw with various colors and apply Piñata. Wax.: following directions from the manufacturer, apply melted wax to fabric. Crinkle the fabric allowing the wax to crack, then apply Piñata. Iron the wax away to create beautiful batik effects. Gum Arabic: mix gum arabic with water to a heavy cream consistency. Apply this to a rubber stamp or paint it directly onto a surface. Apply Piñata. Gently wash away the gum arabic. Piñata Clean-Up Solution: Piñata Clean-Up Solution contains moisturizers to keep brushes soft and pliable. (TIP: Use regular rubbing alcohol to clean off most of the Piñata from brushes and sponges. Use the Clean-Up Solution for the final rinse to keep brushes soft and ready-to-use the next time!) Warning: Flammable • Eye Irratant • Contains: Denatured Alcohol • Keep Out Of Reach Of Children.
$6,95
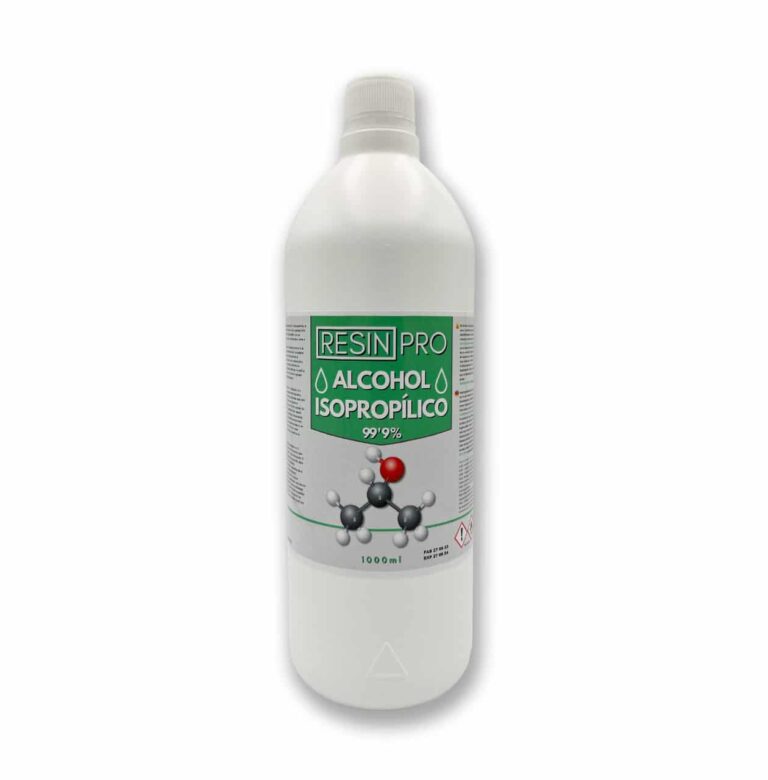
⚙️ In the world of resins: Used to remove surface bubbles from resin mixtures, if applied in drops on top of resin already mixed with mica pigments, it will create fantastic cells with very beautiful degradation and colour mixing. 💦 As a remedy for removing the formation of bubbles: By applying it to the inner surface of silicone moulds with a spray gun, you will remove bubbles on resin parts. 🎨 A multi-purpose product, ideal for: To remove bubbles from epoxy resin mixtures. To create the effect of craters and cells, it is applied to a mixture of epoxy resins with mica pigments. Solvent for coatings or for non-polar industrial processes. As a cleaning agent, it is highly recommended for cleaning electronic devices, LCD displays, DVDs… To remove stains from most fabrics, wood, cotton, etc... To remove oil-based paint residues for reuse. As a moisturiser in lithographic printing. A solvent for polishing varnish used in joinery. If you want to create beautiful effects on countertops, floors and surfaces, as well as easily remove bubbles in your resin products, then this is your product. Pure 99.9% Isopropyl Alcohol Resin Pro, also known as 2-propanol or isopropanol, is used as an electrical contact cleaner among many other applications. Trade Name: Medical ALCOHOL In the resin world, it is used to remove surface bubbles from mixtures, and when applied in drops over resin mixed with mica pigments, cells are formed. APPLICATION: For cleaning electronic components: Apply the product directly to the equipment, let it dry at room temperature or accelerate drying by applying compressed air, and finally reassemble the equipment. Do not use while the equipment is on. PRECAUTIONS: View the safety tab. Isopropyl alcohol in the vapor state is denser than air and is highly flammable, giving a very wide range of fuels. It should be kept away from sources of heat and fire. CHARACTERISTICS, PHYSICAL AND CHEMICAL PROPERTIES: Physical condition: Colourless liquid, very volatile Attention! Safety Guidelines for Using Isopropyl Alcohol (99.9%) Isopropyl alcohol (IPA) is a highly flammable substance. Improper use—especially near heat sources like torches or heat guns—can result in fire or explosion. To ensure safe use, follow these precautions: Primary Risks Highly flammable: IPA vapors can ignite from sparks, open flames, or hot surfaces. Forms explosive vapor-air mixtures, especially in enclosed or poorly ventilated spaces. Strictly Prohibited: Using gas torches or heat guns near areas treated with IPA. Spraying IPA near active heat sources. Storing IPA near flames, heaters, or hot tools. Recommended Safety Measures: 1. Ventilation: Always work in a well-ventilated area when using IPA. 2. Wait Time: After applying IPA, wait at least 5–10 minutes to allow complete evaporation before using any heat tools. 3. Safe Distance: Keep IPA containers at least 2 meters (6 feet) away from heat or flame sources. 4. Storage: Store IPA in a tightly sealed container, away from direct sunlight or high temperatures. 5. Fire Safety: Have a CO₂ or dry chemical fire extinguisher nearby when working with flammable substances and open flames. In Case of Fire: Do not use water to extinguish the fire. Use an appropriate extinguisher, cut off air supply if safe, and call emergency services if needed.
$14,08
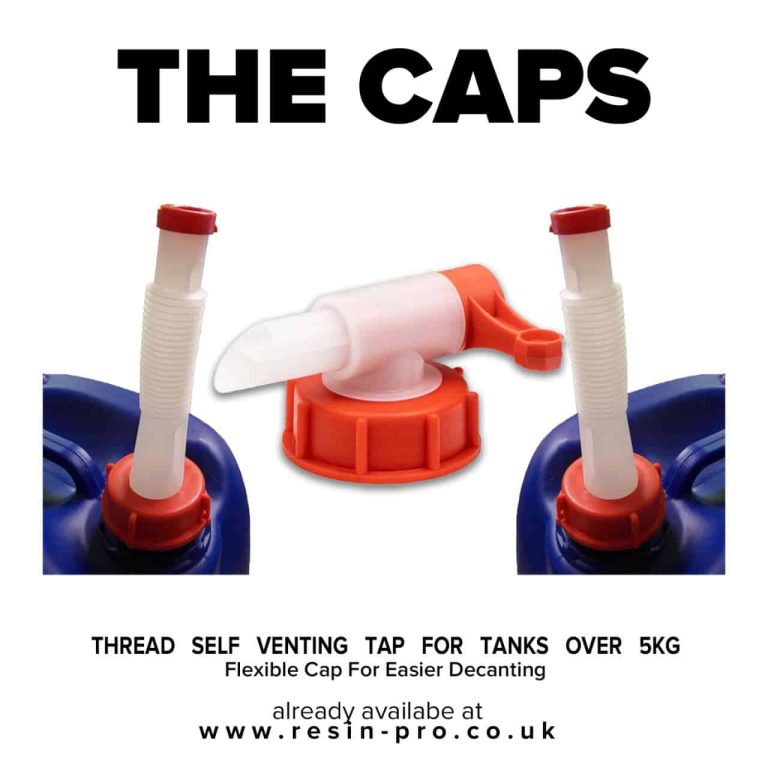
Good way to make decanting epoxy a bit easier!:) Cap with flexible racking for tanks approved UN ADR, PACK-UN series. The white part measures about 13 cm-SPOUT DIAMETER: 1.5 cm inside-STRAW DIAMETER: 4 mm inside. Ideal for epoxy, polyurethane resins. Suitable for our kits over 7kg - 8kg ; 9kg ; 33 kg, etc. Please, pay your attention, that we don`t recommend to use one tap for both components (A & B) at the same time - it`ll stuck because of catalysis between the components. 1 component - 1 tap. For using this tap with hardener we recommend to clean that by any alcoholic cleaner right after using, to avoid crystallization inside the tap. -Vented system giving fast, clean dispensing without ‘glugging’ -Chamfered outlet spout for clean dispensing – no drips -Smooth moving lever for easy use -Large outlet spout fits into 28mm bottle necks and allows easy dosing with a high flow rate of more than 5L/min -High chemical resistance
$8,95
Alcohol or Acetone Cleaning for Resin Applications
Cleaning surfaces with alcohol or acetone is a common and essential step before applying epoxy resins or coatings. Isopropyl alcohol effectively removes grease, dust, and light dirt residues, while acetone is a stronger solvent that can eliminate stubborn residues like glue, paint, or silicone. However, caution must be exercised when using acetone, as it can potentially damage certain plastic or painted surfaces. Adequate ventilation is crucial during the cleaning process, and it is important to adhere to safety guidelines. In general, alcohol is a gentler and more versatile option, while acetone is more aggressive and effective against tough residues.
Transparent Epoxy Resin for Protective Coatings and Glossy Finishes
Transparent epoxy resin is a versatile material extensively used for creating protective coatings and glossy finishes. This two-component resin chemically hardens upon mixing, resulting in a durable and resilient surface. Transparent epoxy resin is perfect for coating tables, countertops, DIY jewelry, and crafting artistic decorations. Its transparency allows for the preservation and enhancement of the natural appearance of underlying materials such as wood or stone. Following the mixing and application instructions diligently is crucial to achieve optimal results.
Epoxy Resin Pigments for Custom Color Effects
Epoxy resin pigments are colorants specifically designed to tint epoxy, polyurethane, or polyester resins, imparting various shades and nuances. These pigments are highly popular in the DIY and crafting sectors for creating bespoke artifacts. They blend seamlessly with liquid resins, ensuring uniform color distribution and long-term color stability. Available in powder or paste forms, epoxy resin pigments offer a diverse range of colors to cater to the creative requirements of individuals engaged in resin coating and decorating projects.
DIY Silicone Molds for Custom Shape Replication
DIY silicone molds provide a simple and precise method for creating custom shapes. To craft a DIY silicone mold, precise measurement and thorough mixing of the silicone resin are essential. The resin is then poured onto the object to be replicated and left to cure. Once hardened, the mold can be utilized with various materials such as resins and plasters to accurately reproduce the desired shape. Silicone molds, known for their flexibility and durability, can be reused multiple times without compromising their effectiveness. This approach is ideal for producing personalized and distinctive items at home.
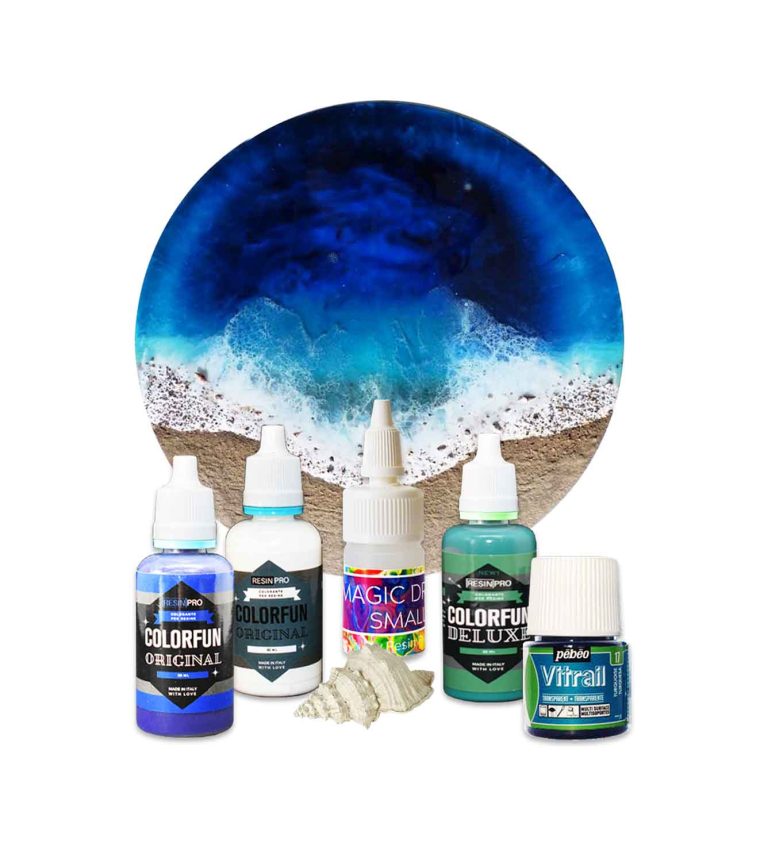
Create your personalized Sea Wave Effect! The ideal kit for creating cup coasters, geodes, “Ocean Art” style paintings and artistic coatings of all kinds, creating a natural sea wave effect. The “Ocean Art” KIT includes colours, pigments, additives and a non-toxic powder that reacts with wet epoxy resins by repelling itself away, thereby stimulating movement in concentric outward circles and waves. Creates cells and waves in resin art Safe & user-friendly Odourless Non-toxic & non-flammable Zero-VOC formula with no harsh chemical ingredients, solvents or alcohol-based ink Ideal for Ocean Resin Art The “Ocean Art” KIT includes: "Colorfun Deluxe" white colouring paste 30 ml "Colorfun Deluxe" Blue colouring paste 30 ml "Colorfun Deluxe" True Green colouring paste (Gradient green) 30 ml "Pebeo" Turquoise Semitransparent liquid pigment 45 ml "Magic Drops Small" liquid additive 15 ml How to use: Prepare about 300 gr [0,66 lb] of resin and, after mixing it well, divide it into 7 parts. Colour each part with the different pigments included in the kit (blue, opal green, white, turquoise, rich gold). Then use the “Pebeo” Turquoise pigment with two small glasses, and proceed as follows: pour a drop in the first glass and 2/3 in the second. In this way you will be able to perfectly recreate the sea-depth effect, giving an increasingly darker shade depending on the distance from the point where you will paint the coast. Then pour the darker resin in the farthest point from the "shore" (which you can create with a piece of wood or with sand) approaching the "coast" with increasingly transparent resin. In this way you will get a more gradual colouring that will give your creation the depth effect. Now apply the sand or wood, securing them with a layer of transparent resin. With the white pigment, draw thin lines in the shape of a wave which you will then “inflate” using a hairdryer or a straw. Then apply the golden pigment on the "sand" to give a final touch and shine. At this point, touch up your resin with “Magic Drops SMALL” by mixing it with the white pigment and applying it on the resin surface by pouring or dripping. Remove any residues or greasiness with alcohol or acetone, once the resin has catalysed. To get the best effect, we recommend to use “Art Pro” or “Art Pro Deluxe” epoxy resin (high viscosity). https://youtu.be/ZbgKRgRfjaI
$19,95
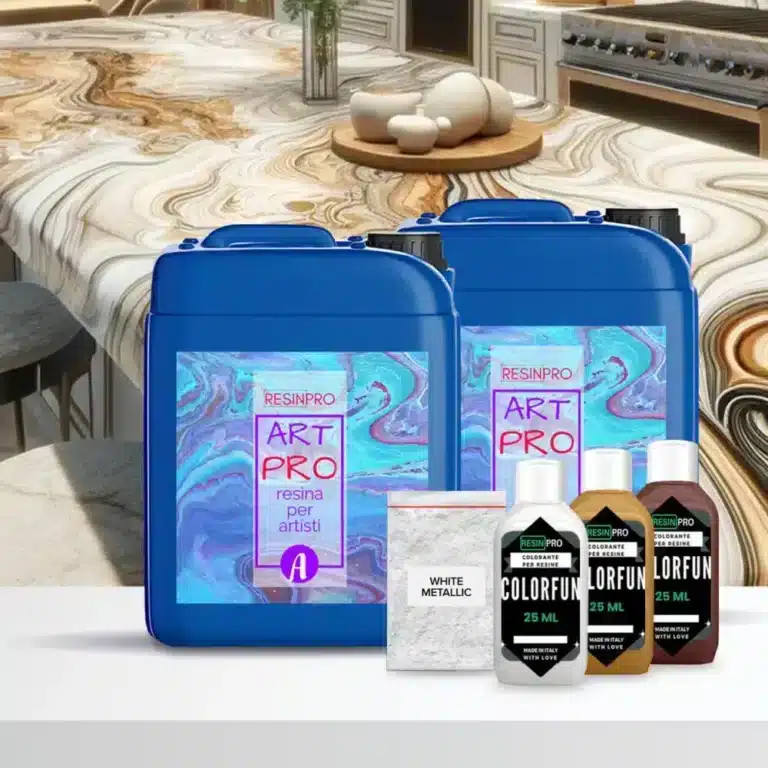
Amber Onyx Effect Kit with Epoxy resin: The 2.49 kg kit (1.66 + 0.83) covers 1 square meter (+ 10 g Sahara white pigment + 25 ml white dye + 25 ml brown dye + 25 ml OXIDE yellow dye) The 4.15 kg kit (2*1.66 + 0.83) covers 2 square meters (+ 2*10 g Sahara white pigment +2* 25 ml white dye +2* 25 ml brown dye +1*25 ml OXIDE yellow dye) The 8.33 kg kit covers 4 square meters (+ 4*10 g Sahara white pigment +4* 25 ml white dye +3* 25 ml brown dye+ 2*25 ml OXIDE yellow dye ) The 16.66kg kit covers 8 square meters (+8*10g Sahara white pigment +8*25ml white dye +4*25ml brown dye + 2 * 25 ml OXIDE Yellow dye) Kit Contents: 2.49 kg, 4.15 kg, 8.33 kg or 16.66 kg of Art Coat Epoxy "Art Pro" for a high quality base White Dye, Oxide Yellow Dye and Brown Dye from the "Colourful" Line for the perfect caramel stone shades - White Metallica Sahara pigment for that extra touch of sparkle Each kit includes dyes and pigment in sufficient quantity for the amount of resin required. Choose the Amber Onyx Effect Kit with Epoxy resin for an easy and elegant transformation of the worktop. Purchase your kit now and elevate your space with the warmth and beauty of caramel marble. Guide Instructions: Step N1: Primer Start by carefully measuring the amount needed to cover the surface based on the consumption of 150 g/m2, making sure to follow the proportions indicated to obtain a homogeneous mixture. Once the base has been prepared, proceed with adding the dye, choosing between white or black depending on your needs. The quantity of colourant to add to the mixture can be measured in a few drops (max 5% by volume). This step is crucial to achieve the desired colour and ensure uniformity of the application. Before applying the primer, it is essential that the surface intended for treatment is adequately prepared. Sand the surface with a coarse grit (40 or 60) before any operation. Make sure it's completely clean, using a soft cloth or brush to remove any pigment, dirt or debris. The surface must also be completely dry; residual humidity can compromise the adhesion of the primer and its effectiveness in sealing the surface. Once the surface is ready, apply the mixture evenly, using a suitable tool such as a brush, roller or spatula, depending on the size of the area to be treated and your personal preference. The key is to get a thin, even layer that can cover the entire area without leaving gaps or excessive product build-up.. After application, it is essential to allow the primer to dry completely before proceeding with further treatments or finishes on the surface. The recommended waiting time is 12 hours; this range may vary slightly depending on environmental conditions, such as humidity and temperature, but offers a good compromise to ensure the mixture has time to dry and adhere properly. During this period, avoid touching or stressing the treated surface to ensure optimal results. Don't worry if you notice any discrepancies on the surface, the next main pour will level everything perfectly. Step N2: application Start by applying masking tape around the perimeter of your countertop to contain the epoxy you're about to pour. This step is essential to ensure the resin stays where it is needed. After applying the resin, wait about 1.5 hours before gently removing the tape. To ensure coverage is even and complete, plan to use approximately 1.6kg of resin for every square meter of surface area. When you are ready to mix the resin, use a drill equipped with a paddle mixer for quick and even action (use at low speed), taking about 2 minutes for this operation. If you prefer to mix by hand, be prepared to take double the time. Don't forget to scrape the sides and bottom of the container halfway through the process with a stick to ensure all the material is mixed well. Next, separate the already mixed resin into different glasses and add the desired colours, mixing the different colours in the different glasses until you obtain an intense and uniform colour per single glass. To create a striking visual effect, pour the coloured resin in random layers into a larger bucket, being careful not to mix the colours together too much. After filling the bucket, spread the contents over the surface of the worktop, leaving a small amount of resin aside to finish the edges later. To remove trapped air bubbles, gently run a propane torch or heat gun over the surface. Once the adhesive tapes have been removed, approximately 1.5 hours after application, if there are any dry edges, moisten them slightly by wearing a protective glove to promote an even appearance. Use appropriate tools, such as spatulas or plastic scrapers, to spread and level the resin along the edges, making sure to cover the entire area well. After letting the resin cure for 24 hours, you can apply a clear top coat or PoliShield scratch-resistant paint to further protect the surface. Finally, for even more refined visual effects, spray 99.9% isopropyl alcohol onto the surface just before the resin begins to fully harden. This will create unique lacy textures. Remember that when you remove the tape, it is essential that the resin is partially hardened, neither too liquid nor completely solid, to avoid unwanted drips. Attention! Safety Guidelines for Using Isopropyl Alcohol (99.9%) Isopropyl alcohol (IPA) is a highly flammable substance. Improper use—especially near heat sources like torches or heat guns—can result in fire or explosion. To ensure safe use, follow these precautions: Primary Risks Highly flammable: IPA vapors can ignite from sparks, open flames, or hot surfaces. Forms explosive vapor-air mixtures, especially in enclosed or poorly ventilated spaces. Strictly Prohibited: Using gas torches or heat guns near areas treated with IPA. Spraying IPA near active heat sources. Storing IPA near flames, heaters, or hot tools. Recommended Safety Measures: 1. Ventilation: Always work in a well-ventilated area when using IPA. 2. Wait Time: After applying IPA, wait at least 5–10 minutes to allow complete evaporation before using any heat tools. 3. Safe Distance: Keep IPA containers at least 2 meters (6 feet) away from heat or flame sources. 4. Storage: Store IPA in a tightly sealed container, away from direct sunlight or high temperatures. 5. Fire Safety: Have a CO₂ or dry chemical fire extinguisher nearby when working with flammable substances and open flames. In Case of Fire: Do not use water to extinguish the fire. Use an appropriate extinguisher, cut off air supply if safe, and call emergency services if needed.
$83,49
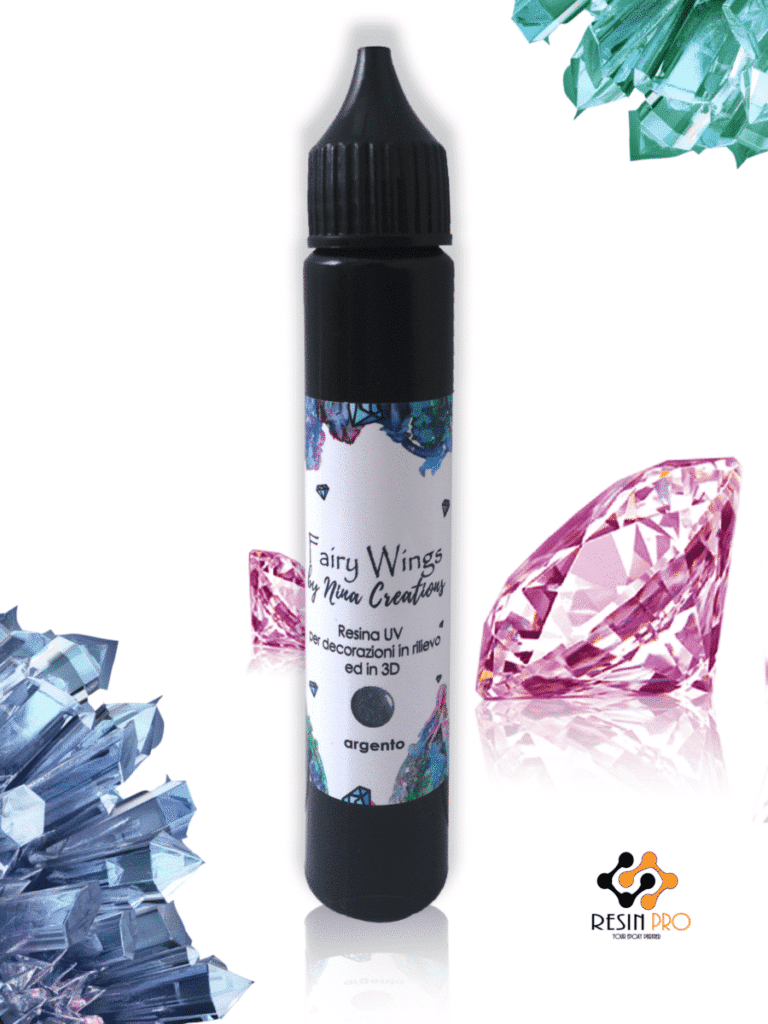
💥About UV resin "FAIRY WINGS" - UV Resin For Volumetric Reliefs. UV resin “Fairy Wings" is an acrylic gel that dries under the influence of the rays of a UV torch or UV lamp. This resin can be used to make three–dimensional reliefs, as well as decorative elements for products made of other materials, such as polymer clay. The difference between this resin and epoxy resin is in its one–component nature (it does not require mixing two different components, it is already ready for use), in a small filling thickness (applied in thin layers 3 mm thick) and in a high curing rate (only 3-5 minutes under UV rays). The curing time depends on the thickness of the layer or the amount of dye added to the gel. You can use lamps with a power of 3w, 9w and 36w. The main thing is that the wavelength of the lamp should be 365nm -405nm. 💥Instructions for use: 1) Clean the film on which you want to create a pattern with acetone/alcohol so that after the resin hardens, it can be easily peeled off (use a regular file /cover or our Shiny Shield film). 2) For convenience, you can outline the outline of the future drawing with a marker. Apply the gel evenly. 4) Keep the UV lamp turned on at a distance of 1-2 cm from the product for 2-5 minutes, directing the light at the product. If you want to make the contour thickness more than 3 mm, then work in layers, “drying” each layer with UV rays before applying a new one. It is recommended to work with the material in personal protective equipment: gloves, a respirator mask and protective glasses. Store the product with the cap tightly closed in a dark and dry place out of the reach of children. Work with the material by children under 18 years of age is allowed only in the presence of parents or other responsible persons and only when the child uses personal protective equipment for the skin, respiratory organs and eyes.
$17,00
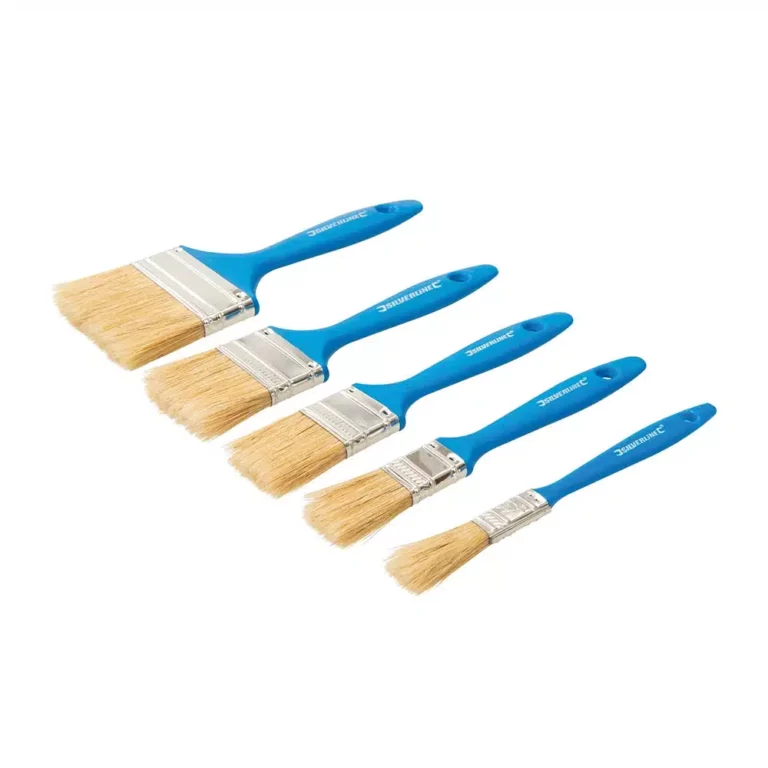
Disposable utility brushes with pure bristles, polymer handles and zinc-plated steel ferrules. Ideal for cleaning parts, painting trim and touch-up work. For use with paint, resin, glue, acetone and other solvents. Includes sizes 0,47", 0,98", 1,57", 1,97" and 2,95". Pure bristles Polymer handles & zinc-plated steel ferrules Ideal for cleaning parts, painting trim & touch-up work
$8,49
ResinPro: one supplier for all your needs
15 years of experience at your complete disposal, supplying resins and accessories for creativity, industry, DIY, flooring and marine applications.
At your home, directly from the manufacturer!
ResinPro is the direct manufacturer of our resin range for companies and hobbyists, guaranteeing the lowest prices on the market.
Learn more
The widest range of resins in the US!
We offer resins for every need, from artistic creations to marine and construction applications, far beyond the “limited” selection typically found in local DIY stores.
Expert technical support!
Our technicians provide free remote consulting to help you avoid mistakes and ensure you achieve the result you want — unlike “generic retailers” who sell 1,000 different products.
get a free consultation
RESIN PRO is a leader in resin production and distribution!
24-hour delivery: We ship across the US on the same day. Enjoy convenient home delivery with our appointment service—our courier will contact you in advance and deliver the package to your preferred location, or leave it at an alternative address of your choice.

Full support!
We provide continuous support from preparation to final application, including remote technical assistance, ensuring a smooth experience.
Talk with a specialist and place a phone order without registration and without credit cards!
 Free shipping on orders over €199,00
  Shipping Tracking!


 Google
 Facebook