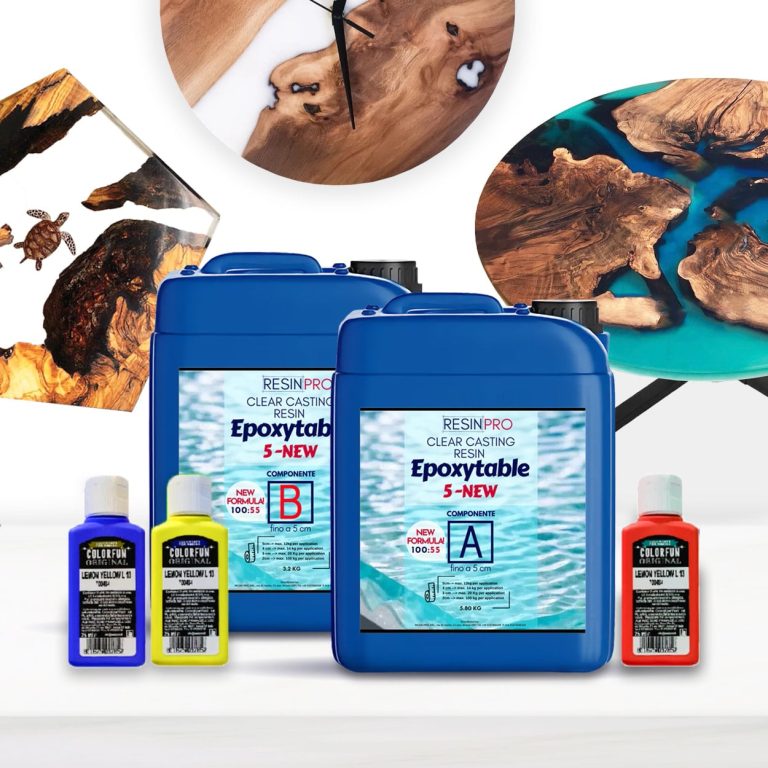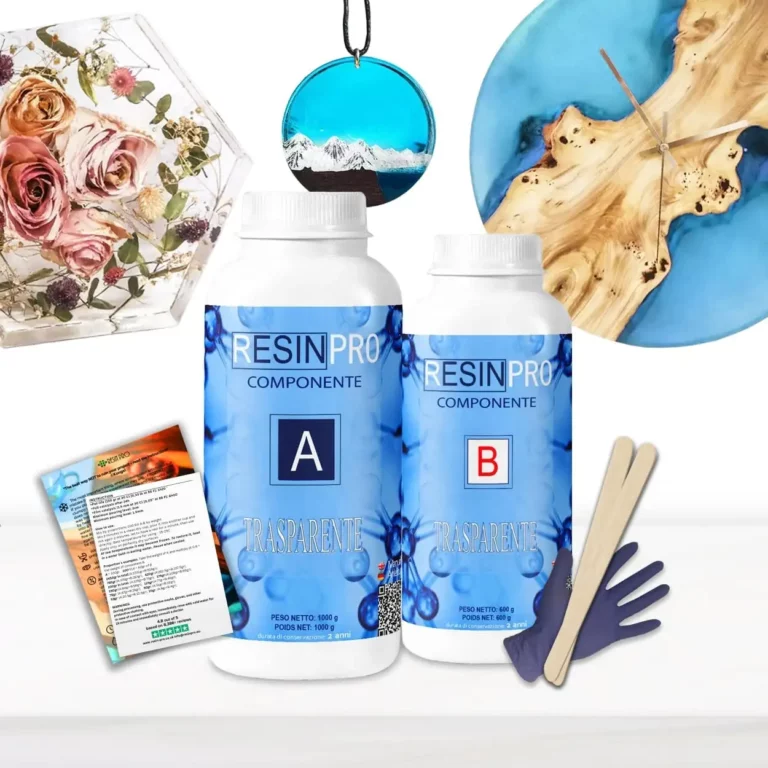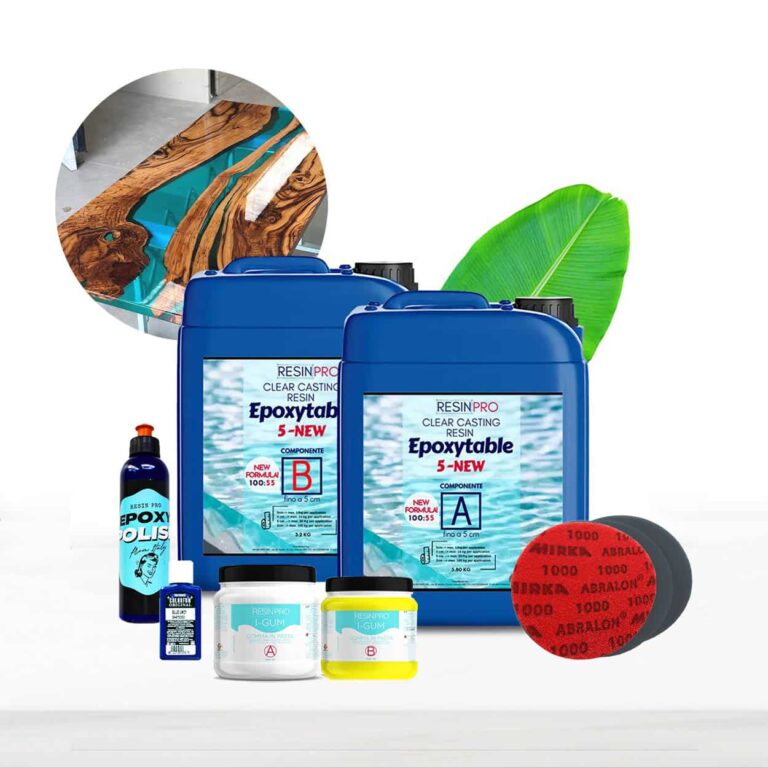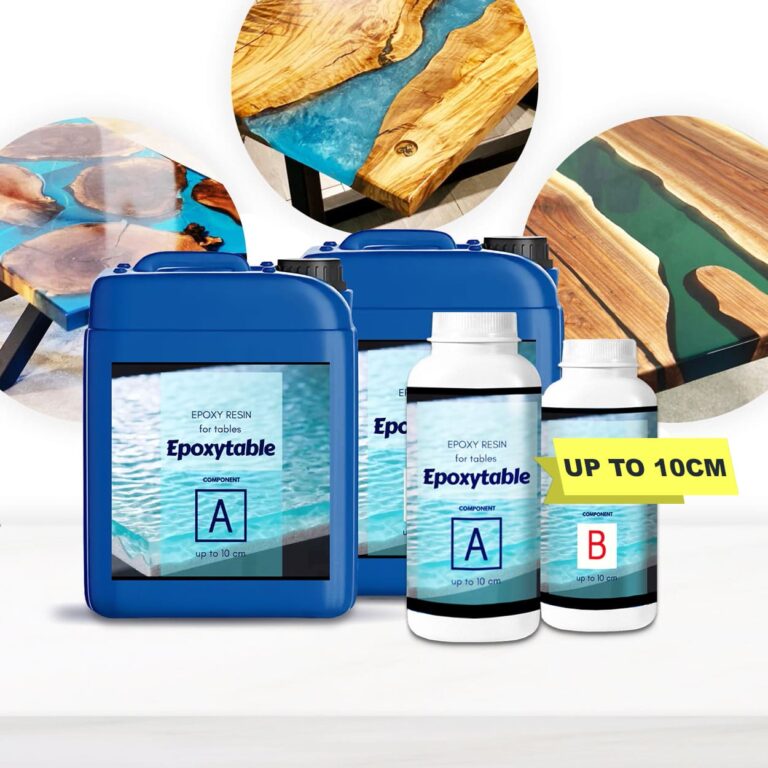
Specially designed for Deep pour applications including: –River tables: Suitable for creating thick, clear resin castings with a maximum thickness of up to 10 cm. –DIY & Artistic creations: Night lighs, flowers preserving and other projects, which requires super-deep casting up to 10cm. 💥 About "EPOXYTABLE 10-TEN" - Epoxy Resin For Large Projects - Casting up to 10cm: Introducing "EPOXYTABLE 10-TEN," the ultimate solution for your high-thickness casting needs. Crafted to perfection, this epoxy resin offers unparalleled qualities that make it ideal for tables and expansive artistic creations. "EPOXYTABLE 10-TEN" is not limited to just tables. It's designed for a wide range of large casting projects, including artistic works that demand exceptional clarity and depth. The possibilities are endless, allowing you to unleash your creativity without constraints. 💥Key features: ⚙️ 【HIGH-THICKNESS CASTING】-"EPOXYTABLE 10-TEN" is specially formulated to handle deep pour applications with ease. It allows you to create captivating castings that can reach thicknesses of up to 10 cm (4 inches). Whether you're crafting a one-of-a-kind tabletop or a large-scale artistic masterpiece, this epoxy resin is up to the task. 🧪 【NON-YELLOWING BRILLIANCE】-Say goodbye to worries about your creations turning yellow over time. "EPOXYTABLE 10-TEN" remains perfectly transparent and non-yellowing, preserving the beauty of your projects for years to come. Your creations will continue to shine with the same brilliance as when you first made them. 🌿 【SAFE AND CERTIFIED】-All our resins are Certified Non-Toxic, Solvent-free, non-flammable, and totally safe. 💧 【EASY TO USE】-The 4:1 mixing ratio makes this product very easy to use. Being a two-component resin, simply mix RESIN A + HARDENER B in the ratio indicated above the package and let it harden without the need for further additives. Can be coloured as desired. 🇬🇧 【UK BASED TRUSTED COMPANY】 - RESIN-PRO team fulfils your order as fast as possible. We produce and realise epoxy resins since 2015. Just check our social media, where you will find thousands of projects made with our products around the world. THINGS TO KNOW: If one of the sides of the project is more than 100cm or the total weight of pouring epoxy is more than 8kg we insistently recommend to do a casting in two and more layers! (waiting 6- 8 hours between them).
$46,99
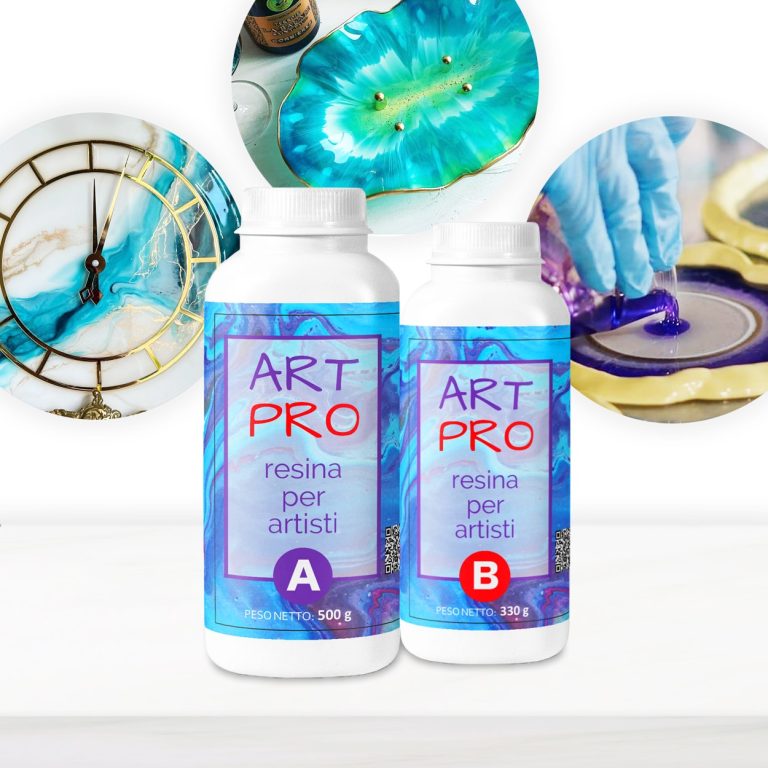
💥 BESTSELLER FOR: – Resin Artworks on surfaces, panels: Ocean Art, Marble Effect, Geode Art and etc; – Coasters and Trays with colour effects (layer thickness up to 1 cm [0,39”]); – Coating of surfaces - Floors, Canvases, Furniture, Etc; – 3D effect on prints, photos and images in general; – Fixation of decorative objects (decorative elements, glass, stone, quartz pieces, etc.); – Creation of a perfectly transparent protective layer on your projects. 💥About “ART PRO ” – Ultra Clear Medium Viscosity Epoxy Resin for Artists: First class quality epoxy resin for the artistic sector: thanks to its special dense formula, it allows you to create Resin Art works. It does not leak out from the working surface, slowly reaching the corners of the frame. ART PRO preserves your original design and prevents any possible modification due to the thickness of the resin: because of its special formula, the layers of colours do not expand and do not mix (unless you deliberately intervene), faithfully keeping with your creative idea! Additional features: Long working time; + Odourless; + Excellent mechanical strength; + High impregnation and reinforcement of technical fabrics. The product can be coloured with any epoxy dye (both in paste and powder) in a percentage ranging from 0.1% to 2.0%). It can also be thickened by the use of aggregates such as powders and fumed silica. 💥Key features: ⚙️ ULTRA TRANSPARENT EPOXY RESIN: -The crystal clear epoxy resin is suitable for both beginners and professionals. Start making Resin Art works, coasters, trays and any other DIY – creation that involves the use of medium viscosity resin. 🧪PROFESSIONAL QUALITY: -Made from high quality materials – Excellent transparency, Glossy surface, Odourless – because of unique formula for DIY, craft and artistic creations. Compatible with silicone, wood, fabric, glass and paper. 🌿 SAFE AND CERTIFIED: -All our resins are Certified Non-Toxic, Solvent-free, non-flammable, and totally safe. 💧 EASY TO USE: -The 3:2 mixing ratio makes this product very easy to use. Being a two-component resin, simply mix RESIN A + HARDENER B in the ratio indicated above the package and let it harden without the need for further additives. Can be coloured as desired. 📞 FREE PROFESSIONAL ASSISTANCE SERVICE: -Since we are directly a manufacturer, we have access to a professional laboratory that will happily help you with any complex project. 🇬🇧 UK BASED TRUSTED COMPANY: -RESIN-PRO team collects and sends your order as fast as possible. We produce and realise epoxy resins since 2015. Just google our social media, where you will find thousands of projects made with our products around the world. The "ART-PRO" formula is specifically developed for coating in artistic applications. Compatible with colouring agents, powder pigments, alcohol-based and oil-based dyes, aerosol paints. The migration laboratory test on cured resin samples ensures that the final product does not release any harmful substances, if applied following the instructions. Warning: the product is moisture sensitive, do not use on wet surfaces or with water-based dyes (e.g. Acrylics) ____________________________________________________________________ if you have not enough experience, we insistly suggest to make a small test before working with large project.
$28,49

Finally, the first food contact certified* TRANSPARENT Epoxy Resin! To coat your plates and cutting boards! Non-toxic and certified for food contact (liquids included). Two-component, high-modulus, unfilled, medium-fluidized epoxy system. The system is composed using only raw materials included in the positive list of substances allowed for food contact (EU Regulation No. 10/2011 January 14, 2011) Two-component unfilled high-modulus epoxy resin, medium viscosity. Excellent surface finish and good resistance to yellowing, to be used for casting, characterized by high transparency, good outdoor stability, excellent mechanical resistance and resistance to basic and acid chemical substances. For self-leveling casting. Its medium-high viscosity allows a wide range of applications specifically for the realization of non-toxic surfaces. Charged with mineral aggregates of appropriate grain size, it is used to create self-leveling epoxy and screed surfaces suitable for contact with food. The main features of this product are: high transparency, excellent mechanical resistance, good chemical and carbonation resistance, high impregnation and reinforcement of technical fabrics, long working time, glossy and self-levelling surface. heat resistance - up to 70 C [158 F] 💥Key features: ⚙️ 【RESIN FOR FOOD CONTACT】 The particular formula makes the product, once cured, perfectly compatible with any type of food and is guaranteed by a specific certification. 🧪 【HIGH QUALITY】 Perfectly transparent even after catalysis. Totally shiny and self-leveling, complete catalysis will take about 24/48 hours - depending on atmospheric and environmental conditions - but it will already be workable after about 10 hours. 🌿 【SAFE AND CERTIFIED】 All our resins are Certified Non-Toxic, Solvent-free, non-flammable, and totally safe. Certified for contact with cold snacks. 💧 【EASY TO USE】 The 100:55 mixing ratio makes this product very easy to use. Being a two-component resin, simply mix RESIN A + HARDENER B in the ratio indicated above the package and let it harden without the need for further additives. 📞 【FREE PROFESSIONAL ASSISTANCE SERVICE] Since we are directly a manufacturer, we have access to a professional laboratory that will happily help you with any complex project. * Documentation ensures that the raw materials used are those listed by the Ministry of Health and the migration laboratory test on cured resin samples shall further ensure that the final product does not release any harmful substances if applied following the instructions. This information can be consulted by the end users in the HCCP certification which is the responsibility of the user. EpoxyFood : Food Contact Certificate:
$26,99

💥 BESTSELLER FOR: -Wood-working: Coating, Countertops and Tables, Works of art; -Restoration or surface coating: Wood, Concrete, Ceramics, Canvas, Glass fiber); -DIY: Jewellery making, and Dynamic modelling. 💥About “iCrystal ” – Transparent Epoxy Resin: Our iCrystal Transparent Epoxy Resin is a premium quality, multipurpose resin that is a popular choice for customers looking to create stunning art pieces, jewellery, countertops, and DIY projects. The new formula is specifically designed to provide maximum transparency, allowing you to create unique and beautiful pieces that will last for a long time. It is easy to use and can be mixed with a variety of pigments to create an endless range of works. iCrystal Transparent Epoxy Resin is safe and non-toxic, making it a great option for artists who are environmentally conscious. It is odourless, VOC-free, making it comfortable to use indoors. Although our epoxy resin is safe to use, we recommend taking proper safety precautions when working with any type of resin. It is important to wear gloves and masks and work in a well-ventilated area to avoid any potential irritation or allergic reactions. This Epoxy Resin is self-levelling and has a high-gloss finish, providing a smooth and professional look to your creations. It is also extremely durable, providing a super solid and shiny surface after full curing time. iCrystal epoxy resin can be used on a variety of surfaces, including wood, stone, ceramics, and more. It is perfect for creating unique and stunning pieces that are sure to impress. We offer free shipping on this product, so you can start your project right away. Plus, with its long shelf life, you can store it for future projects. Choose iCrystal Transparent Epoxy Resin for a safe, high-quality, and versatile option for all your creative needs. 💥Key features: ⚙️ 【CRYSTAL CLEAR EPOXY RESIN】-The clear epoxy resin is suitable for both beginners and professionals. Start making jewellery, paintings, and any professional creation that involves the use of resin. 🧪 【HIGH QUALITY】 -Crystal clear, No bubbles, Odourless - because of unique formula for DIY, craft and artistic creations. Ideal for casting and embedding objects too. Compatible with silicone, wood, fabric, glass, paper or photographs. Fast completed curing time - 24 h, Demould time is only 10 hours. 💧 【EASY TO USE】-The 100:50 mixing ratio makes this product very easy to use. Being a two-component resin, simply mix RESIN A + HARDENER B in the ratio indicated above the package and let it harden without the need for further additives. Can be coloured as desired. 🌿 【SAFE AND CERTIFIED】 -All our resins are Certified Non-Toxic, Solvent-free, non-flammable, and totally safe. 📞 【FREE PROFESSIONAL ASSISTANCE SERVICE】-Since we are directly a manufacturer, we have access to a professional laboratory that will happily help you with any complex project. 🇬🇧 【UK BASED TRUSTED COMPANY】-RESIN-PRO team fulfils your order as fast as possible. We produce and realise epoxy resins since 2015. Just check our social media, where you will find thousands of projects made with our products around the world. 💥Suitable for: -Model making; -DIY and wood-working; -Coatings of furniture and surfaces; -Artistic creations (paintings, liquid art, petri dish); -Jewellery and fashion; -Glass Fiber Repair; -Outdoor Protective Coatings; -Boat construction; -Impregnation of technical fabrics (glass fiber, carbon fiber, etc); Check and tag our social media for inspiration! We are always happy to publish your art-work –
$10,67
 Free shipping on orders over €199,00
  Shipping Tracking!


 Google
 Facebook