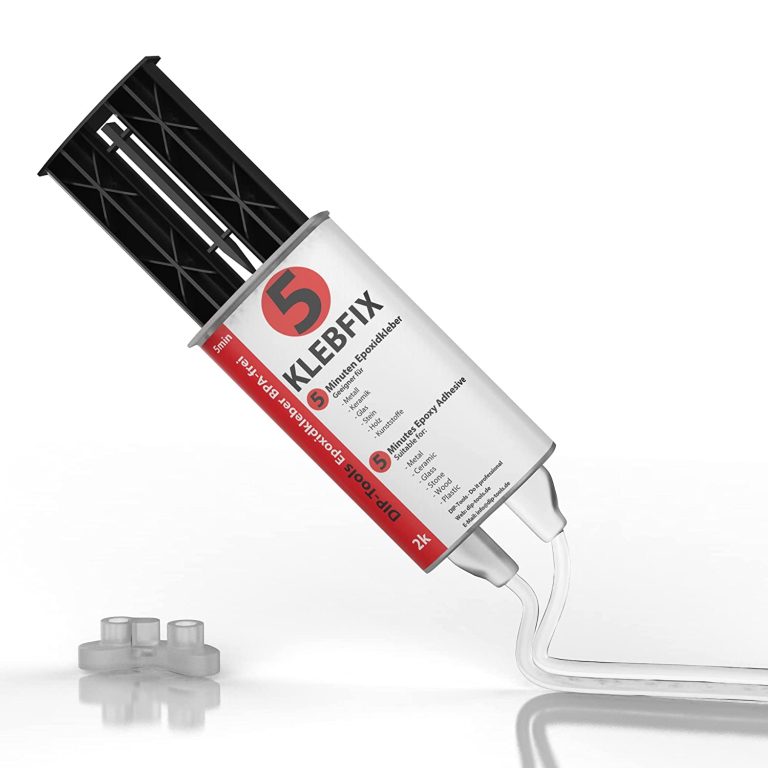
Advantages of Two-component Epoxy Resin Adhesive Extreme strength and resistance to thermal and mechanical influences Resistant to most aggressive substances and oils Available solvent free and BPA free It hardens even under water Compatible with a wide range of additives such as dyes and accelerators Expedited Potlife Application – BestPractice At room temperature (15-30 C The mixing ratio of the two components of 1: 1 is maintained automatically. Do not apply below 5 C outdoor temperature. The higher the ambient temperature, the more effectively the material polymerizes. This means that resistance increases at higher temperatures. It is recommended to have a cloth ready for cleaning. In addition, care must be taken that the work surface is protected and can be cleaned directly if necessary. The surface should be slightly roughened, because only then is the epoxy adhesive guaranteed to bond well with the material. To do this, you can sand or file the surface. To spread the sticker, a piece of cardboard or plastic is useful. After use, clean the tube so that the lid does not stick, and then close it tightly. The thickness of the adhesive should be thin enough (0.1-0.2 mm), but if necessary it can be thicker. The parts to be glued must be clean and free of oil and grease. Apply the adhesive on one side and join and press the parts to be glued. The potlife is about 5 minutes, good endurance is achieved after about 10-12 minutes, and total endurance after about 24 hours. Pot life is limited in time and describes the maximum working time of the uncured adhesive. Once the pot life has passed, the adhesive not yet applied must not be further processed, but must be disposed of! Until the manual force is reached, the binding must be additionally fixed, for example, with the help of a vice, adhesive tape or clamp. In the case of heat-assisted polymerisation, the temperature resistance of the joined parts must be guaranteed. In addition, the heating and cooling times of the parts to be joined must be respected. This time must be added to the curing time of the adhesive. Tension can occur in the glued joint during heating and cooling. With materials such as PP, PE, PTFE or silicone, the parts need to be pretreated with our primer. The need for a primer depends on the surface tension. If this is high enough it can be tested with water droplets on the surface. If the drops adhere well to the surface, a good bond is most likely. If the drops slip away, a primer is probably needed. Mixing There are several ways to mix the two components: - Mixing by hand - Use of a static mixing nozzle - Use of a dynamic mixing nozzle Hand mixing is sufficient in most cases. For this purpose, a toothpick or similar is used and the two components are mixed until a cloudy mass is formed. Make sure that no bubbles remain. When using a static mixing nozzle, the mixing of both components takes place inside the mixing nozzle so that the mixing is ideal. The first 2g should be discarded, given they are not yet mixed 1:1. However, the mixing nozzle can only be used until the adhesive in the mixing nozzle has dried. After that, you will need a new nozzle. W With a dynamic mixing nozzle, the speed of the mixer can be controlled electronically. This allows you to control the mixing intensity very precisely. However, this is intended for special industrial applications and is not necessary for everyday use. Harden The adhesive is chemically cured. This gives the advantage that gluing the surface is also possible, where adhesives that harden with moisture take a very long time. The bond is high strength and densely flexible. Thus, permanent resistance can be guaranteed in the event of shocks and vibrations. The use of the polymerised adhesive is also possible at high temperatures (up to about 120C), for a short time (30 min) up to 200C The polymerised adhesive has good resistance to physical (e.g. sunlight) or chemical (moisture, detergents, chemicals, etc.) influences. The great advantage of two-component epoxy adhesive is the fact that it hardens even under water and is robust. In addition, it is mouldable, so it can be inserted into any recess to fit. Technical data Epoxy Resin Hardener Base (amine mixture) Viscosity High Viscosity Transparent Color Density 1.1 g / ml Gap filling capacity 3mm Temperature resistance -40 up to +120 C Pot Life 5 min Hand resistance 10-12 min Final endurance 24 hours Shore hardness 60 Tensile shear strength 10 N / mm2 Module E 620 N / mm2
$32,95
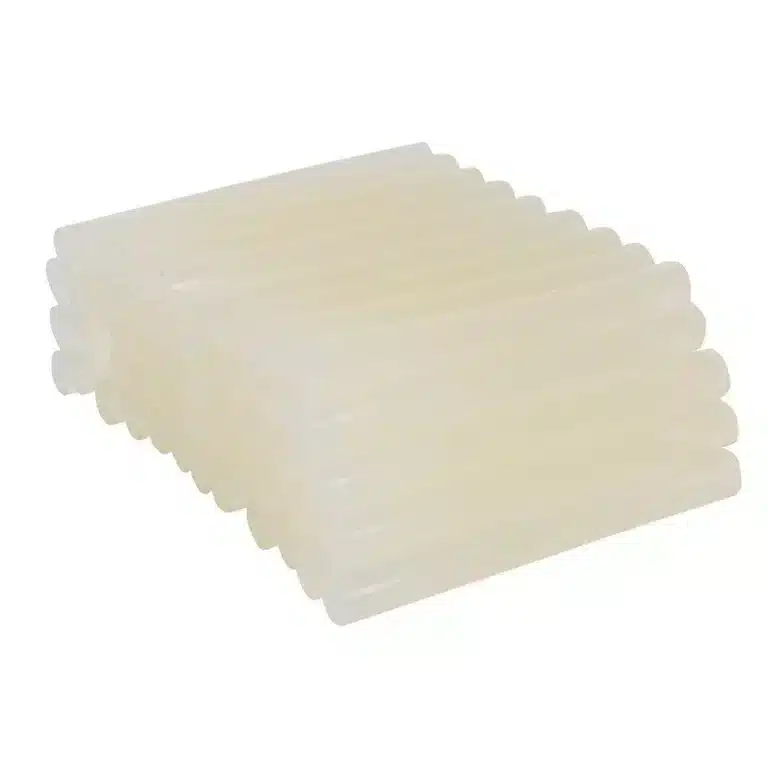
High quality transparent EVA glue sticks. Excellent adhesion to many substrates including wood, fabric, most plastics, ceramics and light gauge metals. Bonding time approximately 35 seconds. Compatible with Silverline Glue Guns (583333, 868815 & 100036). High quality transparent glue sticks For ceramics, glass, light gauge metals, wood, plastic, fabric & card Bonding time approximately 35 seconds
$6,95

FIX EXPRESS, two-component epoxy glue that repairs and fixes in just 5 minutes guaranteeing maximum mechanical resistance on wood, glass, fabric, ceramic paper, stone, plastics, rubber and metals. Weight/volume mixing ratio: 1A + 1B Don't wait any longer! Try FIX EXPRESS and discover the perfect solution for all your fixing and repair needs. Product features: Two-component epoxy glue, ideal for any application, both indoors and outdoors, solvent-free, for assembly of heterogeneous materials and quick repairs that hardens in just 5 minutes, guaranteeing maximum mechanical resistance on wood, glass, fabric, ceramic paper, stone, plastics, rubber and metals. ⏱️ Fast drying: Its advanced formula dries in just 5 minutes. After 20 minutes, it can be sanded and polished, giving you a perfect finish in no time. 💪 Strong and Versatile: Thanks to the epoxy molecules, FIX EXPRESS offers excellent adhesion on many different surfaces, making it a practical and powerful solution for every repair need. 🎨 Customisable: Can be easily coloured with Resinpro dyes, allowing you to unleash your creativity. 👍 Easy to use: Simply mix the two components in a 1:1 ratio for 30 to 45 seconds and apply immediately. The working time is 2-3 minutes, with complete setting in 5-6 minutes (at 25°C). 💧 Anti-Drip: Designed for a clean application, without unwanted drips during use. ✅ Safe and Practical: BPA-free and transparent, FIX EXPRESS is safe for use in any context. It comes with two separate bottles for easy dosing, avoiding accidental solidification. Applications for use with epoxy resin: It repairs and fixes in just 5 minutes with FIX EXPRESS, the two-component epoxy glue that guarantees maximum mechanical resistance on a wide range of materials: wood, glass, fabric, paper, ceramics, stone, plastic, rubber and metals. 🎨 Artistic creations: Ideal for unique and detailed works, paintings, photos, neons, jewellery, coatings, labels, doming, etc… ✅ Coatings: Achieves decorative, shiny and durable protective finishes. 💍 Jewellery: Designs shiny and resistant pieces, with a flexible finish. 🏗 Modeling: Perfect for creating mouldable, flexible and durable artistic works.
$36,49
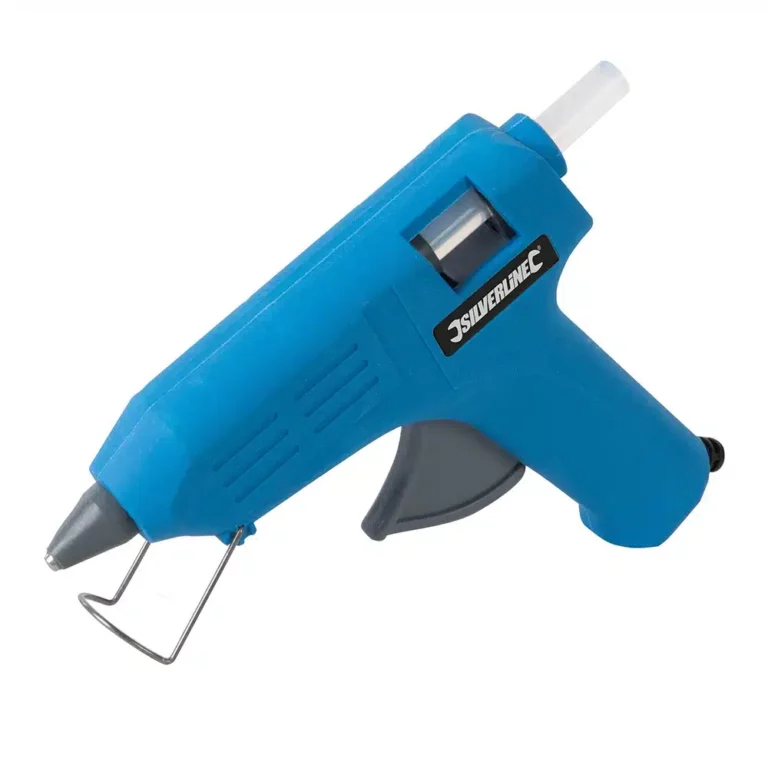
Hot melt glue gun suitable for light craft use with wood, metal, glass, fabric, plastic, ceramics and card. Smooth trigger action for optimum control and integral fold away stand. Includes 2 glue sticks. For use with ceramics, glass, light gauge metals, wood, plastic, fabric & card For light craft use Smooth trigger action Input 230V~50Hz Power 15(40)W Glue Sticks 0.44 x 3.94 "" What's in the Box 1 x Hobby Glue 2 x Glue sticks 1 x Manual
$17,95
How to Remove Fresh Glue Residues
When it comes to removing fresh glue residues, acting promptly is key. Follow these steps for effective removal:
- 1. Absorb: Use a clean cloth to absorb as much fresh glue as possible.
- 2. Solvent: Use a solvent specific to the type of glue to remove the residue.
- 3. Acetone: For resin-based glue, try using acetone to dissolve it.
- 4. Scrape: If the residue has hardened, gently scrape it off with a spatula.
- 5. Final Cleaning: Clean the area with water and soap to eliminate any remaining traces.
Always test the solvent or acetone on a small hidden area for compatibility with the surface.
Tips for Removing Fresh Glue Residues
To effectively remove fresh glue residues, consider these simple steps
- Check the glue's freshness before proceeding.
- Gently dab the affected area with a clean, dry cloth.
- For soft glue, use a cloth soaked in warm water and neutral soap.
- Alternatively, apply isopropyl alcohol on a clean cloth to rub on the residues.
- Repeat the process until all fresh glue is removed, avoiding aggressive solvents that may damage surfaces.
Cleaning Silicone Molds
Maintaining clean silicone molds is essential. Follow these steps for proper cleaning:
Remove dust and surface dirt with a soft cloth or gentle brush.
Prepare a solution of warm water and mild soap.
Clean the molds by gently using the solution with a sponge or cloth.
Rinse thoroughly with clean water to remove soap residue.
Dry the molds completely with a soft cloth or air drying.
For deeper cleaning, consider diluted isopropyl alcohol.
By following these steps, you can ensure your silicone molds remain clean and well-maintained.
Removing Resin Traces
For effective removal of resin traces, follow these steps:
Use a resin solvent like acetone or isopropyl alcohol.
Dab the affected area gently with a clean cloth soaked in the solvent.
If needed, use a plastic spatula to scrape off stubborn residues.
Repeat the process until all resin is eliminated.
Wash the area with water and soap to remove any solvent residues.
Test the solvent on a hidden area to ensure compatibility with the material.
Sanitizing Processing Tools
To properly sanitize processing tools, adhere to these steps:
- 1. Cleaning: Remove dirt and grease with water and degreasing detergent.
- 2. Disinfection: Use a specific disinfectant following the manufacturer's instructions.
- 3. Rinsing: Thoroughly rinse off the disinfectant with clean water.
- 4. Drying: Dry the tools completely with clean cloths or air dry.
- 5. Storage: Store the clean, dry tools in a contaminant-free area.
By following these guidelines, you can maintain a safe and hygienic working environment.
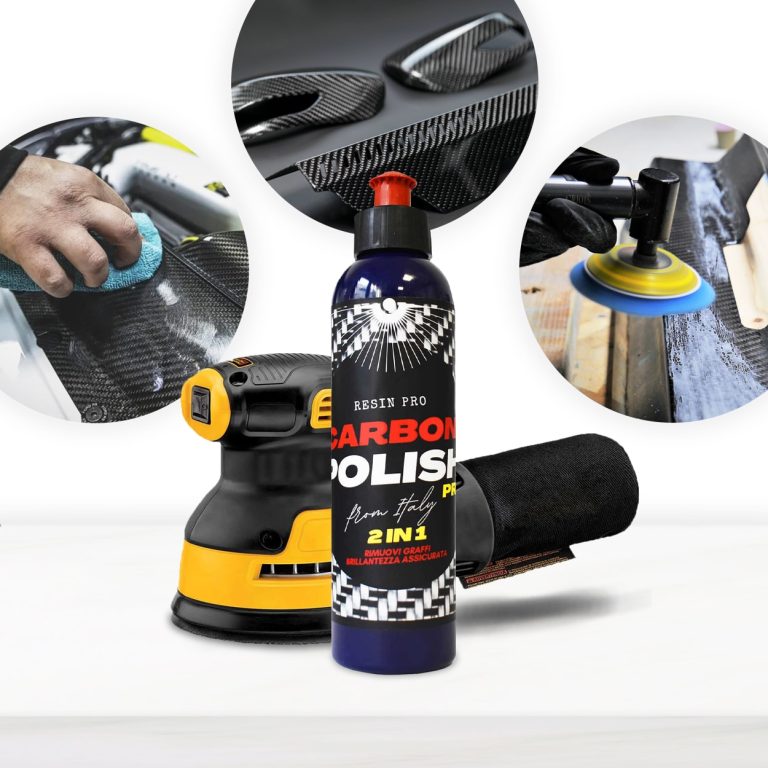
Carbon Polish Black (250ml) is the defined product for polishing your carbon, dark or black surfaces. The aesthetic and economic value of the carbon product is high, and for this reason it is essential to treat the surface with specific and dedicated products, which enhance the beauty of the “carbon look”. It is important to avoid “generic" products that can spoil the work done, with insufficient gloss or even worse, fail to remove scratches. EASY TO APPLY AND REMOVE MISCIBLE WITH WATER ODOURLESS DOES NOT WHITEN PLASTIC PARTS DOES NOT CONTAIN SILICONES VERY LOW ENVIRONMENTAL IMPACT The carbon polishing paste Carbon Polish Pro Black has been developed in a black colour precisely to ensure a brilliant finish and without white dots, typical of generic abrasive pastes. It can therefore be used for all dark surfaces (especially resin). Carbon Polish Pro Black is the specific paste for carbon; black colour prevents residues from remaining visible on surfaces after polishing. Thanks to the NAP (Nano Abrasive Particles) it is a 2 in 1 product; in fact it quickly removes scratches and defects from the surface and gives at the same time a deep shine like only a polish can do. In addition, its Synthetic Polymers allow you to correct and fill all the imperfections on the surfaces of Resin and carbon fiber artifacts. Eliminate scratches, defects and mirror shine with a single product! Carbon Polish Pro Black carbon polishing paste can be used both on the painted carbon and directly on the epoxy resin that covers the carbon fibers. Unlike commercial Polishes, Carbon Polish Pro Black is 100% Made in Italy, born from over 50 years of tradition in polishing. It allows both the hobbyist and the professions to obtain performing results quickly and easily. Here are the simple steps to polish or eliminate blemishes from your carbon fibre surfaces: If you need to use glass paper to remove the deepest scratches, you can do so without hesitation. The polishing paste will then be able to remove the sanding marks and make the surface smooth and shiny. Here's how:- The polishing paste Carbon Polish Black can be used by hand with extreme simplicity, with the help of a microfiber cloth or a foam pad. Or it can be used with electric tools, such as a drill and flexible, equipped with a special shepherd and foam pad (8000-12000 rpm) or with a polisher (1000-2000 rpm both rotary and ro orbital) with foam pad or wool (also synthetic). The use of tools of this kind will speed up the maintenance and ensure optimal results in even faster times. How to prepare the surface to be polished? Here are the tricks to make the most of NAP (Nano Abrasive Particles) technology:- Removals defects and scratches from sanding Depending on the depth of the scratch/defect, start with abrasive papers grit 800-1000 (for deep scratches) or simply 3000-4000 (for light scratches), always tend the surface wetted with water (this will help to make the result homogeneous) Apply the polishing paste for carbon fiber on the surface and spread it with circular and more or less energetic movements depending on the defect you want to remove. Or by directly attaching the buffer of the polisher / hose. We recommend one / two drops of carbon polishing paste every 3-4 cm. You can apply it several times thanks to synthetic polymers, without risking consuming the carbon, until the result is perfect. Clean up simply with water and a clean cloth. Put on your sunglasses and enjoy the dazzling result! Surface renewal: The product is also suitable as a fast and effective tool to renew your precious carbon surfaces, which wear out with normal use or exposure to atmospheric agents. In this case, the process is even easier: it is sufficient to apply the paste on the surface (well cleaned) and roll it out with circular movements, or by directly applying the buffer of the polisher / flexible. We recommend one / two drops of carbon polishing paste every 2-3 cm. The carbon polishing paste Carbon Polish Pro Black has been developed in black colour precisely to ensure a brilliant finish and without white dots, typical of generic abrasive pastes, and can therefore be used for all dark surfaces (especially resin). The special formula is free of volatile silicones and is therefore not harmful to health; it can also be used in painting processes.
$21,49
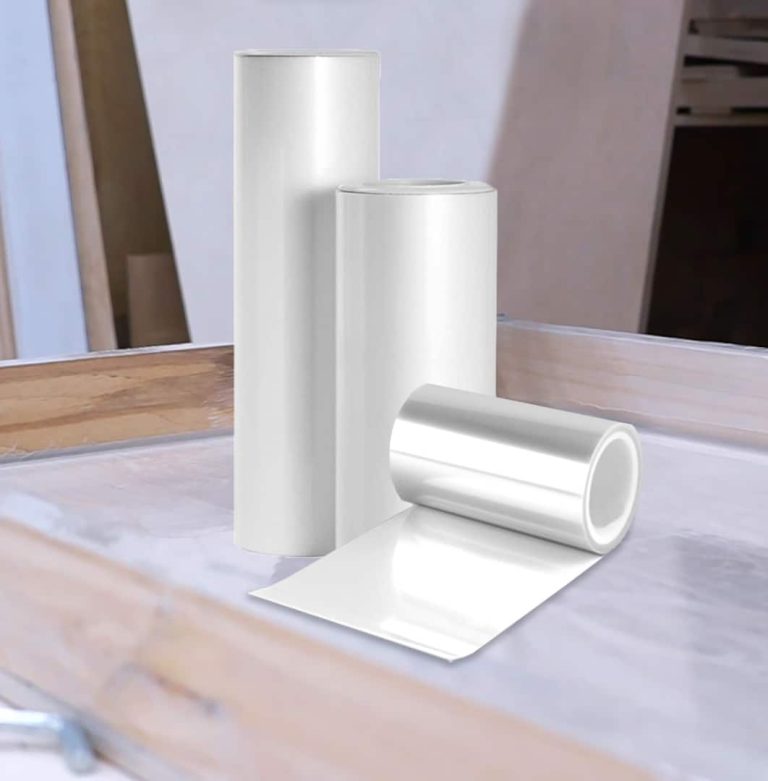
"SHINY SHIELD" - Glossy Release Film For Coasters & Table`s Frames Great tool for achieving the best results: ✔️ "Shiny Shield" release Film for Epoxy, Polyurethane and Acrylic Resins. ✔️ Transparent, adhesive and easily removable, it won’t leave any sticky traces on the workpiece; ✔️ Applicable on ALL SURFACES; ✔️ Specifically developed for CASTING FORMWORK EXTERNAL COATINGS. It is easy to apply without unevenness, creating a smooth, glossy and bubble-free surface, which will help easily release your epoxy project from the frame; ✔️ Once the resin has solidified, the "Shiny Shield" film can be easily removed, leaving a HIGHLY POLISHED even surface; ✔️ REUSABLE several times; ✔️ It does not require any kind of additional treatment and it is IMMEDIATELY READY to be poured. For any queries or if you may need some advice, please contact the ResinPro technical department!
$4,62
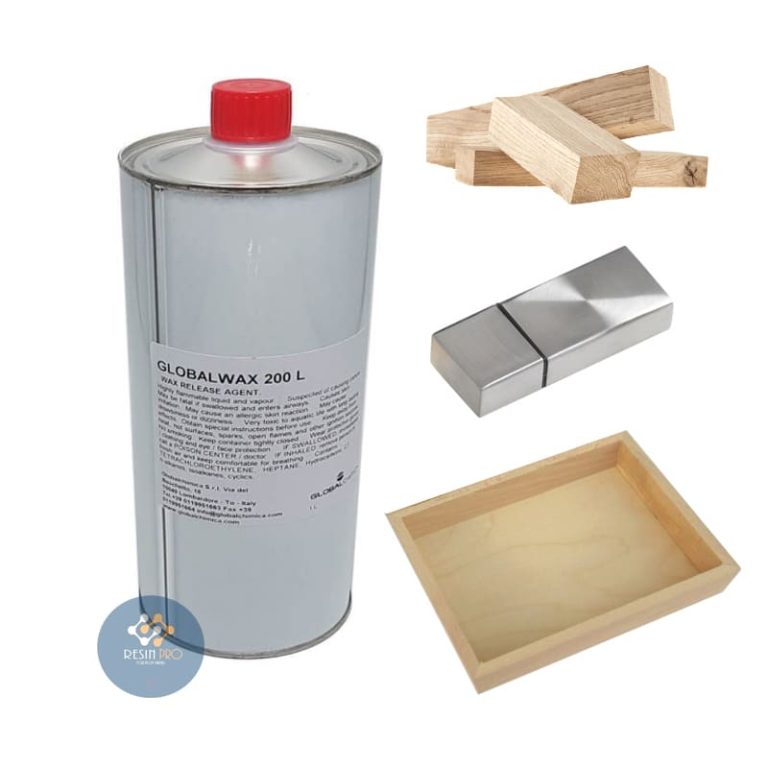
Global Distacc A Distacc Release Wax (Liquid) for Epoxy, Polyurethane and Acrylic Resins. The GlobalA A 2 200 L Liquid is a wax-based product for application with a pen or spray gun Resistant up to + 180 C The Global -a A distacc release agent (Liquid) creates a wax film on the mould surface and model, with a strong anti-adhesion action and high temperature resistance (up to + 180 C It is particularly recommended in the preparation of moulds and formwork in which to cast resin. You can apply it on wood, metal, plastic and even cardboard, making the surface perfectly anti-adherent in which to pour resin or other compounds in just a few minutes. IT IS NOT RECOMMENDED TO USE LIGHTERS, HEAT GUNS OR DEVICES THAT INCREASE THE TEMPERATURE (FOR EXAMPLE WHEN YOU WANT TO REMOVE BUBBLES FROM THE RESIN OR ACCELERATE THE CATALYSIS TIME). Application-brush or spray gun Colour – - white It is a liquid wax release agent packed in 1 liter packs. It is a very effective detachment agent that can be applied by brush or gun. It dries quickly in 2-3 minutes and keeps all the details of the mould. This product belongs to the second category; work only with protective equipment during use. The second category of products - Air freshener, candles, pressed wood, mothballs, non-stick frying pans, plastic bottles. May have carcinogenic properties. CAUSES SKIN IRRITATION. THIS MAY CAUSE AN ALLERGIC SKIN REACTION. THIS MAY CAUSE DROWSINESS OR DIZZINESS. VERY TOXIC TO AQUATIC ORGANISMS WITH LONG-LASTING EFFECTS. HIGH PRESSURE BOTTLE: IT MAY EXPLODE WHEN HEATED. KEEP AWAY FROM HEAT SOURCES, HOT SURFACES, SPARKS, OPEN FLAMES OR OTHER SOURCES OF IGNITION. DON'T SMOKE. DO NOT PIERCE OR BURN EVEN AFTER USE. PROTECT FROM SUNLIGHT. DO NOT EXPOSE TO TEMPERATURES ABOVE 50°C/122°F DO NOT VAPORIZE OVER AN OPEN FLAME OR A SOURCE OF STRONG EXPOSURE TO THE EYES/FACE. DO NOT SPRAY IN THE ENVIRONMENT. contains: TETRACHLOROETHYLENE, heptane, HYDROCARBONS, C7, N-ALKANES, ISOALKANES CYCLIC.
$22,95
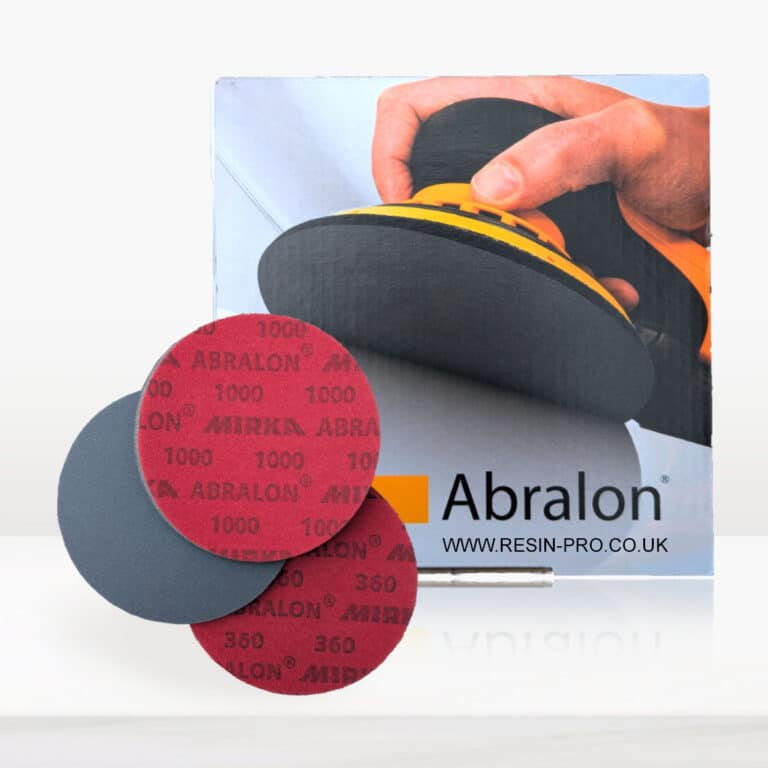
New line of polishing products SPECIFIC for plastic and resins industry. Ebonite Abralon Sanding Pads: - Ebonite Abralon Sanding Pad 150mm 360 grit - Ebonite Abralon Sanding Pad 150mm 500 grit - Ebonite Abralon Sanding Pad 150mm 1000 grit - Ebonite Abralon Sanding Pad 150mm 2000 grit - Ebonite Abralon Sanding Pad 150mm 3000 grit - Ebonite Abralon Sanding Pad 150mm 4000 grit Ebonite Abralon Sanding Pads Cosmetically appealing, consistent scratch pattern provides excellent traction. Combines the benefits of abrasive cloth and non-woven products. Opening in the fabric allows water to flow freely around the abrasive. Solid surface and foam backing provide even surface pressure. Last 5+ times longer than sandpaper. Use wet or dry (residual material can be removed by high pressure air). Now it's possible to get the most aggressive surface texture without that "cheese grater" look. Abralon sanding pads use silicon carbide particles that are precision sifted to a consistent grain size, then bonded evenly to a six-inch round fabric face for the most even scratch pattern available. WARNINGS: During processing, use protective masks, gloves, and other protective clothing. In case of contact with eyes, immediately rinse with cold water for 15 minutes and immediately consult a doctor. How to Use: Step 1: Thoroughly clean the surface with a cloth. Step 2: Now you can polish by hand or with an orbital polisher. We recommend using the lowest possible speed to get the best result. Start Polishing with 360-500 grit. Note: Sand the entire surface evenly with circular movements and light pressure. Moisten the pad or the surface with water from time to time. Step 3: Now use the 1000 grit sandpaper. Note: Moisten the sandpaper or the surface with water from time to time. Step 4: Afterwards, use 2000 grit sandpaper. Note: Moisten the sandpaper or the surface with water from time to time. Lastly, use 4000 grit sandpaper to finish sanding. Step 5: Remove the sandpaper from the polishing disc and attach a soft sponge to it. Rinse the surface or wipe it with a damp cloth to remove any residual grain of the sanding. Step 6: Apply EpoxyPolish Polishing cream on the damp sponge. Use by hand or with an orbital polisher, using a large circular motion and exerting slight pressure. Step 7: Clean the surface with plenty of water to remove all the remaining residues. Step 8: Enjoy the result!!!
$5,61
 Free shipping on orders over €199,00
  Shipping Tracking!


 Google
 Facebook