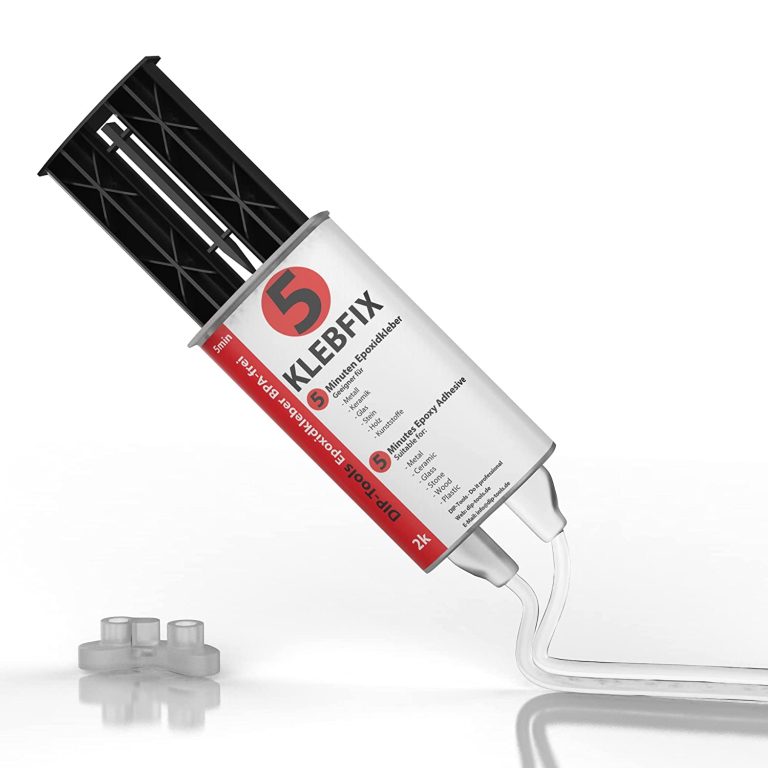
Advantages of Two-component Epoxy Resin Adhesive Extreme strength and resistance to thermal and mechanical influences Resistant to most aggressive substances and oils Available solvent free and BPA free It hardens even under water Compatible with a wide range of additives such as dyes and accelerators Expedited Potlife Application – BestPractice At room temperature (15-30 C The mixing ratio of the two components of 1: 1 is maintained automatically. Do not apply below 5 C outdoor temperature. The higher the ambient temperature, the more effectively the material polymerizes. This means that resistance increases at higher temperatures. It is recommended to have a cloth ready for cleaning. In addition, care must be taken that the work surface is protected and can be cleaned directly if necessary. The surface should be slightly roughened, because only then is the epoxy adhesive guaranteed to bond well with the material. To do this, you can sand or file the surface. To spread the sticker, a piece of cardboard or plastic is useful. After use, clean the tube so that the lid does not stick, and then close it tightly. The thickness of the adhesive should be thin enough (0.1-0.2 mm), but if necessary it can be thicker. The parts to be glued must be clean and free of oil and grease. Apply the adhesive on one side and join and press the parts to be glued. The potlife is about 5 minutes, good endurance is achieved after about 10-12 minutes, and total endurance after about 24 hours. Pot life is limited in time and describes the maximum working time of the uncured adhesive. Once the pot life has passed, the adhesive not yet applied must not be further processed, but must be disposed of! Until the manual force is reached, the binding must be additionally fixed, for example, with the help of a vice, adhesive tape or clamp. In the case of heat-assisted polymerisation, the temperature resistance of the joined parts must be guaranteed. In addition, the heating and cooling times of the parts to be joined must be respected. This time must be added to the curing time of the adhesive. Tension can occur in the glued joint during heating and cooling. With materials such as PP, PE, PTFE or silicone, the parts need to be pretreated with our primer. The need for a primer depends on the surface tension. If this is high enough it can be tested with water droplets on the surface. If the drops adhere well to the surface, a good bond is most likely. If the drops slip away, a primer is probably needed. Mixing There are several ways to mix the two components: - Mixing by hand - Use of a static mixing nozzle - Use of a dynamic mixing nozzle Hand mixing is sufficient in most cases. For this purpose, a toothpick or similar is used and the two components are mixed until a cloudy mass is formed. Make sure that no bubbles remain. When using a static mixing nozzle, the mixing of both components takes place inside the mixing nozzle so that the mixing is ideal. The first 2g should be discarded, given they are not yet mixed 1:1. However, the mixing nozzle can only be used until the adhesive in the mixing nozzle has dried. After that, you will need a new nozzle. W With a dynamic mixing nozzle, the speed of the mixer can be controlled electronically. This allows you to control the mixing intensity very precisely. However, this is intended for special industrial applications and is not necessary for everyday use. Harden The adhesive is chemically cured. This gives the advantage that gluing the surface is also possible, where adhesives that harden with moisture take a very long time. The bond is high strength and densely flexible. Thus, permanent resistance can be guaranteed in the event of shocks and vibrations. The use of the polymerised adhesive is also possible at high temperatures (up to about 120C), for a short time (30 min) up to 200C The polymerised adhesive has good resistance to physical (e.g. sunlight) or chemical (moisture, detergents, chemicals, etc.) influences. The great advantage of two-component epoxy adhesive is the fact that it hardens even under water and is robust. In addition, it is mouldable, so it can be inserted into any recess to fit. Technical data Epoxy Resin Hardener Base (amine mixture) Viscosity High Viscosity Transparent Color Density 1.1 g / ml Gap filling capacity 3mm Temperature resistance -40 up to +120 C Pot Life 5 min Hand resistance 10-12 min Final endurance 24 hours Shore hardness 60 Tensile shear strength 10 N / mm2 Module E 620 N / mm2
$32,95

FIX EXPRESS, two-component epoxy glue that repairs and fixes in just 5 minutes guaranteeing maximum mechanical resistance on wood, glass, fabric, ceramic paper, stone, plastics, rubber and metals. Weight/volume mixing ratio: 1A + 1B Don't wait any longer! Try FIX EXPRESS and discover the perfect solution for all your fixing and repair needs. Product features: Two-component epoxy glue, ideal for any application, both indoors and outdoors, solvent-free, for assembly of heterogeneous materials and quick repairs that hardens in just 5 minutes, guaranteeing maximum mechanical resistance on wood, glass, fabric, ceramic paper, stone, plastics, rubber and metals. ⏱️ Fast drying: Its advanced formula dries in just 5 minutes. After 20 minutes, it can be sanded and polished, giving you a perfect finish in no time. 💪 Strong and Versatile: Thanks to the epoxy molecules, FIX EXPRESS offers excellent adhesion on many different surfaces, making it a practical and powerful solution for every repair need. 🎨 Customisable: Can be easily coloured with Resinpro dyes, allowing you to unleash your creativity. 👍 Easy to use: Simply mix the two components in a 1:1 ratio for 30 to 45 seconds and apply immediately. The working time is 2-3 minutes, with complete setting in 5-6 minutes (at 25°C). 💧 Anti-Drip: Designed for a clean application, without unwanted drips during use. ✅ Safe and Practical: BPA-free and transparent, FIX EXPRESS is safe for use in any context. It comes with two separate bottles for easy dosing, avoiding accidental solidification. Applications for use with epoxy resin: It repairs and fixes in just 5 minutes with FIX EXPRESS, the two-component epoxy glue that guarantees maximum mechanical resistance on a wide range of materials: wood, glass, fabric, paper, ceramics, stone, plastic, rubber and metals. 🎨 Artistic creations: Ideal for unique and detailed works, paintings, photos, neons, jewellery, coatings, labels, doming, etc… ✅ Coatings: Achieves decorative, shiny and durable protective finishes. 💍 Jewellery: Designs shiny and resistant pieces, with a flexible finish. 🏗 Modeling: Perfect for creating mouldable, flexible and durable artistic works.
$36,49
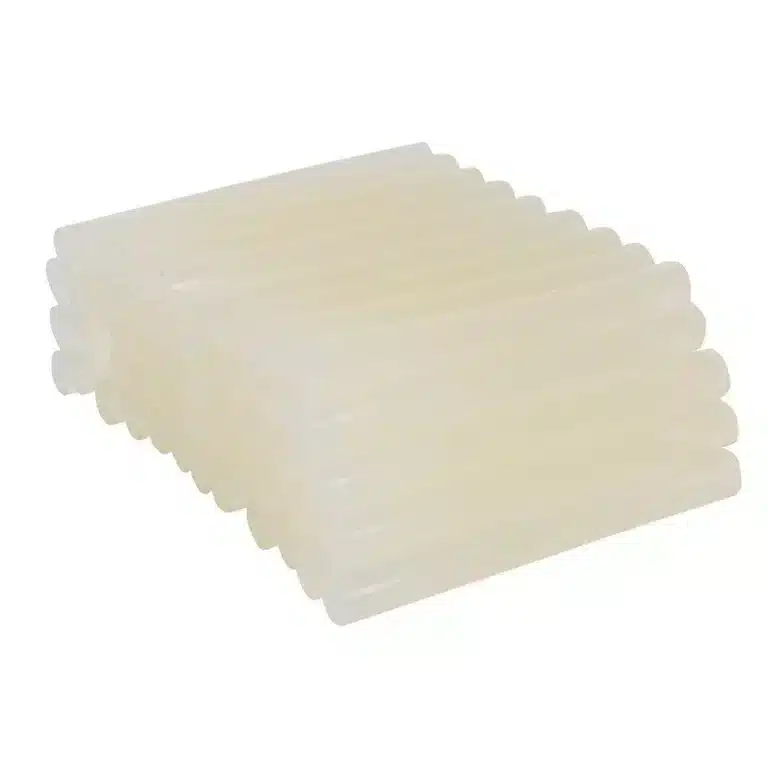
High quality transparent EVA glue sticks. Excellent adhesion to many substrates including wood, fabric, most plastics, ceramics and light gauge metals. Bonding time approximately 35 seconds. Compatible with Silverline Glue Guns (583333, 868815 & 100036). High quality transparent glue sticks For ceramics, glass, light gauge metals, wood, plastic, fabric & card Bonding time approximately 35 seconds
$6,95
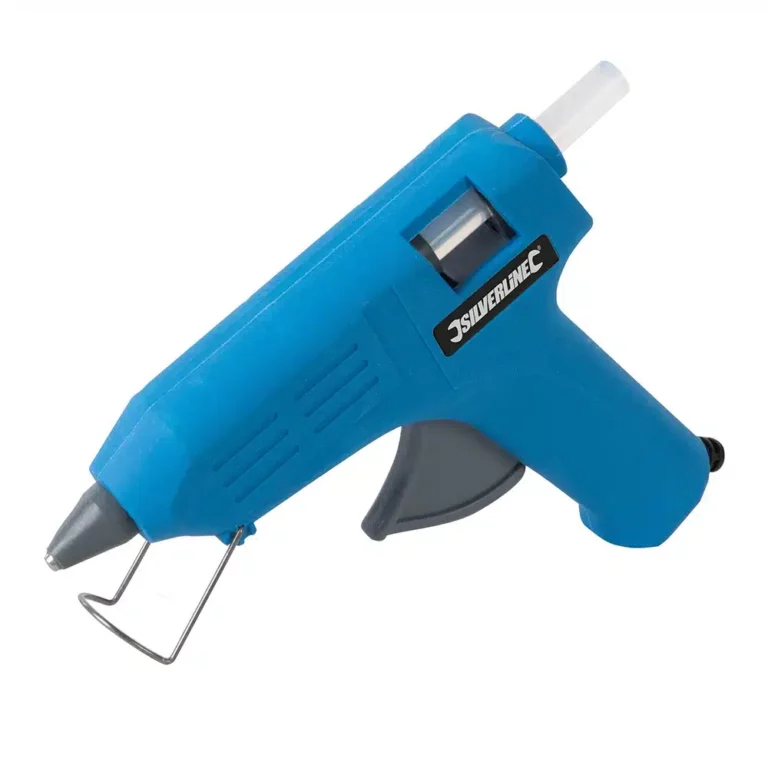
Hot melt glue gun suitable for light craft use with wood, metal, glass, fabric, plastic, ceramics and card. Smooth trigger action for optimum control and integral fold away stand. Includes 2 glue sticks. For use with ceramics, glass, light gauge metals, wood, plastic, fabric & card For light craft use Smooth trigger action Input 230V~50Hz Power 15(40)W Glue Sticks 0.44 x 3.94 "" What's in the Box 1 x Hobby Glue 2 x Glue sticks 1 x Manual
$17,95
How to Remove Glue from Glossy Plastic Surfaces
When it comes to removing glue from glossy plastic surfaces, using a mild solvent like acetone is recommended. Simply dampen a cotton ball with acetone and gently dab the affected area, taking care not to harm the plastic surface. Acetone is effective in dissolving various types of glue without causing damage to the underlying material. Prior to application, it's crucial to conduct a patch test on a small, inconspicuous area to ensure compatibility with the glossy plastic. Always work in a well-ventilated space and adhere to the safety guidelines provided on the acetone product label.
Clear Epoxy Resin for Protective Coatings
Clear epoxy resin is a versatile material widely utilized for creating protective coatings and glossy finishes on diverse surfaces. Its crystal-clear transparency makes it ideal for achieving smooth, shiny surfaces on tables, countertops, DIY jewelry, and more. This two-component resin mixture hardens to form a robust and durable coating, effectively safeguarding underlying surfaces from wear, moisture, and scratches. Easy to manipulate, clear epoxy resin also enables the creation of captivating artistic and decorative effects.
How to Safely Remove Epoxy Resin from Plastic
To safely eliminate epoxy resin from plastic surfaces, follow these steps
Soften the resin using a hairdryer or heat gun.
Gently scrape off the softened resin with a plastic spatula or fine-grit sandpaper.
Employ a mild solvent like acetone or isopropyl alcohol to dissolve any remaining residues.
Wipe the surface with a cloth moistened with the solvent to complete the cleaning process.
Rinse the plastic surface with water and soap to eliminate any residual solvent.
Remember to test the solvent on a hidden section of the plastic for compatibility and always work in a well-ventilated area.
Epoxy Resin Application on Glossy Surfaces
Epoxy resin application on glossy surfaces is a popular choice for achieving glossy and protective finishes on materials such as wood, metal, and plastic. Before applying epoxy resin, meticulous surface preparation is essential to ensure cleanliness, dryness, and freedom from dust and grease. Lightly sanding the surface enhances resin adhesion. During application, maintain a well-ventilated setting to prevent air bubble accumulation in the resin. For a flawless glossy finish, apply multiple thin layers of resin followed by a final polish.
Removing Epoxy Resin from Clear Plastic Surfaces
To remove epoxy resin from a clear plastic surface, follow these steps:
Carefully scrape off hardened resin with a spatula or plastic card.
Use acetone or isopropyl alcohol to dissolve any remaining residues, ensuring no damage to the plastic.
If residues persist, opt for a solvent specific to epoxy resins, following the manufacturer's instructions diligently.
After treatment, thoroughly cleanse the surface with water and mild soap to eliminate all solvent traces.
Always conduct a compatibility test in an inconspicuous area before using any product or method on clear plastic surfaces.
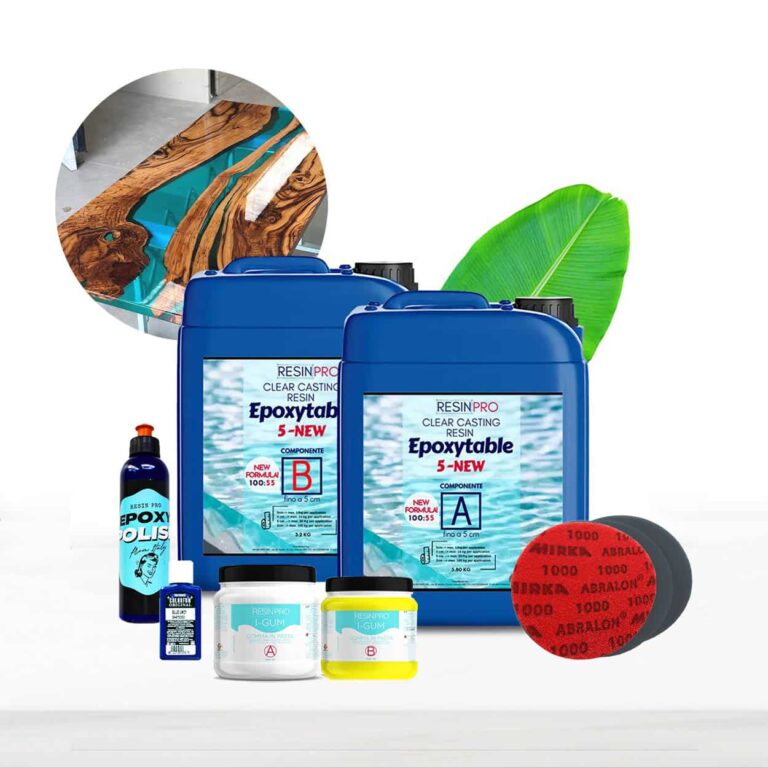
💥 About Сomplete Kit "RIVER-TABLE" - For Creating Your First Table: Resin Kit for Tables and Crafts - the perfect starter pack for resin enthusiasts of all levels. This comprehensive kit includes everything you need to create stunning resin tables, crafts, and more. With easy-to-follow instructions and high-quality materials, even beginners can achieve professional results. You will find everything you need to create the container, the resin and the final polish. Detailed instructions on how to create the formwork, and the tricks to cast the resin in few simple steps are also included. Dive into the world of resin artistry with our Beginner Resin Kit and unlock your creativity today! Resin Pro offers to chose between two epoxy types - -"Transparent" casting resin up to 2cm or -Deep pour "Epoxytable-5" up to 5cm. 💥What`s included: "BEGINNER" KIT - Have you always dreamed of owning a stunning, contemporary table crafted from wood and resin? Now, you can bring that dream to life without breaking the bank! Our BEGINNER kit offers an affordable solution, enabling you to effortlessly and swiftly create your very own wooden and resin table. • 9kg of deep pouring resin up to 5cm OR 8kg of casting resin up to 2cm. • Glossy "Shiny Shield" release film (32cm*2m) • 500gr Non-toxic silicone paste to seal your frame • Polishing KIT (polishing pads 6pcs + professional polishing paste 250ml) • 50ml colourants • Detailed instructions on how to create the formwork step by step and pour the resin. The kit is sufficient to create a table with an area of 0.5 m2 (e.g. 45 cm x 80 cm, thickness 2 cm) - These quantities are calculated by simulating a "classic" 2/3 wood and 1/3 resin table. For any queries or if you may need some advice, please contact the ResinPro technical team. "PRO" KIT - Ready to unleash your creativity with a sleek wood and resin table? Look no further! Our PRO kit offers everything you need to effortlessly and swiftly bring your vision to life. • 18kg of deep pouring resin up to 5cm OR 16kg of casting resin up to 2cm. • Glossy "Shiny Shield" release film (32cm*3m) • 500gr Non-toxic silicone paste to seal your frame • Polishing KIT (polishing pads 6pcs + professional polishing paste 250ml) • 100ml colourants • Detailed instructions on how to create the formwork step by step and pour the resin. The kit is sufficient to create a table with an area of 1 m2 (e.g. 70 cm x 100 cm, thickness 2 cm) - These quantities are calculated by simulating a "classic" 2/3 wood and 1/3 resin table. For any queries or if you may need some advice, please contact the ResinPro technical team. "MAESTRO" KIT - Are you a DIY enthusiast eager to craft a stunning, contemporary wood and resin table? This exclusive offer is tailored just for you! With the MAESTRO kit, you can effortlessly and promptly bring your wooden and resin table masterpiece to fruition. • 30kg of deep pouring resin up to 5cm OR 32kg of casting resin up to 2cm. • 500gr Non-toxic silicone paste to seal your frame • Polishing KIT (polishing pads 6pcs + professional polishing paste 250ml) • 150ml colourants • Detailed instructions on how to create the formwork step by step and pour the resin. The kit is sufficient to create a table with an area of 2 m2 (e.g. 90 cm x 150 cm, thickness 2 cm) - These quantities are calculated on a "classic" 2/3 wood and 1/3 resin table. For any queries or if you may need some advice, please contact the ResinPro technical team! If you have not enough experience, we insistly suggest to make a small test before working with large project. WARNINGS: During processing, use protective masks, gloves, and other protective clothing. In case of contact with eyes, immediately rinse with cold water for 15 minutes and immediately consult a doctor. Get inspired by creative works [pinterest_carousel gallery_id="776800704417739261"]
$270,49
![]()
Stones & Binder Calculator Area sqm (L*W*1m): Thickness (cm)*: Calculate Stones: 0 kg Resin binder: 0 kg *Recommended minimum thickness for driveway: 2 cm; Other areas: 1.5 cm. Certified Non-Toxic Transparent Epoxy Binder This resin has been specifically formulated to ensure an impeccable result in various applications. Thanks to its high gloss and transparency, and low viscosity, it offers a flawless, clear, and bubble-free result for your colored pebbles or aggregates. It is also certified non-toxic for skin contact post-cure. High Resistance and Durability Excellent resistance for your permeable floor: this binder ensures outstanding mechanical performance once cured. It also cures very quickly, making the floor walkable and fully usable in just 24 hours. Guaranteed Yellowing Resistance The cycloaliphatic amine-based hardener, along with the use of UV filters, guarantees high resistance to yellowing. Key Features High transparency Excellent mechanical resistance Good chemical resistance and carbonation resistance High impregnation and structural reinforcement for permeable floors Long working time Glossy surface High UV resistance for long-lasting creations (low yellowing) High mechanical resistance for scratch protection Low viscosity that reduces air bubbles after curing and facilitates aggregate impregnation Odorless and solvent-free perfectly transparent and bubble-free thanks to the specific formula for natural stones and colored marbles Curing Time Complete curing is achieved in about 24 hours, but the product can be walked on after just 10 hours. Ideal Applications The ideal applications for "ultra-transparent" epoxy resin include colored or dark-colored pebbles and aggregates. Consider these indicative data for epoxy resin for colored aggregates: 1-2 mm - for 20-25 kg of aggregate, add 800g of epoxy resin 3-5 mm - for 20-25 kg of aggregate, add 600g of epoxy resin 6-10 mm - for 20-25 kg of aggregate, add 600g of epoxy resin 10-20 mm - for 20-25 kg of aggregate, add 400g of epoxy resin Main Technical Data (Click the "TDS" icon for the full technical data sheet) Pot-life (150g at 30°C): 1h20' Complete cure after 24h Film cure (1mm at 30°C): 6h Supplied in plastic cans Maximum casting thickness: 2 cm (7 kg at 20°C) Epoxy Resins Epoxy resins are thermosetting polymers derived from monomers containing the three-atom epoxy ring. They are widely used in the production of advanced composite materials, obtained by combining the resin with fibers.
$45,95
Intense and brilliant color, ideal for Transparent Epoxy Resins. Mix small quantities to get a translucent effect. The high coverage of the “Colorful Original” range allows to obtain a full and bright color. The high concentration provides an opaque color with a few drops.
Usable to color the products of the RESIN PRO range.
💥 Ideal for epoxy creations and resin tables thanks to its features:
✔️ Intense colors
✔️ Easy to mix
✔️ Intense colors
✔️ High concentration
✔️ Easy to get a translucent effect
✔️ 5 stars on Trustpilot
🌿Cruelty Free, Vegan Friendly🐹
$16,00
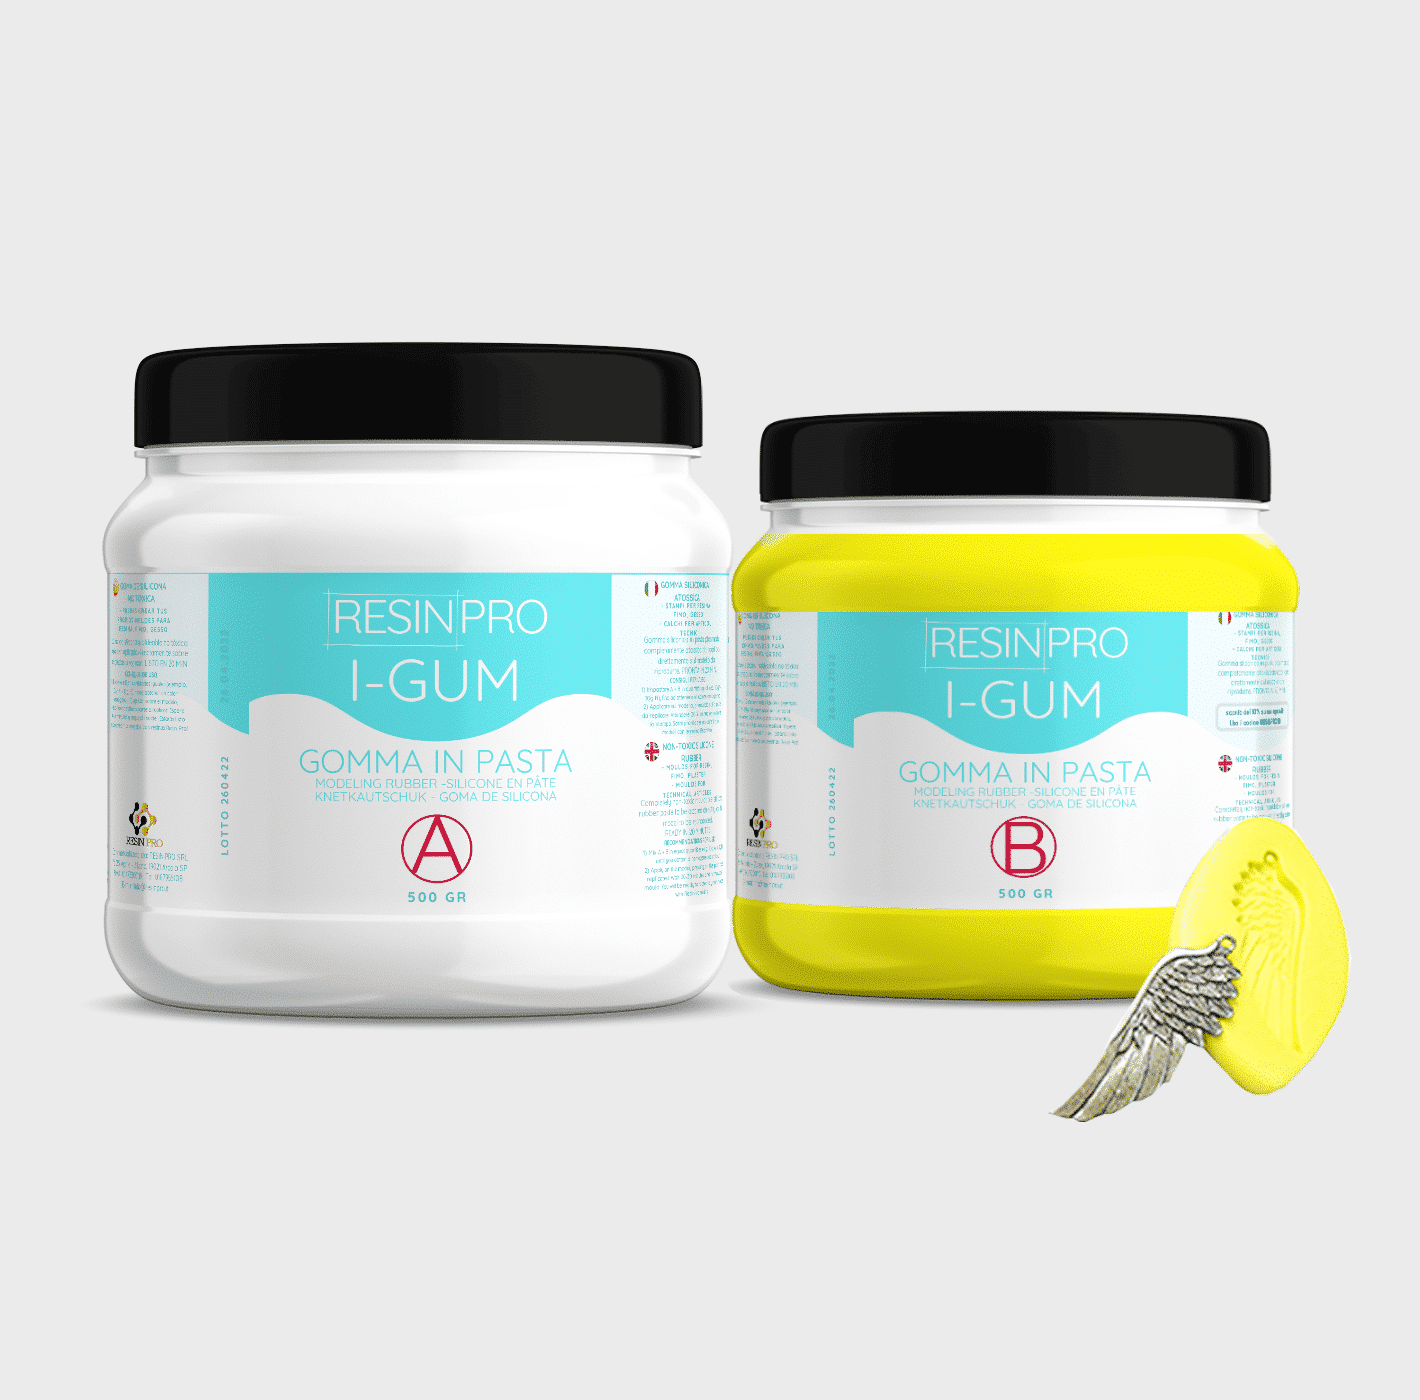
• "I-GUM" - Non-Toxic Silicone Rubber - Paste Form
Pasty silicone rubber "I-GUM" is a two–component product for creating moulds and forms for pouring with epoxy resin.
• Superior formula proven by years of experience:
✔️ Easy to use -> 1:1 mix ratio
✔️ Non-toxic -> You can work without gloves
✔️ Without smell
✔️ Long working time -> 20 minutes
✔️ European quality -> Directly from Italy
✔️ Ideal for creating moulds and frames for working with resin, polyurethanes, wax, cement and other materials
✔️ 🌿Cruelty Free, Vegan Friendly🐹
$22,00
 Free shipping on orders over €199,00
  Shipping Tracking!


 Google
 Facebook