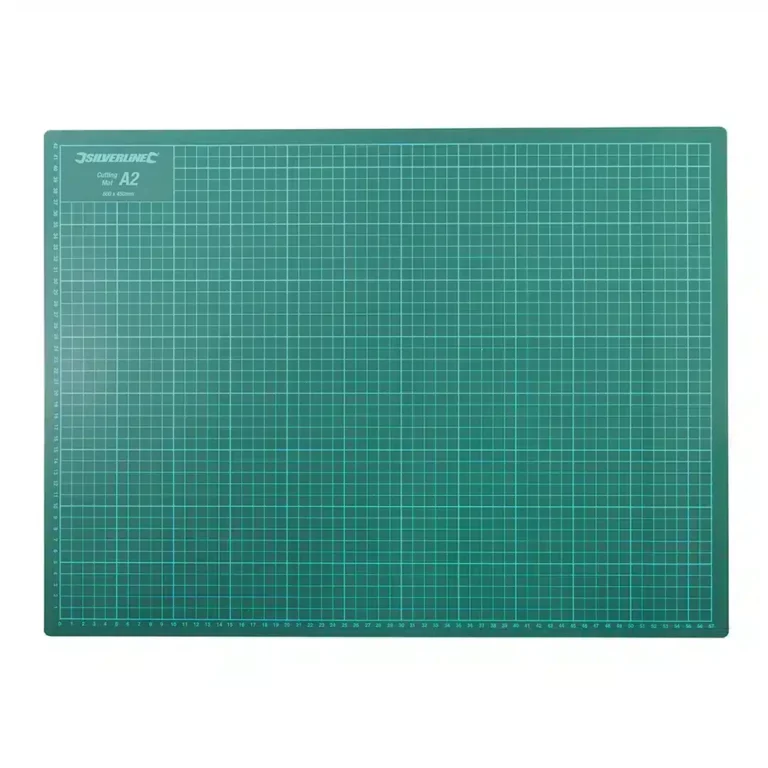
Cutting Mat is an indispensable tool for anyone working with epoxy resins, offering both practicality and precision for your crafting projects. This self-healing cutting mat provides a durable, protective surface that safeguards your work area from damage while ensuring a clean and accurate workspace. Features: Self-Healing Surface: Made from high-quality, self-healing materials, this cutting mat automatically seals cuts and scratches, extending its lifespan and maintaining a smooth surface for repeated use. Precision Grid: The mat features a grid pattern with clear, metric and imperial measurements, allowing for accurate cutting, alignment, and layout of resin components. This grid is particularly useful for precise cutting and positioning of materials. Non-Slip Design: Its non-slip surface ensures that materials stay in place during cutting and crafting, reducing the risk of shifting and improving overall accuracy. Versatile Use: Ideal for various epoxy resin tasks, including cutting templates, shaping materials, and preparing surfaces. The mat is also suitable for other crafts and DIY projects, making it a versatile addition to your toolkit. Compact Size: With its A4 dimensions, the mat is compact enough to fit on most work surfaces while providing ample space for detailed work and small to medium-sized projects. Easy to Clean: The smooth surface is easy to clean, allowing you to quickly wipe away any resin spills or debris, keeping your workspace tidy and ready for the next project. Whether you're cutting out designs, preparing materials, or protecting your work surface, the A4 Cutting Mat is a reliable and essential tool for achieving professional results in your epoxy resin projects.
$11,22
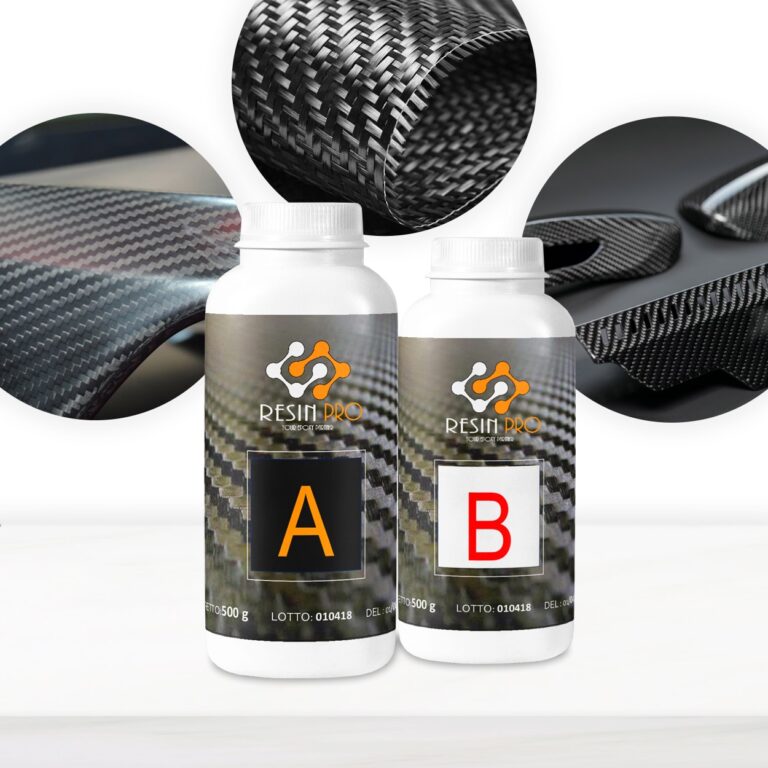
The Resin for Lamination with Carbon Fibre and Glass Fibre is a product formulated to ensure maximum mechanical strength and a perfect impregnation of the technical fabric. Its epoxy formulation allows an application at room temperature and guarantees a glossy and moisture resistant surface. Available quantities: 775 gr (500 gr of component A + 275 gr of component B). 1550 gr (1000 gr of component A + 550 gr of component B) 3.1 kg (2000 gr of component A + 1100 gr of component B)
$26,99

36 Wt. UV lamp for UV resin/gel Perfect for curing UV resin and speeding up the cure time. Provides a glossy and dry surface within seconds. Thanks to its internal refraction system, it irradiates from ALL DIRECTIONS, hardening the resin in a short time. You can just leave the mould inside the box, with no need to keep holding the UV lamp in your hand. Save your time! Cures UV resin / gel nail polish; Lifetime of 50.000 hours, professional and DIY use; 36 Wt. UV lamp reduces the cure time of the UV resin/gel by 50 % compared with standard devices. Equipped with 36 LED bulbs; Automatic sensors and pre-set timers. The UV lamp is provided with automatic sensors that enable the lamp to start functioning upon insertion of the item. The sensors automatically stop the device if you pull out your creation; The lamp works with all kinds of LED and UV gels, including restorative gels and Nail Art; Nominal input: 100-240V 50/Hz 1A; Nominal output DC 12V 1.5A; Sizes: 12 cm x 19 cm x 7.5 cm [4,72” x 7,48” x 2,95”]. USB powered (plug not included)
$18,95
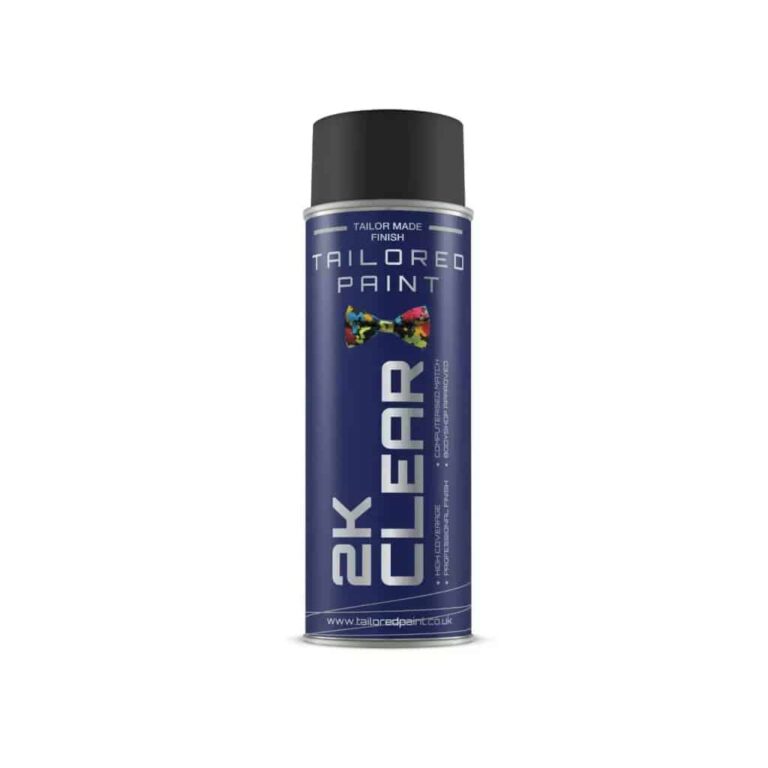
Key Features Fast Drying: Reduces waiting time between layers and project completion. High Gloss: Provides a professional and polished look to your epoxy resin creations. Easy Application: The aerosol format ensures even application without the need for additional equipment. Application Instructions Surface Preparation: Ensure the surface is clean, dry, and free of dust and grease. Application: Shake the can thoroughly before use. Spray the lacquer evenly from a distance of 20-30 cm. Layering: For best results, apply 2-3 thin layers, allowing 10-15 minutes between each layer. Drying Time: Allow the coating to fully cure for 24 hours for maximum durability and shine. Perfect for resin artists and DIY enthusiasts seeking professional-quality finishes.
$28,49
How to Reduce Minor Imperfections on Epoxy Resin and Silicone Surfaces
To minimize minor imperfections on epoxy resin or silicone surfaces, it is recommended to follow these steps:
- Begin by thoroughly cleaning the surface with a gentle detergent to eliminate dirt and residues.
- Use a fine-grit abrasive paste to evenly smooth out the minor imperfections.
- After completing the smoothing process, apply a specialized protective coating to prevent the formation of new imperfections and maintain a smooth and consistent surface over time.
- Regularly inspect and maintain the surface to uphold its quality.
Enhancing the Finish of Epoxy Resin
To elevate the finish of epoxy resin, it is crucial to adhere to the following steps:
- Ensure the surface is clean and free from dust, grease, or any contaminants.
- Gently sand the surface with fine sandpaper to eliminate imperfections.
- Apply a thin layer of transparent resin to level the surface and achieve a smoother finish.
- Consider utilizing a glossy coating for added protection and enhancement.
- Follow the manufacturer's instructions meticulously for proper application and drying of the epoxy resin.
By following these guidelines, you can attain a flawless finish on your epoxy resin projects.
How to Polish Silicone Molds
To polish silicone molds effectively, follow these steps
Initiate the process by thoroughly cleaning the mold to eliminate any resin residues or other substances.
Use fine-grit sandpaper to gently polish the silicone surface in circular or linear motions.
Progress to a finer grit to eradicate any remaining scratches or imperfections.
For a pristine finish, utilize a specialized polish designed for silicone surfaces.
After polishing, ensure thorough cleaning of the mold to eliminate dust or polish residues.
Following these steps will result in impeccably polished silicone molds ready for use.
Techniques for Rectifying Defects in Epoxy Resin
To address defects in epoxy resin, consider implementing these effective techniques:
Carefully sand the surface to eliminate scratches and visible imperfections.
Apply a primer compatible with the resin to enhance adhesion and prevent air bubbles.
Use a heat gun to eradicate air bubbles within the resin.
Incorporate pigments or colorants to conceal stains or imperfections.
Apply a transparent protective coating to ensure a uniform and long-lasting finish.
By employing these techniques, optimal results can be achieved in epoxy resin processing, yielding flawless artifacts.
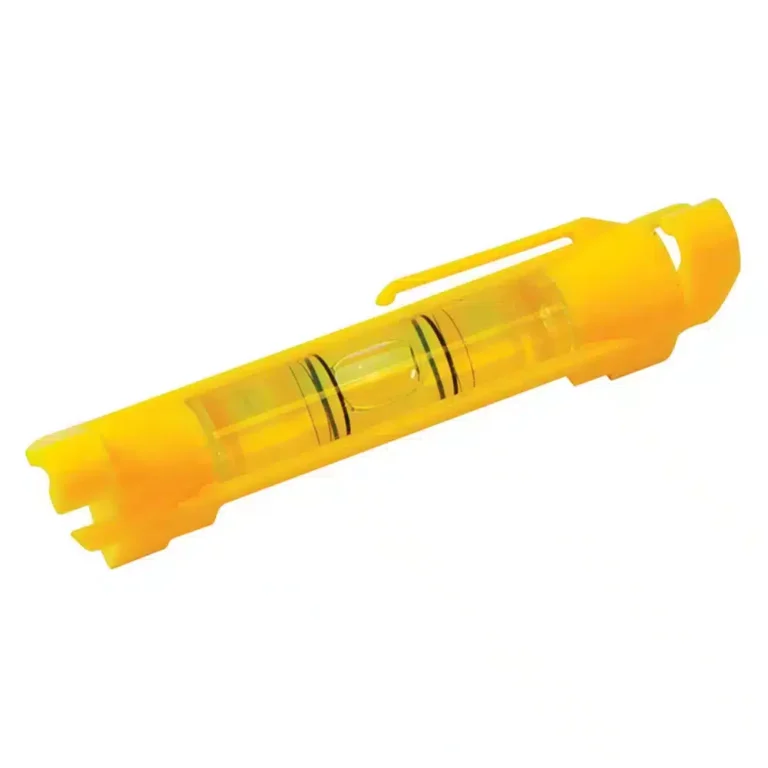
Moulded ABS plastic body. Lightweight structure reduces line sag and opposing hooks reduce drop-off. V-groove base for use on pipes. UV-resistant vial. The 75mm Line Level is an indispensable tool for achieving precise horizontal alignment in your epoxy resin projects. Designed for both accuracy and ease of use, this compact level features a clear, highly visible vial that allows you to quickly and easily check if your surfaces are perfectly level. When working with epoxy resins, ensuring a level surface is crucial to achieving a smooth, even finish without unsightly drips or uneven curing. This line level helps you accurately measure and adjust your workspace, whether you're setting up a table, leveling a countertop, or working on intricate resin artwork. Its durable construction ensures long-lasting performance, while its compact size makes it easy to handle and store. Ideal for both professional and DIY use, the 75mm Line Level is a reliable companion for any epoxy resin application, helping you to ensure that your projects meet the highest standards of quality and precision.
$1,65
![]()
Stones & Binder Calculator Area sqm (L*W*1m): Thickness (cm)*: Calculate Stones: 0 kg Resin binder: 0 kg *Recommended minimum thickness for driveway: 2 cm; Other areas: 1.5 cm. Certified Non-Toxic Transparent Epoxy Binder This resin has been specifically formulated to ensure an impeccable result in various applications. Thanks to its high gloss and transparency, and low viscosity, it offers a flawless, clear, and bubble-free result for your colored pebbles or aggregates. It is also certified non-toxic for skin contact post-cure. High Resistance and Durability Excellent resistance for your permeable floor: this binder ensures outstanding mechanical performance once cured. It also cures very quickly, making the floor walkable and fully usable in just 24 hours. Guaranteed Yellowing Resistance The cycloaliphatic amine-based hardener, along with the use of UV filters, guarantees high resistance to yellowing. Key Features High transparency Excellent mechanical resistance Good chemical resistance and carbonation resistance High impregnation and structural reinforcement for permeable floors Long working time Glossy surface High UV resistance for long-lasting creations (low yellowing) High mechanical resistance for scratch protection Low viscosity that reduces air bubbles after curing and facilitates aggregate impregnation Odorless and solvent-free perfectly transparent and bubble-free thanks to the specific formula for natural stones and colored marbles Curing Time Complete curing is achieved in about 24 hours, but the product can be walked on after just 10 hours. Ideal Applications The ideal applications for "ultra-transparent" epoxy resin include colored or dark-colored pebbles and aggregates. Consider these indicative data for epoxy resin for colored aggregates: 1-2 mm - for 20-25 kg of aggregate, add 800g of epoxy resin 3-5 mm - for 20-25 kg of aggregate, add 600g of epoxy resin 6-10 mm - for 20-25 kg of aggregate, add 600g of epoxy resin 10-20 mm - for 20-25 kg of aggregate, add 400g of epoxy resin Main Technical Data (Click the "TDS" icon for the full technical data sheet) Pot-life (150g at 30°C): 1h20' Complete cure after 24h Film cure (1mm at 30°C): 6h Supplied in plastic cans Maximum casting thickness: 2 cm (7 kg at 20°C) Epoxy Resins Epoxy resins are thermosetting polymers derived from monomers containing the three-atom epoxy ring. They are widely used in the production of advanced composite materials, obtained by combining the resin with fibers.
$45,95
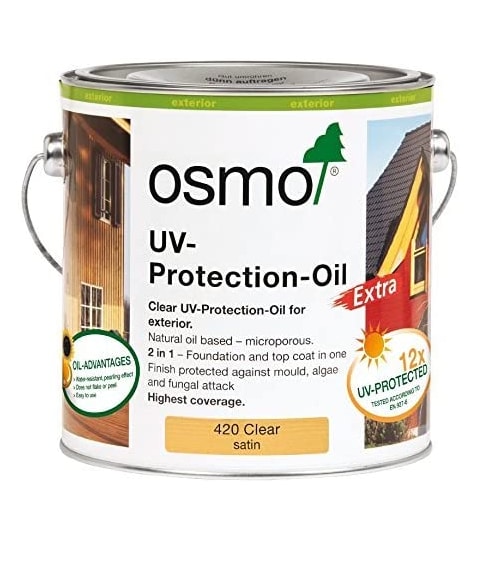
Perfectly protected against the sun – the first clear UV-protection for the outdoors! All resins / woods turn amber in colour over time, but UV-Protection-Oil has been developed to preserve epoxy's clear colour and slow down the yellowing process by (UV factor) 12 times compared to untreated epoxy. Ideal for River tables, epoxy furniture, exterior design pieces, windows, doors, claddings, fencings and other complex joinery. Natural oil-based and microporous finish, it does not crack, flake or peel. Water-resistant and dirt-resistant, it is moisture regulating and minimise the damaging. Description Natural oil-based clear satin wood finish for outdoor use. The microporous surface allows the wood to breathe and reduces swelling and shrinkage. Water-repellent, will not crack, peel or flake. As top coat on already treated coloured wood, Osmo UV-Protection-Oil Extra significantly extends the intervals between each restoration. When used as a single product, with a two-coat application it prevents greying on vertical surfaces with a 12 UV-protection factor compared to untreated wood. Osmo UV-Protection-Oil Extra features active ingredients to protect the coating against the action of mould, algae and fungi. No need to sand before application, easy and smooth. During coating, the finish is still workable. Recommended use Osmo UV-Protection-Oil Extra is perfect for all vertical wood surfaces for outdoor use: doors, windows, window shutters (dimensionally stable parts), parking places, resin coatings, balconies, fences, pergolas, and holiday cottages (dimensionally unstable parts). Also suitable for bamboo poles (e.g. in screens). Ingredients Based on natural plant oils (sunflower oil, soybean oil, thistle oil and linseed oil), desiccants and additives. Biocidal active ingredient: Propiconazole. Dearomatized turpentine (benzene-free). EU limit value for this product (cat. A/e): 400 g/l [0,02 lb/oz] VOC (2010). This product contains max. 400 g/l [0,02 lb/oz] VOC. Detailed declaration of ingredients available upon request. Storage Up to 5 years and longer if the can is stored in a dry place and hermetically sealed. If thickened by frost, store for 24-36 hours at room temperature before use. Surface preparation Wood surface must be clean, dry and frost-free (moisture content max. 20%). Osmo UV-Protection-Oil Extra is ready to use and should not be diluted. Stir well before use. If possible, please apply the first coat to all sides before installation. Particularly oily timbers need to weather off (for approximately 6 weeks) after installation. Thereby the wood will gain more absorbent power and the finish will penetrate optimally. A coloured base coat is recommended, e.g. Osmo One Coat Only, Natural Oil Woodstain or Country Colour. For renovations, clean all old microporous wood finishes thoroughly. Freshen up greyed wood with Osmo Wood Reviver Power-Gel before applying Osmo Clear Uv-Protection-Oil. Old paints and lacquers must be completely removed. As a general rule, wear a dust mask during sanding. Do not sand smooth surfaces thinner than P120. The final result may be influenced by several factors, including the natural features of the wood. Therefore, a trial application is always recommended, especially for unfamiliar timbers. If you wish to have additional protection against blue stains, decaying and insects, you should pre-treat the wood on all sides with Osmo WR Base Coat. Technical data Specific weight: 0.9-1.0 g/cm³ [0,03 lb/in³] Viscosity: >50s DIN EN ISO 2431/3 mm, viscous Odour: faint/mild, odourless after drying Flash point: >60 °C [140 F] acc. DIN EN ISO 2719 Documentation ⏩ TDS ⏩ SDS
$39,95
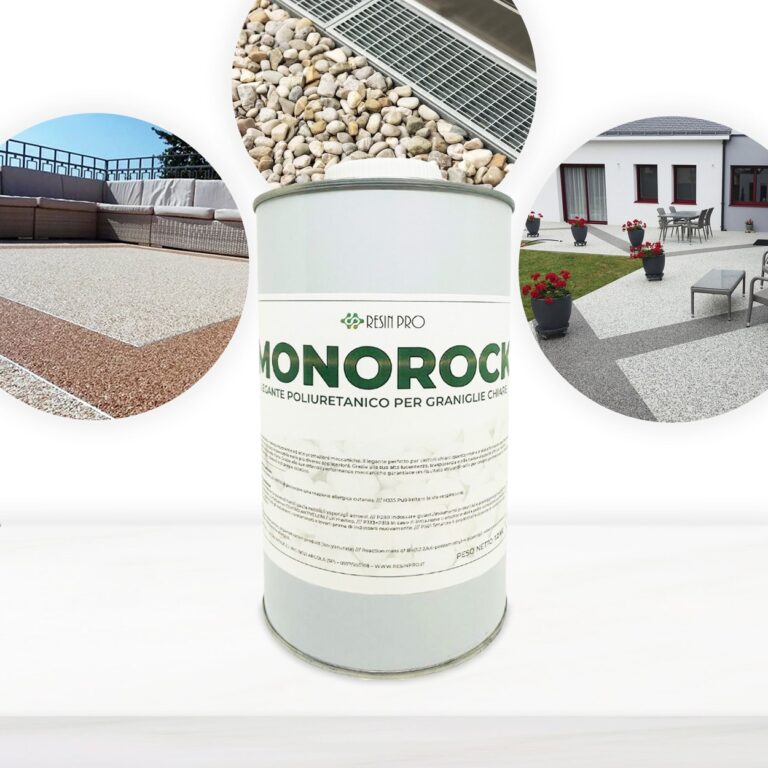
High-Performance Single-Component Polyurethane Resin The perfect binder for white or light-colored pebbles. This resin has been specifically formulated to ensure an impeccable result in various applications. Thanks to its high gloss and transparency, and low viscosity, it offers a flawless, clear, and bubble-free result. Ideal for use as a binder for white or light-colored pebbles. Due to its optimal mechanical performance, it ensures an extraordinary result for creating continuous permeable floors that are durable and aesthetically pleasing. Consumption for Aggregate/Pebble Binder Depending on the chosen grain size, consider these indicative data for polyurethane resin for white or light aggregates: 7-10 mm – for 20-25 kg of aggregate, add 500g of polyurethane resin; 4-6 mm – for 20-25 kg of aggregate, add 650g of polyurethane resin; 2-4 mm – for 20-25 kg of aggregate, add 800g of polyurethane resin; 1-2 mm – for 20-25 kg of aggregate, add 1.2 kg of polyurethane resin; Note: It is advisable to verify the necessary amount of binder before application, as an excess of binder can cause swelling and foaming. The correct amount of binder is just enough to wet the surface of the aggregate without dripping. If you have any doubts, contact our support! These consumption rates are calculated based on the standard sale format of aggregates/pebbles, approximately 20-25 kg per bag. Primer For greater adhesion security, use Transparent Epoxy Resin as a primer for your surfaces: in this application, consider 150-200 g/m² applied with a simple roller; to ensure optimal grip, sprinkle quartz sand to refusal immediately after application. Resistance Excellent mechanical performance, with pebbles perfectly bound together and extraordinary resistance to yellowing. Main Features High transparency Excellent mechanical resistance Good chemical resistance and carbonation resistance High impregnation and reinforcement of technical fabrics Long working time Glossy and self-leveling surface High UV resistance for long-lasting creations - no yellowing High mechanical resistance for scratch protection Low viscosity reduces the presence of air bubbles after curing and facilitates carbon fiber impregnation Odorless and solvent-free Perfectly transparent and bubble-free thanks to its specific formula. Curing Time Complete curing is achieved in about 24 hours. Surface Preparation Apply on solid, compact, dry substrates that are not subject to capillary rising damp, clean, and free of oils and greases. Treat surfaces by shot blasting or sanding followed by residue vacuuming. Alternatively, a cementitious underlay or epoxy screed is recommended. The use of a suitable primer is recommended (see specific application cycle sheets). Product Use Mix the product with colored or monochromatic mineral aggregates of any grain size, using manual (low-speed drill with helical mixer) or automatic (concrete mixer) mixing. For a finished product with maximum chemical and mechanical resistance, use aggregates that are clean of oils or greases and free of moisture. The ratio of aggregate to binder is highly dependent on the shape, size, and porosity of the aggregate; as a guideline: 40:1 for 4-6 mm aggregate; 20:1 for 2-4 mm aggregate; 16:1 for 1-2 mm aggregate. Technical Assistance, Product info: Contacts
$50,49
 Free shipping on orders over €199,00
  Shipping Tracking!


 Google
 Facebook