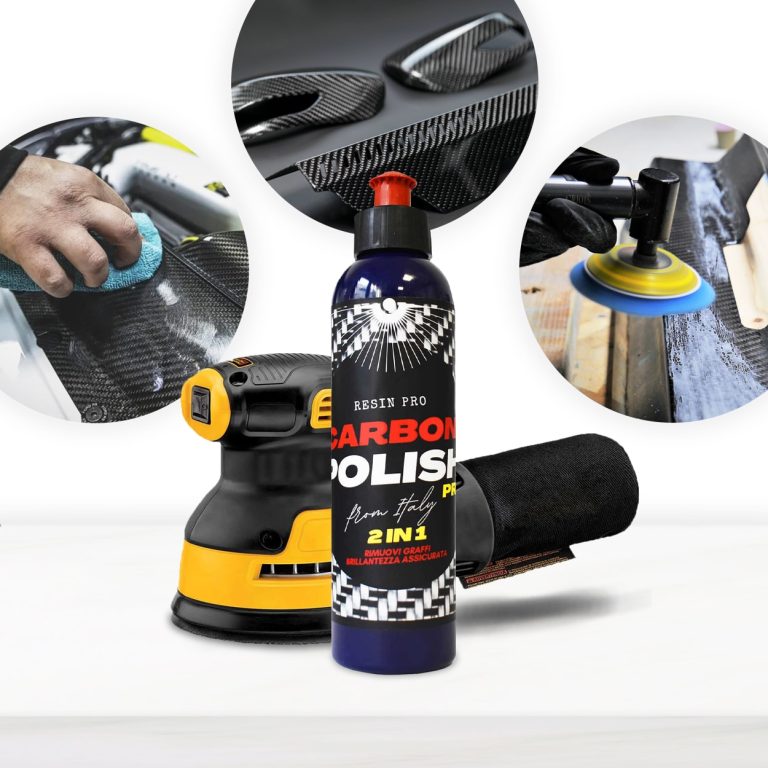
Carbon Polish Black (250ml) is the defined product for polishing your carbon, dark or black surfaces. The aesthetic and economic value of the carbon product is high, and for this reason it is essential to treat the surface with specific and dedicated products, which enhance the beauty of the “carbon look”. It is important to avoid “generic" products that can spoil the work done, with insufficient gloss or even worse, fail to remove scratches. EASY TO APPLY AND REMOVE MISCIBLE WITH WATER ODOURLESS DOES NOT WHITEN PLASTIC PARTS DOES NOT CONTAIN SILICONES VERY LOW ENVIRONMENTAL IMPACT The carbon polishing paste Carbon Polish Pro Black has been developed in a black colour precisely to ensure a brilliant finish and without white dots, typical of generic abrasive pastes. It can therefore be used for all dark surfaces (especially resin). Carbon Polish Pro Black is the specific paste for carbon; black colour prevents residues from remaining visible on surfaces after polishing. Thanks to the NAP (Nano Abrasive Particles) it is a 2 in 1 product; in fact it quickly removes scratches and defects from the surface and gives at the same time a deep shine like only a polish can do. In addition, its Synthetic Polymers allow you to correct and fill all the imperfections on the surfaces of Resin and carbon fiber artifacts. Eliminate scratches, defects and mirror shine with a single product! Carbon Polish Pro Black carbon polishing paste can be used both on the painted carbon and directly on the epoxy resin that covers the carbon fibers. Unlike commercial Polishes, Carbon Polish Pro Black is 100% Made in Italy, born from over 50 years of tradition in polishing. It allows both the hobbyist and the professions to obtain performing results quickly and easily. Here are the simple steps to polish or eliminate blemishes from your carbon fibre surfaces: If you need to use glass paper to remove the deepest scratches, you can do so without hesitation. The polishing paste will then be able to remove the sanding marks and make the surface smooth and shiny. Here's how:- The polishing paste Carbon Polish Black can be used by hand with extreme simplicity, with the help of a microfiber cloth or a foam pad. Or it can be used with electric tools, such as a drill and flexible, equipped with a special shepherd and foam pad (8000-12000 rpm) or with a polisher (1000-2000 rpm both rotary and ro orbital) with foam pad or wool (also synthetic). The use of tools of this kind will speed up the maintenance and ensure optimal results in even faster times. How to prepare the surface to be polished? Here are the tricks to make the most of NAP (Nano Abrasive Particles) technology:- Removals defects and scratches from sanding Depending on the depth of the scratch/defect, start with abrasive papers grit 800-1000 (for deep scratches) or simply 3000-4000 (for light scratches), always tend the surface wetted with water (this will help to make the result homogeneous) Apply the polishing paste for carbon fiber on the surface and spread it with circular and more or less energetic movements depending on the defect you want to remove. Or by directly attaching the buffer of the polisher / hose. We recommend one / two drops of carbon polishing paste every 3-4 cm. You can apply it several times thanks to synthetic polymers, without risking consuming the carbon, until the result is perfect. Clean up simply with water and a clean cloth. Put on your sunglasses and enjoy the dazzling result! Surface renewal: The product is also suitable as a fast and effective tool to renew your precious carbon surfaces, which wear out with normal use or exposure to atmospheric agents. In this case, the process is even easier: it is sufficient to apply the paste on the surface (well cleaned) and roll it out with circular movements, or by directly applying the buffer of the polisher / flexible. We recommend one / two drops of carbon polishing paste every 2-3 cm. The carbon polishing paste Carbon Polish Pro Black has been developed in black colour precisely to ensure a brilliant finish and without white dots, typical of generic abrasive pastes, and can therefore be used for all dark surfaces (especially resin). The special formula is free of volatile silicones and is therefore not harmful to health; it can also be used in painting processes.
$21,49
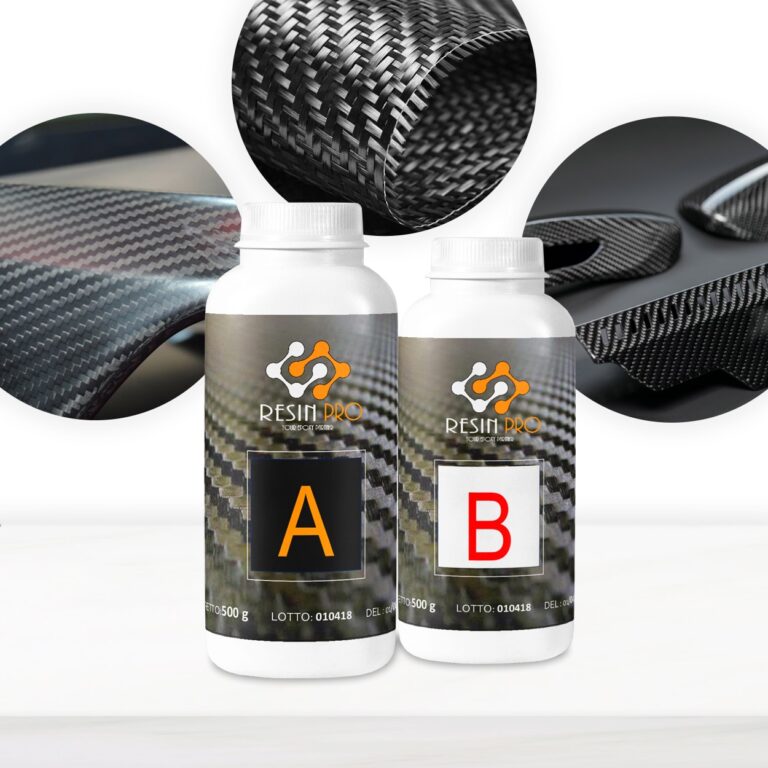
The Resin for Lamination with Carbon Fibre and Glass Fibre is a product formulated to ensure maximum mechanical strength and a perfect impregnation of the technical fabric. Its epoxy formulation allows an application at room temperature and guarantees a glossy and moisture resistant surface. Available quantities: 775 gr (500 gr of component A + 275 gr of component B). 1550 gr (1000 gr of component A + 550 gr of component B) 3.1 kg (2000 gr of component A + 1100 gr of component B)
$26,99
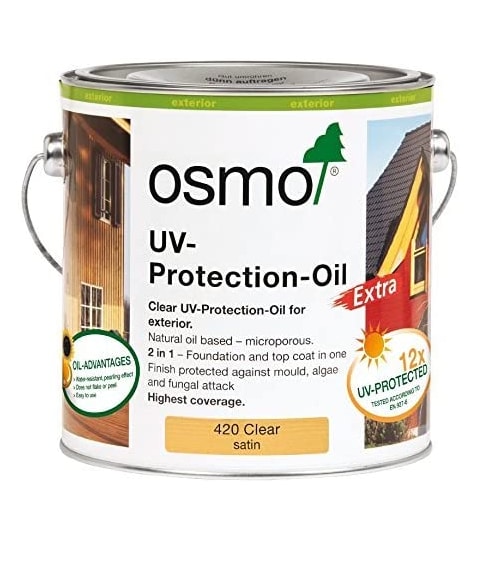
Perfectly protected against the sun – the first clear UV-protection for the outdoors! All resins / woods turn amber in colour over time, but UV-Protection-Oil has been developed to preserve epoxy's clear colour and slow down the yellowing process by (UV factor) 12 times compared to untreated epoxy. Ideal for River tables, epoxy furniture, exterior design pieces, windows, doors, claddings, fencings and other complex joinery. Natural oil-based and microporous finish, it does not crack, flake or peel. Water-resistant and dirt-resistant, it is moisture regulating and minimise the damaging. Description Natural oil-based clear satin wood finish for outdoor use. The microporous surface allows the wood to breathe and reduces swelling and shrinkage. Water-repellent, will not crack, peel or flake. As top coat on already treated coloured wood, Osmo UV-Protection-Oil Extra significantly extends the intervals between each restoration. When used as a single product, with a two-coat application it prevents greying on vertical surfaces with a 12 UV-protection factor compared to untreated wood. Osmo UV-Protection-Oil Extra features active ingredients to protect the coating against the action of mould, algae and fungi. No need to sand before application, easy and smooth. During coating, the finish is still workable. Recommended use Osmo UV-Protection-Oil Extra is perfect for all vertical wood surfaces for outdoor use: doors, windows, window shutters (dimensionally stable parts), parking places, resin coatings, balconies, fences, pergolas, and holiday cottages (dimensionally unstable parts). Also suitable for bamboo poles (e.g. in screens). Ingredients Based on natural plant oils (sunflower oil, soybean oil, thistle oil and linseed oil), desiccants and additives. Biocidal active ingredient: Propiconazole. Dearomatized turpentine (benzene-free). EU limit value for this product (cat. A/e): 400 g/l [0,02 lb/oz] VOC (2010). This product contains max. 400 g/l [0,02 lb/oz] VOC. Detailed declaration of ingredients available upon request. Storage Up to 5 years and longer if the can is stored in a dry place and hermetically sealed. If thickened by frost, store for 24-36 hours at room temperature before use. Surface preparation Wood surface must be clean, dry and frost-free (moisture content max. 20%). Osmo UV-Protection-Oil Extra is ready to use and should not be diluted. Stir well before use. If possible, please apply the first coat to all sides before installation. Particularly oily timbers need to weather off (for approximately 6 weeks) after installation. Thereby the wood will gain more absorbent power and the finish will penetrate optimally. A coloured base coat is recommended, e.g. Osmo One Coat Only, Natural Oil Woodstain or Country Colour. For renovations, clean all old microporous wood finishes thoroughly. Freshen up greyed wood with Osmo Wood Reviver Power-Gel before applying Osmo Clear Uv-Protection-Oil. Old paints and lacquers must be completely removed. As a general rule, wear a dust mask during sanding. Do not sand smooth surfaces thinner than P120. The final result may be influenced by several factors, including the natural features of the wood. Therefore, a trial application is always recommended, especially for unfamiliar timbers. If you wish to have additional protection against blue stains, decaying and insects, you should pre-treat the wood on all sides with Osmo WR Base Coat. Technical data Specific weight: 0.9-1.0 g/cm³ [0,03 lb/in³] Viscosity: >50s DIN EN ISO 2431/3 mm, viscous Odour: faint/mild, odourless after drying Flash point: >60 °C [140 F] acc. DIN EN ISO 2719 Documentation ⏩ TDS ⏩ SDS
$39,95
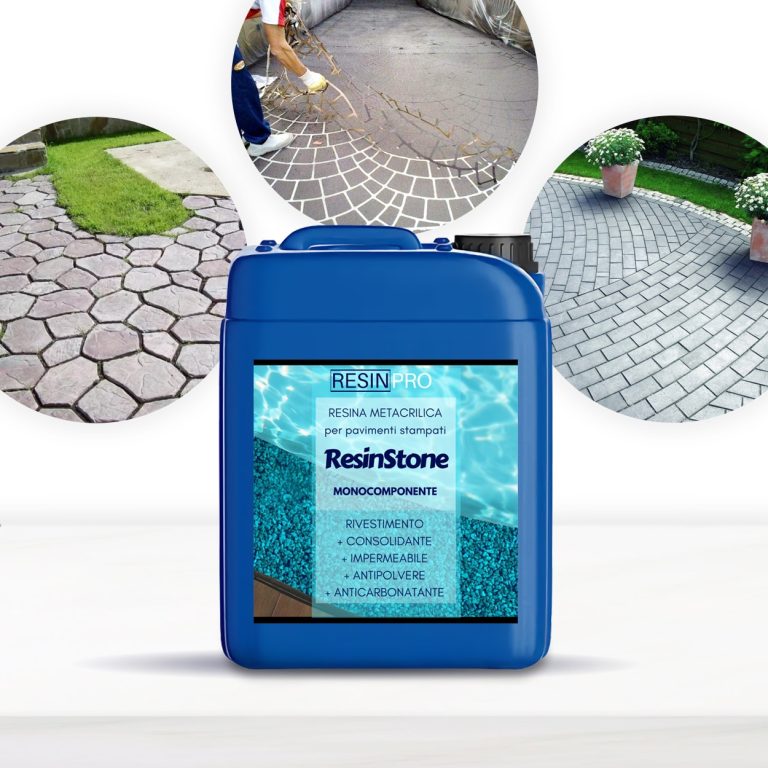
ONE-COMPONENT METHACRYLIC RESIN “RESINSTONE” for stamped floors 5 KG [176,37 Oz] ONE-COMPONENT METHACRYLIC RESIN for stamped floors CONSOLIDANT, WATERPROOF, DUSTPROOF AND ANTI-CARBONATION METHACRYLIC COATING FOR CONCRETE FLOORS. “RESINSTONE” is a low-viscosity, one-component, liquid formula that penetrates deeply for capillary absorption in concrete floors and surfaces, providing moisture protection and increasing both mechanical resistance and protection against chemical agents. “RESINSTONE” is formulated with enhanced methacrylic polymers in order to guarantee: Ø Consolidation and protection of concrete surfaces Ø Moisture protection Ø Protection against oils, acids and other chemical agents (perfect also for industrial environments) Ø Revitalization of the colour tone Concrete surfaces treated with “RESINSTONE” do not absorb water, creating polished, clean, dust-proof but still breathable surfaces. Resistant to yellowing, washing, bad weather (even acid rain). MAIN APPLICATIONS ✓ Consolidation and protection for concrete surfaces. ✓ Great to protect indoor spaces such as cellars, warehouses, garages, etc. ✓ Thanks to its excellent anti-UV rays features, it is ideal for outdoor areas such as yards, parking lots, paths, courtyards, etc. ✓ “RESINSTONE” can be applied 8 hours after the execution of the concrete artifact (following preventive test) ADVANTAGES ✓ Easy to apply (one-component, ready to use, just pour it over the concrete and wait a few hours until it is dry) ✓ Its low viscosity allows it to deeply penetrate and strengthen ✓ Fast: ready in less than 12 hours! ✓ Waterproof and water vapor permeable (thus allowing surfaces to breathe with no moisture penetration!) ✓ Good chemical resistance to oils, grease and acids. ✓ Range of applications from +5°C [41 F] to +35°C [95 F]. ✓ Resistant to temperature changes from -30°C [86 F] to +80°C [176 F]. ✓ Excellent mechanical properties make it a lasting product over the years and with high scratch-resistance if you have not enough experience, we insistly suggest to make a small test before working with large project. WARNINGS: During processing, use protective masks, gloves, and other protective clothing. In case of contact with eyes, immediately rinse with cold water for 15 minutes and immediately consult a doctor.
$42,95
Achieving Strong Adhesion on Treated Parquet Flooring
Ensuring strong adhesion on treated parquet flooring is crucial for maintaining its durability and quality over time. To achieve optimal results, it is recommended to follow these guidelines:
- Thorough Cleaning: Prior to applying any new coating, ensure that the parquet surface is thoroughly cleaned and free from dust, dirt, or any residues of previous treatments.
- Pre-Treatment: Enhance the adhesion of the new coating by applying a primer or a specific anchoring agent.
- Product Selection: Opt for high-quality resins or silicones that are compatible with the type of treated parquet flooring.
- Uniform Application: Spread the coating evenly following the manufacturer's instructions to guarantee a perfect adhesion.
By diligently following these steps, you can achieve strong adhesion on treated parquet flooring, resulting in a long-lasting and high-quality finish.
Achieving Strong Adhesion of Epoxy Resin on Wood
The key to achieving strong adhesion of epoxy resin on wood lies in proper surface preparation. Before applying the resin, ensure that the wood surface is clean, free of dirt, grease, or paint. Lightly sanding the surface can improve adhesion. It is also advisable to treat the wood with a specific primer to further enhance the adhesion of the epoxy resin. By following these steps meticulously, you can achieve a durable and long-lasting finish, preventing adhesion issues and ensuring the quality of the resin coating on wood.
Epoxy Resin for Parquet Flooring
Epoxy resins designed for parquet flooring offer protection and a polished finish for wooden floors. Comprising two main components, these resins create a durable and resistant surface, perfect for high-traffic environments. By applying epoxy resin on parquet flooring, you establish a protective barrier against scratches, stains, and moisture, prolonging the floor's lifespan. Additionally, epoxy resin enhances the natural beauty of the parquet, giving it a glossy and uniform appearance. Prior to application, thorough surface preparation and adherence to the manufacturer's instructions are essential for optimal results.
How to Achieve Strong Adhesion on Wood
To achieve strong adhesion on wood, follow these key steps:
- Surface Preparation: Ensure the wood is clean, dry, and free of grease, dust, or residues. Lightly sanding the surface can improve adhesion.
- Product Selection: Choose a resin or silicone suitable for wood, ensuring compatibility with the project and environmental conditions.
- Correct Application: Follow the manufacturer's instructions precisely, distributing the material evenly and pressing it well for optimal adhesion.
By adhering to these steps, you can achieve strong adhesion on wood for your DIY projects.
Tips for Optimal Adhesion on Parquet Flooring
To ensure optimal adhesion on parquet flooring, consider the following tips:
- Thorough Cleaning: Ensure the parquet surface is clean and free from dust, dirt, and oil or wax residues.
- Sanding: If the parquet has been previously treated, lightly sand it to remove residues and improve adhesion.
- Glue Selection: Choose a specific adhesive for wooden floors that provides strong and long-lasting adhesion.
- Uniform Application: Apply the glue evenly on the surface, avoiding buildup or uncovered areas.
- Pressing: Apply constant pressure after placing the material to promote adhesion and eliminate air bubbles.
By following these practical tips, you can achieve optimal adhesion on your parquet flooring, ensuring longevity and resistance over time.
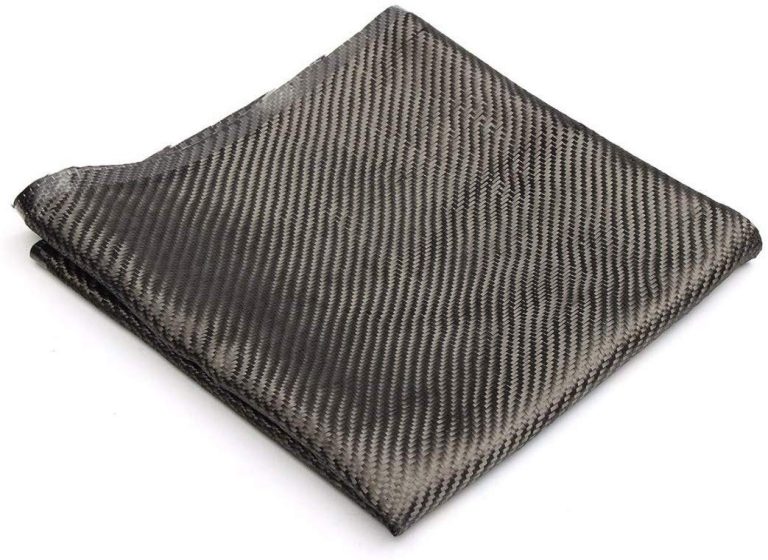
This type of fabric is characterized by a very high drapability and a perfect formability that makes it ideal for the creation of objects in various sizes. Our fibre is suitable for manual lamination, infusion but also for vacuum and RTM processing. It can also be used to coat your creations in order to make them look like a carbon fibre artifact. The product is sold in pieces of 1x1 metres [39,37” x 39,37”] APPLICATIONS: We recommend to treat the fabrics exclusively with epoxy resins, so that it will perfectly perform both from a technical and an aesthetic perspective. If you choose to use only carbon fibre for your products, it will be necessary to use several layers (about 4-6 depending on the size). TECHNICAL FEATURES: GRAMMAGE – 200 gr/sqm [0,44 lb] TWILL: 2×2 Twill – Textile reinforcement FIBRE WIDTH – 2 mm [0,07”] THICKNESS WHEN DRY– 0,20 mm [0,007”] HEIGHT – 1000 mm [39,37”]
$24,49
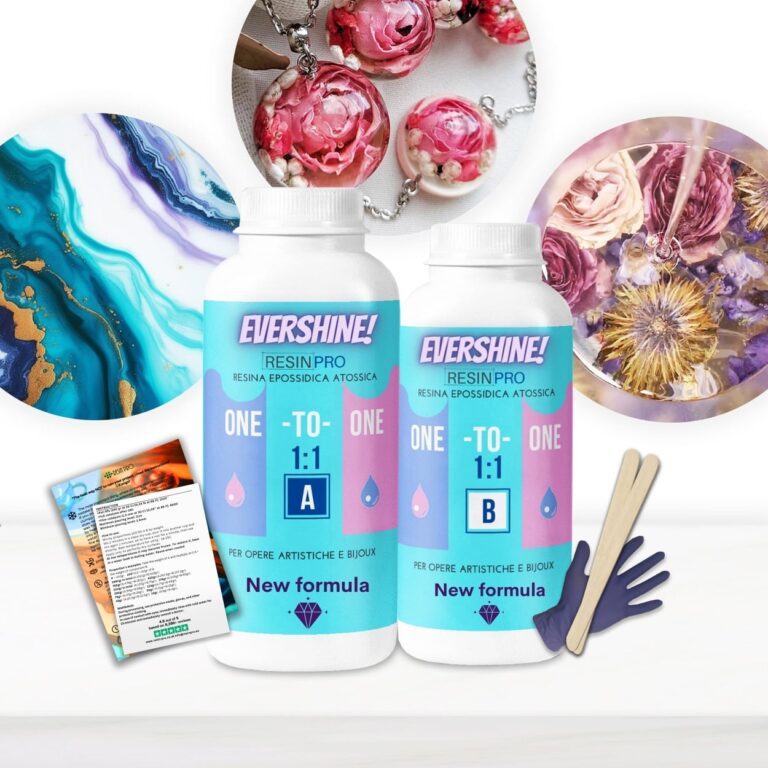
💥About “"ONE-2-ONE" - Epoxy Resin For Handcraft: Introducing our premium Non-Toxic Epoxy Resin, meticulously crafted for your creative ventures. This 11-gram quantity (500 ml) offers a perfect balance between versatility and precision, making it an ideal choice for various applications. Perfect to effortlessly design works of art and jewellery. 1:1 ratio for quick and error-free creations, non-toxic, transparent and durable. 💥 Best choice for: Artistic Creations: Ideal for creating stunning resin art pieces, jewellery, and decorative items. DIY Projects: Perfect for a wide range of DIY projects, including coating surfaces, encapsulating objects, and crafting personalized gifts. Crafting and Modelling: Explore its versatility in crafting, modelling, and various creative pursuits. 💥Key features: ✔️ Non-Toxic Formulation: Our epoxy resin is carefully formulated to ensure a safe and non-toxic experience for artists and creators. Enjoy peace of mind as you bring your ideas to life. ✔️ Versatile Applications: Whether you're a seasoned artist, DIY enthusiast, or crafting hobbyist, this epoxy resin is your go-to solution. Perfect for encapsulating, coating, casting, and more. ✔️ Easy to Use: The user-friendly nature of this epoxy resin makes it suitable for both beginners and experienced craftsmen. Achieve professional-grade results with ease. ✔️ Crystal Clear Finish: Experience the brilliance of crystal-clear finishes in your projects. The resin dries to a transparent and glossy surface, enhancing the visual appeal of your creations. ✔️ Reliable Performance: Our epoxy resin offers excellent adhesion, durability, and resistance to yellowing over time, ensuring your projects withstand the test of time.
$21,49
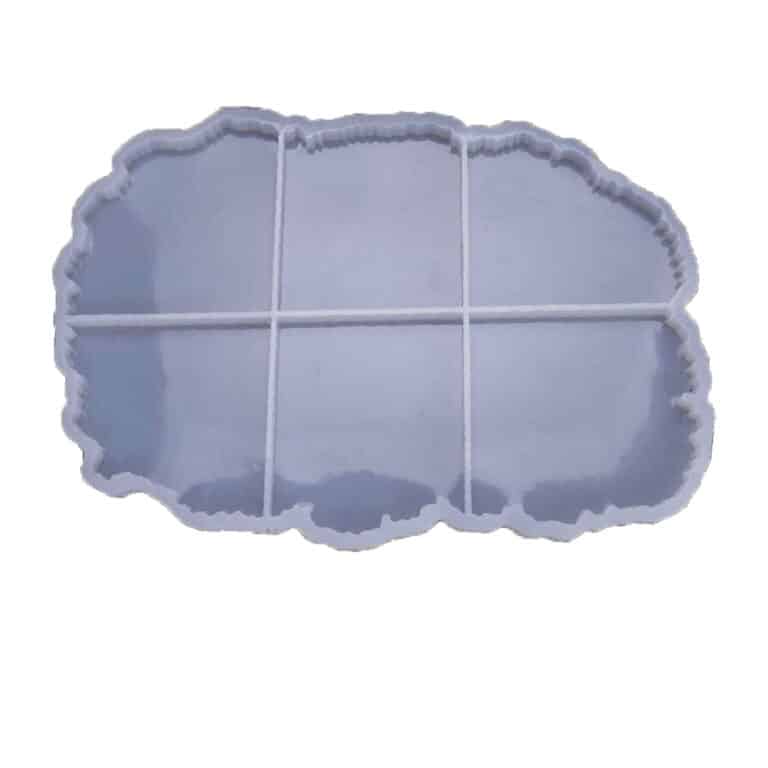
HIGH-QUALITY SILICONE MOULD FOR HANDCRAFTS This flat Coaster Mould has a smooth interior and produces a beautiful coaster with a professional finish. Use our heat-resistant resin to make something that is not only functional. Dimensions: 12.7 x 10.5 in Partially: 4.3 x 4.1 in; 3.7 x 3.9 in; 3.7 x 3.6 in; 4.1 x 3.6 in; 4.1 x 3.7 in; 3.7 x 4.1 in; 4.1 x 3.7 in. If you're using these moulds to make coasters, we recommend that you add a 3mm thick clear layer of Heat-Resistant resin first in your mould. Let it set and then add more resin with colour, ink, glitter, flowers etc. Once turned out (after 3-4 days), what was the bottom will be the top and heat-resistant up to 200C! Remember that our Heat-Resistant resin needs up to 72 hours to achieve full cure, so don't place a hot cup on it too early. DO-IT-YOURSELF. Material: Silicone, Colour: Semi-transparent; Reusable, Non-stick, Easy to use and clean. Warning: do not use aggressive solvents, High-quality moulds, heat-resistant: -40°C to + 210°C [-104° F to +410° F]
$11,66
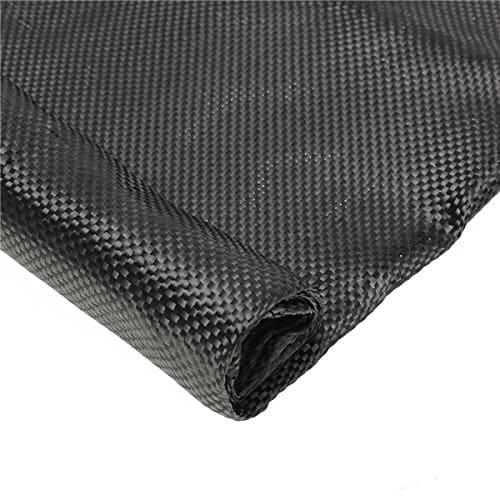
This type of fabric is characterized by a very high drapability and a perfect formability that makes it ideal for the creation of objects in various sizes. Our fibre is suitable for manual lamination, infusion but also for vacuum and RTM processing. It can also be used to coat your creations in order to make them look like a carbon fibre artifact. The product is sold in pieces of 0.30x0.30 metres [11,81” x 11,81”] APPLICATIONS: We recommend to treat the fabrics exclusively with epoxy resins, so that it will perfectly perform both from a technical and an aesthetic perspective. If you choose to use only carbon fibre for your products, it will be necessary to use several layers (about 4-6 depending on the size). TECHNICAL FEATURES: GRAMMAGE – 200 gr/sqm [0,44 lb] TWILL: 2×2 Twill – Textile reinforcement FIBRE WIDTH – 2 mm [0,07”] THICKNESS WHEN DRY– 0,20 mm [0,007”] HEIGHT – 300 mm [11,81”]
$7,95
 Free shipping on orders over €199,00