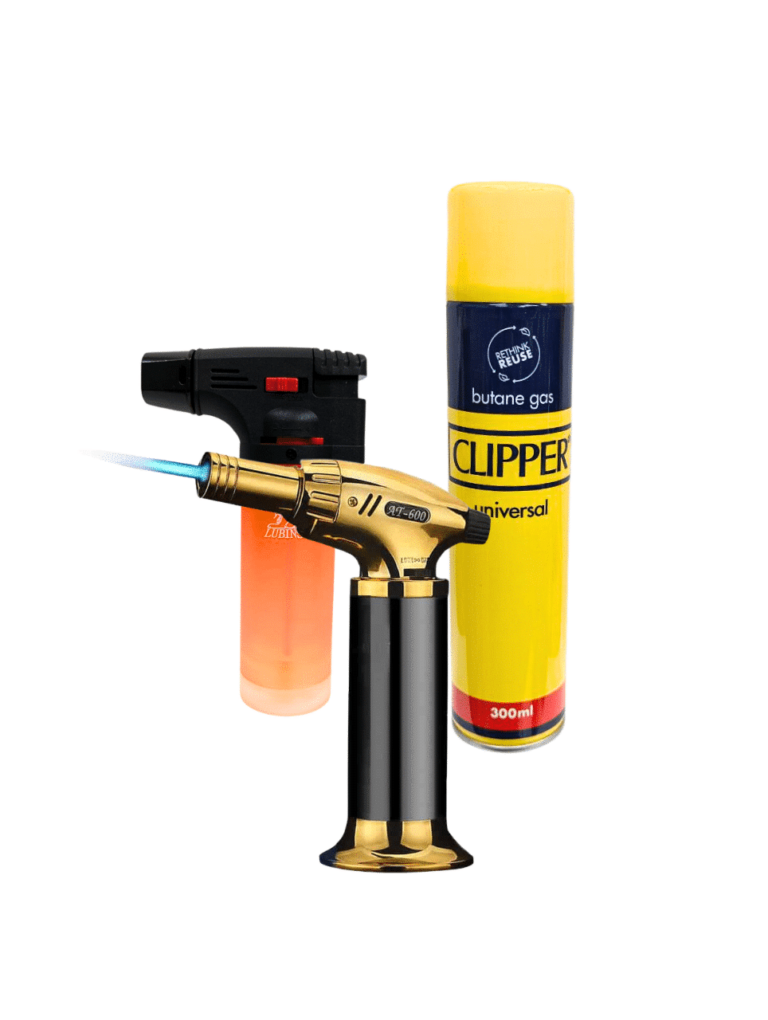
Manual gas heat gun with adjustable flame and safety lock. An excellent tool to neutralize the bubbles which form during the pouring of resin. WARNING! Avoid keeping the flame too close to the resin and do not direct it always on the same spot (move the gun over the entire surface). If the resin excessively overheats, a film may form on the surface. The gun must be loaded manually with the gas included in the kit. How to use: Remove the cap from the container, and insert it into the hole below the gun. Press and hold down for about 20-30 sec to fill the gun. During this process, it is normal for part of the gas to escape.
$5,95

Resin Pro offers the possibility to achieve a perfect polishing by using different types of abrasive pastes. It can be used by hand or with an orbital polisher to make your resin creations shiny. Ebonite Abralon Sanding Pads Cosmetically appealing, consistent scratch pattern provides excellent traction. Combines the benefits of abrasive cloth and non-woven products. Opening in the fabric allows water to flow freely around the abrasive. Solid surface and foam backing provide even surface pressure. Last 5+ times longer than sandpaper. Use wet or dry (residual material can be removed by high pressure air). Now it's possible to get the most aggressive surface texture without that "cheese grater" look. Abralon sanding pads use silicon carbide particles that are precision sifted to a consistent grain size, then bonded evenly to a six-inch round fabric face for the most even scratch pattern available. WARNINGS: During processing, use protective masks, gloves, and other protective clothing. In case of contact with eyes, immediately rinse with cold water for 15 minutes and immediately consult a doctor. The kits may include by variations: EpoxyPolish Polishing cream – 250 ml [8,79 oz] - 1pc Ebonite Abralon Sanding Pads: - Ebonite Abralon Sanding Pad 150mm 360 grit - 1pc - Ebonite Abralon Sanding Pad 150mm 500 grit - 1pc - Ebonite Abralon Sanding Pad 150mm 1000 grit - 1pc - Ebonite Abralon Sanding Pad 150mm 2000 grit - 1pc - Ebonite Abralon Sanding Pad 150mm 3000 grit - 1pc - Ebonite Abralon Sanding Pad 150mm 4000 grit - 1pc EpoxyPolish Polishing cream How to Use: Step 1: Thoroughly clean the surface with a cloth. Step 2: Now you can polish by hand or with an orbital polisher. We recommend using the lowest possible speed to get the best result. Start Polishing with 360-500 grit. Note: Sand the entire surface evenly with circular movements and light pressure. Moisten the pad or the surface with water from time to time. Step 3: Now use the 1000 grit sandpaper. Note: Moisten the sandpaper or the surface with water from time to time. Step 4: Afterwards, use 2000 grit sandpaper. Note: Moisten the sandpaper or the surface with water from time to time. Lastly, use 4000 grit sandpaper to finish sanding. Step 5: Remove the sandpaper from the polishing disc and attach a soft sponge to it. Rinse the surface or wipe it with a damp cloth to remove any residual grain of the sanding. Step 6: Apply EpoxyPolish Polishing cream on the damp sponge. Use by hand or with an orbital polisher, using a large circular motion and exerting slight pressure. Step 7: Clean the surface with plenty of water to remove all the remaining residues. Step 8: Enjoy the result!!!
$21,49
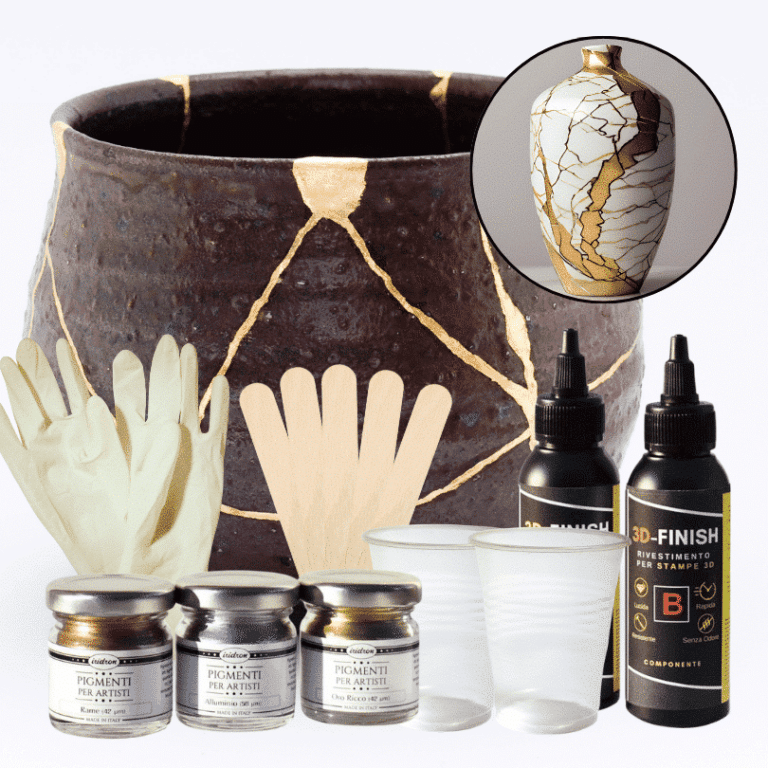
Kintsugi Repair Kit - Repair and Transform Your Ceramics with Elegance Celebrate imperfection with the ancient Japanese art Discover the traditional Japanese art of Kintsugi with our complete repair kit. Transform your broken ceramics into unique and fascinating works of art, highlighting imperfections with elegant gold, silver, or copper veins. Our kit is perfect for both beginners and experts, offering detailed instructions and everything you need to give new life and value to your most cherished items. 🌟 Specific epoxy resin (150g): slow catalysis to eliminate any bubbles or imperfections, allowing you to complete the work without rushing. 🎨 Dye of your choice (gold, copper, silver): customize your repair with a touch of elegance and refinement. ✨ Respect the tradition: follow the ancient art of Kintsugi and transform your ceramics into unique and precious treasures. The kit contains: 150g of resin for 3D decorations, 2 pairs of protective gloves, 2 mixing cups, and 5 spatulas for applying the resin, detailed instructions, everything you need in one kit. Give your ceramics a unique touch: repair them with style and make them even more beautiful. Buy the Kintsugi Repair Kit now and start creating your works of art today! Kintsugi Kit Instructions: Mix Resin: Measure 100A:50B by volume (or 100A:45B by weight) using a scale. Mix for 2 minutes, ensuring all surfaces are scraped. Add Colour: Mix your chosen metallic dye (gold, silver, or copper) into the resin to highlight the cracks. Prepare Surface: Ensure surfaces are clean, dry, and sanded. Apply Resin: Fill the cracks with the colored resin. Curing: Work in a temperature-controlled area, avoiding humidity. Safety: Wear protective gear.
$22,95
RESIN COLOUR TRANSLUCENT EFFECT - FOR EPOXY RESINS – 0.85 fl oz / 25 ml Intense and brilliant color, ideal for Transparent Epoxy Resins. Mix small quantity to get a translucent effect. The high coverage of the "Colorfun Deluxe" range allows to obtain a full and bright color. The high concentration provides an opaque color with a few drops. Usable to color the products of the RESIN PRO range. Available colors: White Black Blue Lemon Yellow Oxide Yellow Oxide Red True Red True Green Olive Green Orange Brown
$4,95
How to Fill Knots in Hardwood
Filling knots in hardwood is a common practice in the DIY and woodworking sectors. To achieve a smooth and uniform surface, epoxy resins or specialized wood fillers are typically used. Before applying the filler, it is crucial to clean the knot thoroughly to remove any dust or debris. Once the knot is filled, allow the material to dry completely before proceeding with sanding to level the surface. This process not only enhances the visual appeal but also improves the wood's durability over time.
Steps for Filling Knots in Hardwood
If you are looking to fill knots in hardwood, consider the following steps
- 1. Cleaning: Use a wire brush to remove any debris from the knot.
- 2. Preparation: Ensure the knot is dry and clean to enhance adhesion.
- 3. Filling: Apply an epoxy resin or wood-compatible silicone evenly to fill the knot.
- 4. Leveling: Utilize a spatula to level the surface for a uniform appearance post-drying.
- 5. Drying: Follow the manufacturer's instructions for complete drying of the filler.
- 6. Sanding: Once dry, sand the surface to seamlessly blend the knot with the wood.
By following these steps diligently, you can achieve a professional finish when filling knots in hardwood.
Techniques for Filling Knots in Hardwood
When filling knots in hardwood, employing specific techniques can yield better results:
Use wood-compatible epoxy resins capable of effectively penetrating knots.
Ensure the knot is free of dust and dirt before applying the resin for improved adhesion.
Thoroughly mix the epoxy resin with the hardener as per the manufacturer's guidelines.
Fill the knot with the resin, eliminating air bubbles for a uniform outcome.
Allow the resin to dry completely based on the recommended curing times.
Optionally, sand the surface to level the knot with the wood seamlessly.
By adhering to these techniques, you can efficiently and durably fill knots in hardwood.
Materials for Filling Knots in Hardwood
For filling knots in hardwood, it is recommended to use epoxy resins or specialized wood-compatible silicones. These materials offer excellent adhesion and long-lasting resistance when filling knots. Epoxy resins are ideal for larger knots and restoring wood surfaces evenly, while silicones are more flexible and suitable for smaller knots or areas prone to movement. Before application, ensure thorough cleaning of the repair area and carefully follow the manufacturer's instructions for optimal outcomes.
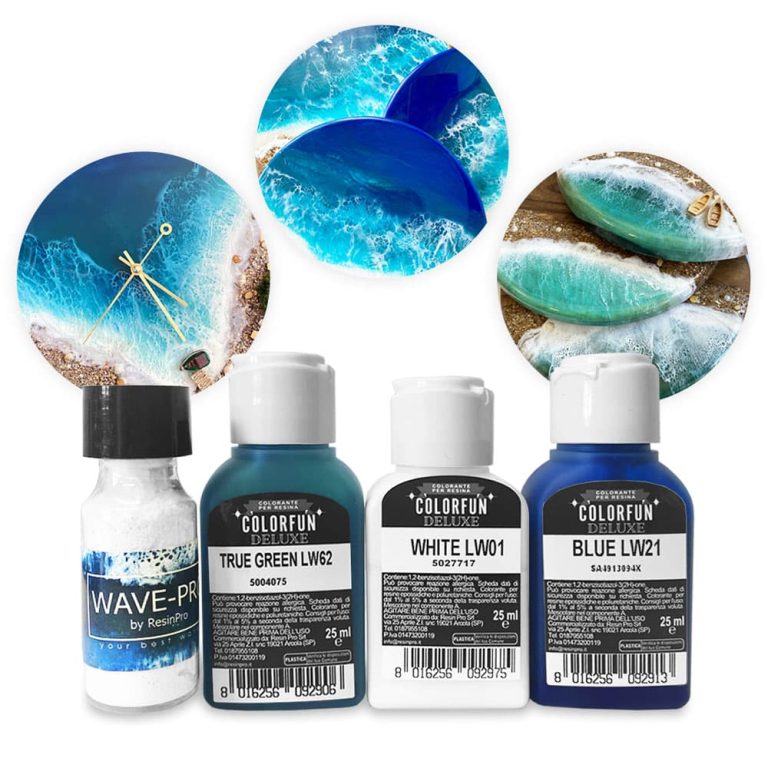
Resin art kit to make your own piece of ocean! Attention! If the resin (component A) is cloudy or with sediment, be sure to read this article: The set already includes everything you need to create a real marine masterpiece! Thick resin, liquid dyes in the colour of the sea, an additive for creating real waves – now you no longer need to search for goods separately to assemble a set to create your own miniature sea 🙂
$59,95
Set of dyes in a marine palette for works on marine and oceanic themes Ingredients: 3 dyes RESIN COLOUR TRANSLUCENT EFFECT 25 ML, Wave-pro powder for creating waves 15 ml, instructions for working with powder for waves. The kit is designed to create works of epoxy resin on a marine theme: take an artboard or a decorative board / saw cut and epoxy resin for painting to the set - and you can safely start creating a marine masterpiece 🙂 The kit is enough for many fillings, since a couple of drops of dye are enough to stain the resin.
$16,95
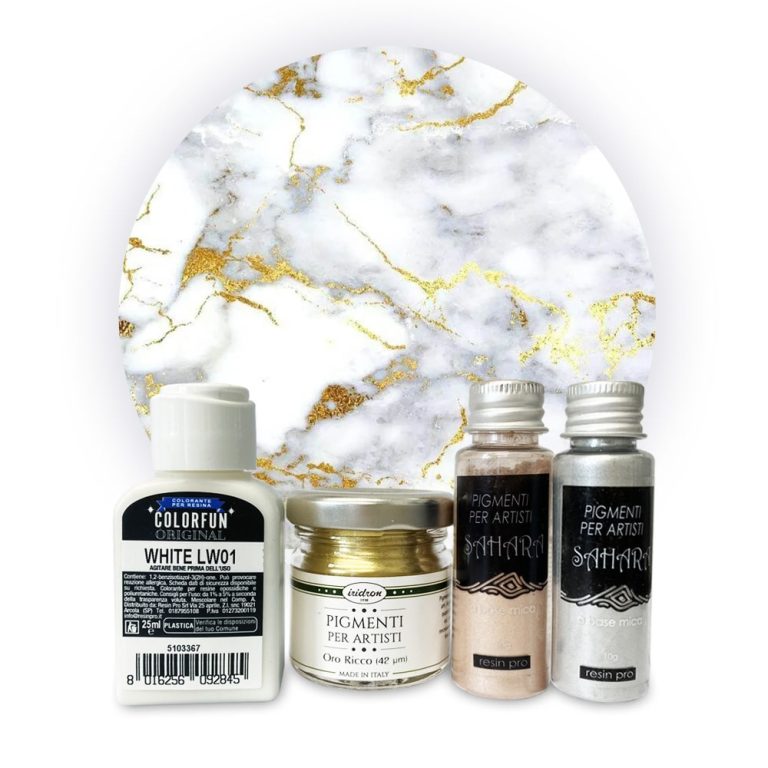
The set is designed to create a marble effect with your epoxy resin project. Take an artboard or a decorative board, epoxy resin and dye set, and you can start creating a masterpiece 🙂 The set is enough for many fillings, as you only need a couple of drops of dye to colour the resin.
$15,51
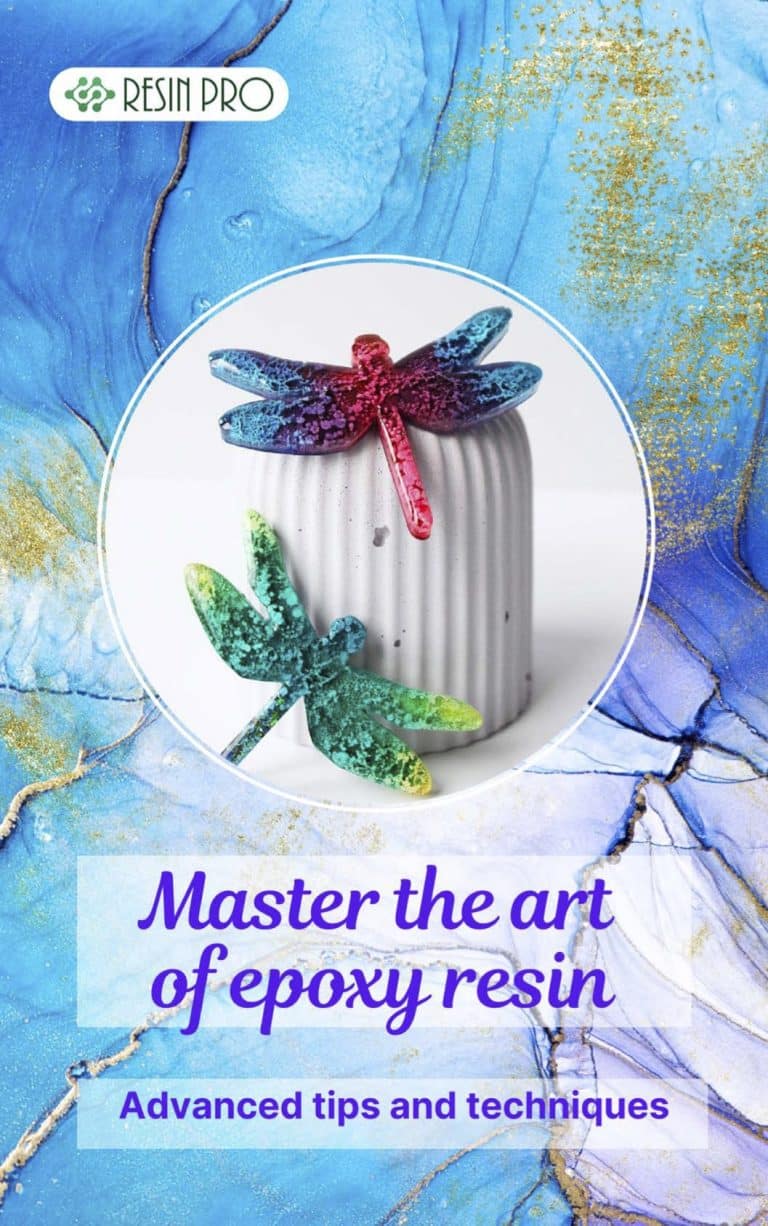
Discover the captivating world of epoxy resin with our e-book "Mastering the Art of Epoxy Resin: Tips and Advanced Techniques." Whether you're a passionate artist, an experienced DIYer, or looking to express your creativity, this book will guide you in learning and mastering this versatile technique. This comprehensive e-book offers an in-depth opportunity to learn advanced epoxy resin manipulation techniques. You'll uncover the secrets of harmonious blends, vibrant pigments, and flawless finishes to create unique works of art. Additionally, our practical tips will help you avoid common mistakes and overcome challenges encountered when working with this fascinating material. Whether you want to create epoxy resin jewelry, make stunning paintings, or design unique decorative objects, this e-book will be your essential companion. Unleash your creativity and master the art of epoxy resin with our expert advice and detailed instructions. Download "Mastering the Art of Epoxy Resin: Tips and Advanced Techniques" now to uncover the secrets of this versatile artistic method. Develop your artistic skills and create one-of-a-kind pieces that will captivate your friends and family. Don't miss this opportunity to become an epoxy resin expert and make your artistic mark
$21,95
ResinPro: one supplier for all your needs
15 years of experience at your complete disposal, supplying resins and accessories for creativity, industry, DIY, flooring and marine applications.
At your home, directly from the manufacturer!
ResinPro is the direct manufacturer of our resin range for companies and hobbyists, guaranteeing the lowest prices on the market.
Learn more
The widest range of resins in the US!
We offer resins for every need, from artistic creations to marine and construction applications, far beyond the “limited” selection typically found in local DIY stores.
Expert technical support!
Our technicians provide free remote consulting to help you avoid mistakes and ensure you achieve the result you want — unlike “generic retailers” who sell 1,000 different products.
get a free consultation
RESIN PRO is a leader in resin production and distribution!
24-hour delivery: We ship across the US on the same day. Enjoy convenient home delivery with our appointment service—our courier will contact you in advance and deliver the package to your preferred location, or leave it at an alternative address of your choice.

Full support!
We provide continuous support from preparation to final application, including remote technical assistance, ensuring a smooth experience.
Talk with a specialist and place a phone order without registration and without credit cards!
 Free shipping on orders over €199,00
  Shipping Tracking!


 Google
 Facebook