A clear beeswax polish designed to feed and protect bare wood, and to protect all other wooden surfaces. Natural Beeswax formula feeds, enhances and protects all fine wooden surfaces Soft wax - easy to apply & more cost-effective than aerosol and other alternatives Clear wax - doesn't alter the colour of the surface it is applied too Provides an instant, long-lasting shine Cleans, nourishes, and protects Suitable for all wooden surfaces
$16,49
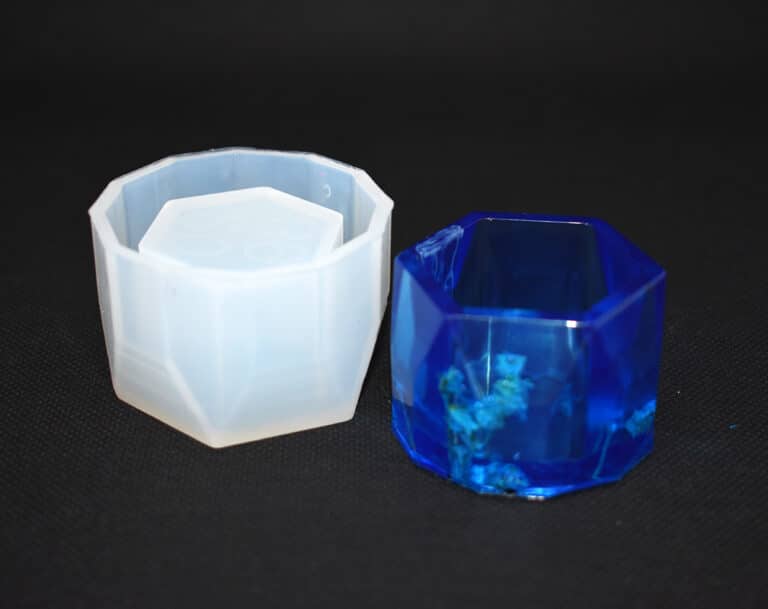
SILICONE MOULD FOR HANDCRAFTS. Easy to use, highly polished and perfect for creating beautiful jewellery or decorations. Suitable to be used with soap, plaster, resin, ice, ceramic, clay, wax and other casting materials proper for DIY. Moulds for objects, jewels and chocolate. DO-IT-YOURSELF. Material: Silicone, Colour: Semi-transparent; Reusable, Non-stick, Easy to use and clean. Measures of each mould: 5 CM [1,96"] / 3.5 CM [1,37"] Warning: do not use aggressive solvents, High-quality moulds, heat- resistant: -40°C to + 210°C [-104° F to +410° F]
$5,95
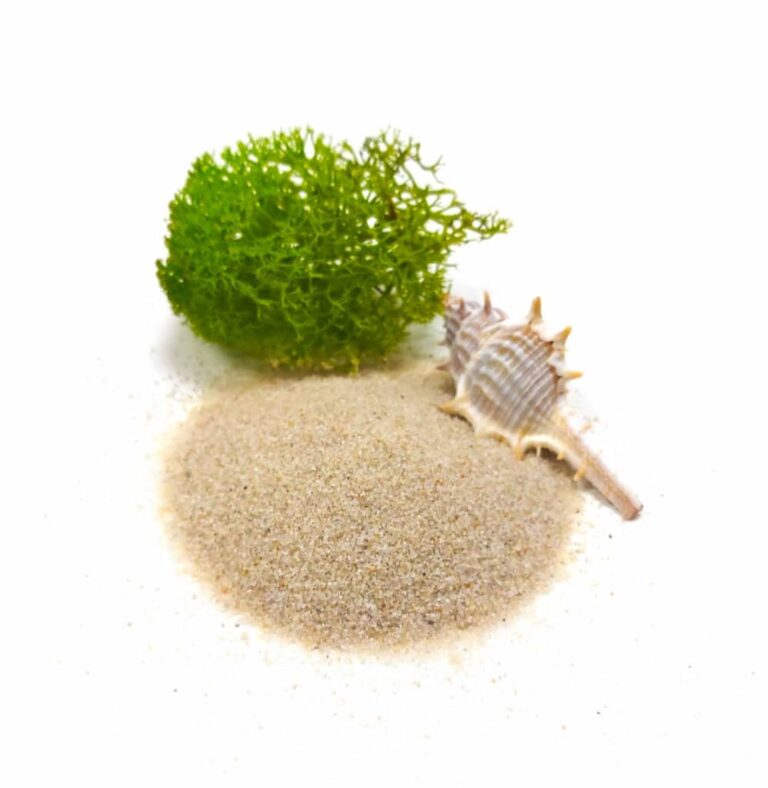
Natural sand for decorating artwork made of epoxy resin. Sand is perfect for decorating your paintings and panels made of epoxy resin: add a little marine exoticism to your works!
$3,08
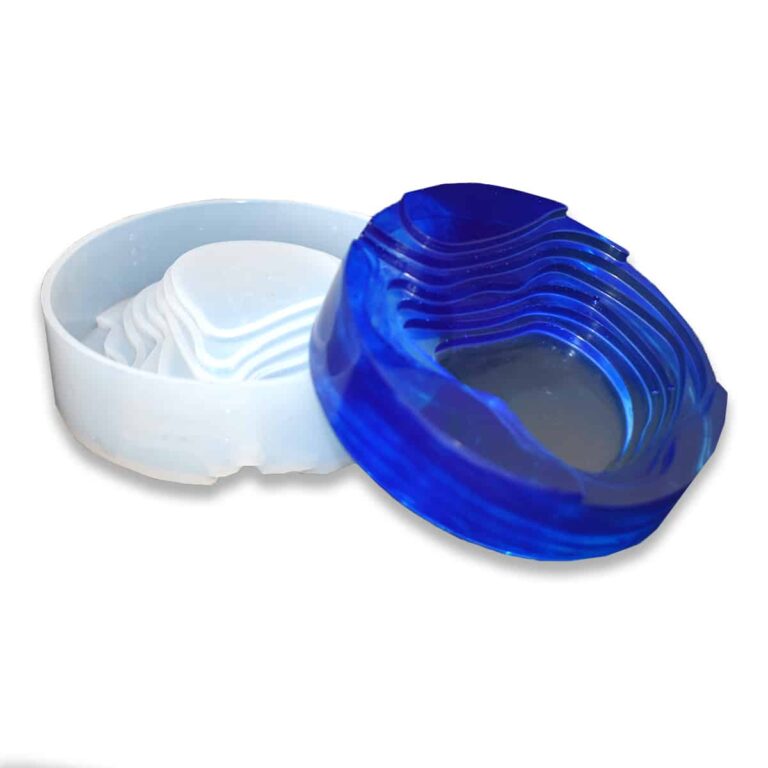
SILICONE MOULD FOR HANDCRAFTS. Easy to use, highly polished and perfect for creating beautiful jewellery or decorations. Suitable to be used with soap, plaster, resin, ice, ceramic, clay, wax and other casting materials proper for DIY. Moulds for objects, jewels and chocolate. DO-IT-YOURSELF. Material: Silicone, Colour: Semi-transparent; Reusable, Non-stick, Easy to use and clean. Measures of each mould: D 12.5 CM [4,92"] / H.3.6 CM [1,41"] Warning: do not use aggressive solvents, High-quality moulds, heat- resistant: -40°C to + 210°C [-104° F to +410° F] Attention! Remove the product from the mold no later than 12 hours after pouring the resin. Otherwise, there is a chance of local adhesion of the resin to the mold.
$15,51
Memory Boxes with Natural Elements: Enhance Your Memories with a Touch of Nature
Memory boxes with natural elements are a beautiful way to personalize and store your cherished memories. These boxes are adorned with items from nature like flowers, leaves, shells, or stones, adding both beauty and meaning. Whether used to safeguard photos, cards, or small keepsakes, a memory box with natural elements brings a piece of the outdoors into your home, creating a serene and distinctive ambiance. The best part? Creating these unique boxes is a simple and enjoyable DIY project, allowing you to tailor them to your individual style and preferences.
Ideas for Crafting a Memory Box with Epoxy Resin
Crafting a memory box with epoxy resin is a creative and heartfelt endeavor. Here are some tips to help you successfully bring your vision to life:
- Select a box that fits your desired dimensions.
- Collect meaningful items to incorporate into the box.
- Prepare the resin and pour it into the box in thin layers.
- Thoughtfully place your chosen items inside the resin.
- Use a toothpick to adjust the placement of items and remove any air bubbles.
- Allow the resin to dry for the recommended time.
- Seal the box once the resin has solidified completely.
- Personalize the exterior of the box to enhance its sentimental value.
By following these steps, you can create a one-of-a-kind memory box that preserves your most cherished moments in a truly original way.
Tutorial: Crafting a Memory Box with Dried Flowers
Crafting a memory box with dried flowers is a meaningful and artistic endeavor. Here's how to create your own:
- Choose a box or container that fits your desired dimensions.
- Gather dried flowers and leaves, ensuring they are fully dry.
- Arrange the flowers and leaves inside the box in a visually pleasing manner.
- Include additional meaningful elements like photographs, notes, or special mementos.
- Carefully close the box, ensuring everything is securely positioned.
- Store the memory box in a dry place, away from direct sunlight.
Crafting a memory box with dried flowers allows you to honor and cherish your memories in a unique and artistic fashion.
Decorating a Memory Box with Shells and Sand: A Beachy Touch to Your Keepsakes
To adorn your memory box with shells and sand, follow these straightforward steps:
Prepare the memory box, ensuring it is clean and dry.
Apply a coat of transparent glue inside the box.
Arrange the shells in a harmonious pattern on the glue.
Secure the shells by adding sand around them.
Enhance the design by attaching additional decorations like faux starfish or small stones with glue.
Allow the glue to dry for the recommended duration.
Once dry, ensure all elements are securely attached and free of sharp edges.
By following these simple steps, you can create a stunning memory box adorned with shells and sand, adding a coastal flair to your treasured keepsakes.
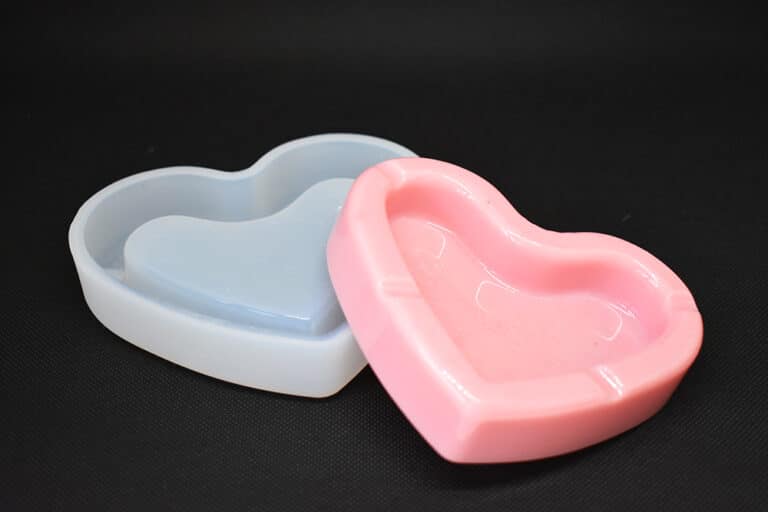
SILICONE MOULD FOR HANDCRAFTS. Easy to use, highly polished and perfect for creating beautiful jewellery or decorations. Suitable to be used with soap, plaster, resin, ice, ceramic, clay, wax and other casting materials proper for DIY. Moulds for objects, jewels and chocolate. DO-IT-YOURSELF. Material: Silicone, Colour: Semi-transparent; Reusable, Non-stick, Easy to use and clean. Measures of each mould: 13 x 11 x 3 CM [5,11" x 4,33" x 1,18"] Warning: do not use aggressive solvents, High-quality moulds, heat- resistant: -40°C to + 210°C [-104° F to +410° F]
$7,95
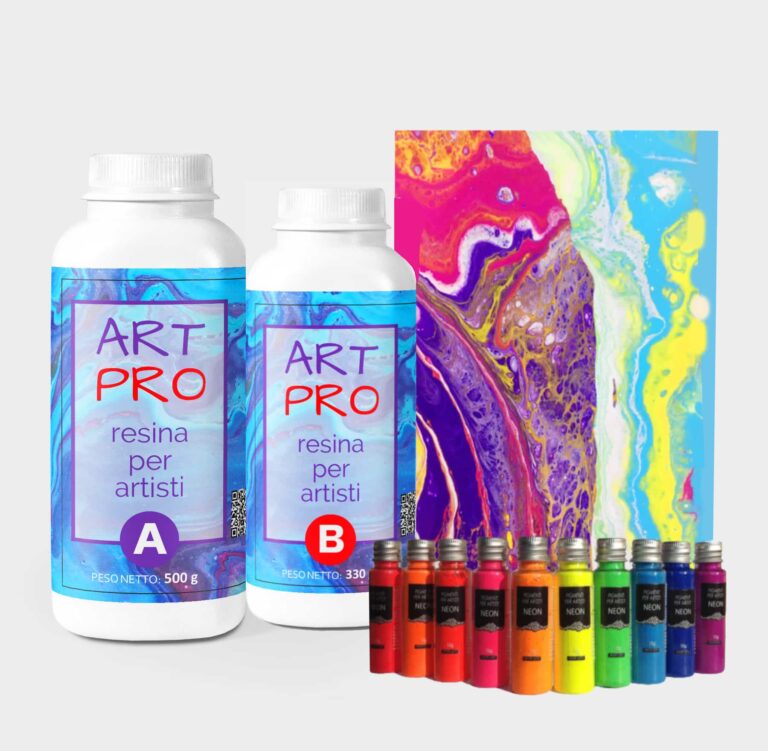
"RAPHAEL" KIT for Pour Paint & Resin Art Create your unique painting with the "RAPHAEL" kit. Experience the countless mixtures and design the perfect artwork! The "RAPHAEL" KIT includes: TRANSPARENT RESIN FOR ARTWORK AND DIY 1.66 KG [3,65 LB] NEON PIGMENTS SET RECTANGULAR FRAME CANVAS 30*30cm WOODEN SPATULA * 5pcs NITRILE GLOVES INSTRUCTION "TIPS HOW TO WORK WITH EPOXY" Transparent resin for artwork and DIY 1.66 KG [3,65 LB]. Transparent self-levelling UV-resistant epoxy system, which creates a hard and glossy protective layer for casting up to 1 cm [0,39”]. ART PRO, the epoxy resin for the artistic sector: thanks to its special formula and its dense structure, it allows you to create paintings with the "pour paint" and liquid paint technique. It does not leak out from the working surface, slowly reaching the corners of the frame. ART PRO preserves your original design and prevents any possible modification due to the casting of the resin: because of its special formula, the layers of colours do not expand and do not mix (unless you deliberately intervene), faithfully keeping with your creative idea! The surface is perfectly smooth and moisture-resistant. Solvent-free and odourless epoxy resin. Applications: - artworks, creation of art objects (paintings, panels, etc.) with the "fluid-art" (pour paint) technique (pouring up to 1 cm [0,39”]); - coating of surfaces, objects and furniture to add depth and brilliance to the colour; - create a 3D effect on prints, photos and images in general; - fixation of fillers (decorative elements, glass, stone, quartz, etc.) - creation of a perfectly transparent protective layer on your projects. The "ART-PRO" formula is specifically developed for coating in artistic applications. Compatible with colouring agents, powder pigments, alcohol-based and oil-based dyes, aerosol paints. Warning: the product is moisture sensitive, do not use on wet surfaces or with water-based dyes (e.g. Acrylics) Technical data: Usage ratio 100:66 (in weight) Pot Life (150 gr at 30°C) [0,33 lb at 86 F]: 1h20 ', Film (1 mm at 30°C) [0,03” at 86 F]: 6:00'. Full catalysis after 24 hours. Neon Pigments Set. PIGMENTS WITH COLOURED BASE are perfect for decoupage, decoration and anything related to DIY. By simply adding them to resins, paints or varnishes, you can express your creativity with truly brilliant shades (neon effect!). WARNING: pigments do not glow in the dark, as they are not fluorescent.
$69,95

Resin Pro offers the possibility to achieve a perfect polishing by using different types of abrasive pastes. It can be used by hand or with an orbital polisher to make your resin creations shiny. Ebonite Abralon Sanding Pads Cosmetically appealing, consistent scratch pattern provides excellent traction. Combines the benefits of abrasive cloth and non-woven products. Opening in the fabric allows water to flow freely around the abrasive. Solid surface and foam backing provide even surface pressure. Last 5+ times longer than sandpaper. Use wet or dry (residual material can be removed by high pressure air). Now it's possible to get the most aggressive surface texture without that "cheese grater" look. Abralon sanding pads use silicon carbide particles that are precision sifted to a consistent grain size, then bonded evenly to a six-inch round fabric face for the most even scratch pattern available. WARNINGS: During processing, use protective masks, gloves, and other protective clothing. In case of contact with eyes, immediately rinse with cold water for 15 minutes and immediately consult a doctor. The kits may include by variations: EpoxyPolish Polishing cream – 250 ml [8,79 oz] - 1pc Ebonite Abralon Sanding Pads: - Ebonite Abralon Sanding Pad 150mm 360 grit - 1pc - Ebonite Abralon Sanding Pad 150mm 500 grit - 1pc - Ebonite Abralon Sanding Pad 150mm 1000 grit - 1pc - Ebonite Abralon Sanding Pad 150mm 2000 grit - 1pc - Ebonite Abralon Sanding Pad 150mm 3000 grit - 1pc - Ebonite Abralon Sanding Pad 150mm 4000 grit - 1pc EpoxyPolish Polishing cream How to Use: Step 1: Thoroughly clean the surface with a cloth. Step 2: Now you can polish by hand or with an orbital polisher. We recommend using the lowest possible speed to get the best result. Start Polishing with 360-500 grit. Note: Sand the entire surface evenly with circular movements and light pressure. Moisten the pad or the surface with water from time to time. Step 3: Now use the 1000 grit sandpaper. Note: Moisten the sandpaper or the surface with water from time to time. Step 4: Afterwards, use 2000 grit sandpaper. Note: Moisten the sandpaper or the surface with water from time to time. Lastly, use 4000 grit sandpaper to finish sanding. Step 5: Remove the sandpaper from the polishing disc and attach a soft sponge to it. Rinse the surface or wipe it with a damp cloth to remove any residual grain of the sanding. Step 6: Apply EpoxyPolish Polishing cream on the damp sponge. Use by hand or with an orbital polisher, using a large circular motion and exerting slight pressure. Step 7: Clean the surface with plenty of water to remove all the remaining residues. Step 8: Enjoy the result!!!
$21,49
Mini drill with helical tip, manual operation, effortless and durable. Suitable for the processing of resin, beeswax, wood, ivory, plastics and other soft materials. Perfect for precision machining that requires maximum delicacy. Includes different tip kits, easily interchangeable: 0.8 mm / 1.0 mm / 1.2 mm / 1.5 mm / 1.8 mm / 2.0 mm / 2.2 mm / 2.5 mm / 2.8 mm / 3.0 mm. Method of use: Unscrew the bottom and top of the drill, remove the additional parts and insert the tips. Choose a suitable nozzle for the diameter of the tip. Insert the tip into the nozzle and tighten the drill cover. For larger ends, use a nozzle with a large hole. The drill comes in a convenient metal box, which can then be used to store any object. Technique: mechanical-manual. It does not contain automatic devices. It is a mechanical hand tool. There are no descriptions available for this product.
$18,49
 Free shipping on orders over €199,00
  Shipping Tracking!


 Google
 Facebook