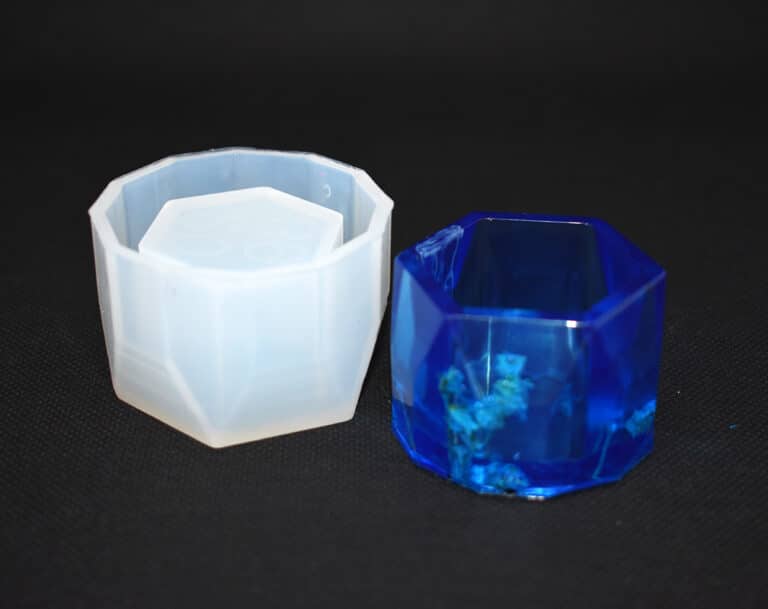
SILICONE MOULD FOR HANDCRAFTS. Easy to use, highly polished and perfect for creating beautiful jewellery or decorations. Suitable to be used with soap, plaster, resin, ice, ceramic, clay, wax and other casting materials proper for DIY. Moulds for objects, jewels and chocolate. DO-IT-YOURSELF. Material: Silicone, Colour: Semi-transparent; Reusable, Non-stick, Easy to use and clean. Measures of each mould: 5 CM [1,96"] / 3.5 CM [1,37"] Warning: do not use aggressive solvents, High-quality moulds, heat- resistant: -40°C to + 210°C [-104° F to +410° F]
$5,95
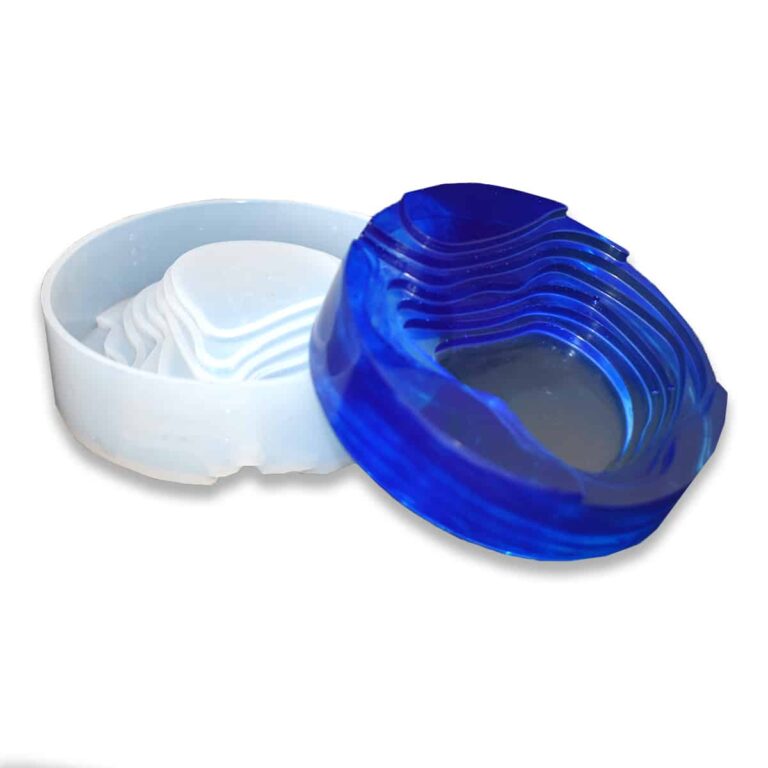
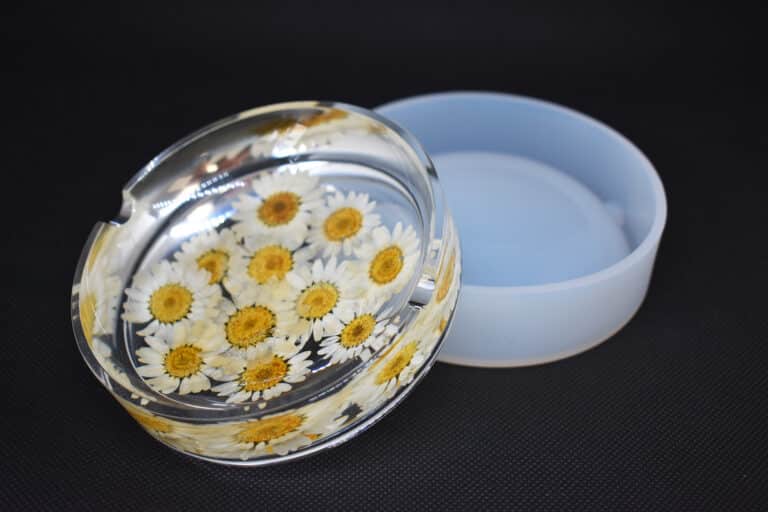
SILICONE MOULD FOR HANDCRAFTS. Easy to use, highly polished and perfect for creating beautiful jewellery or decorations. Suitable to be used with soap, plaster, resin, ice, ceramic, clay, wax and other casting materials proper for DIY. Moulds for objects, jewels and chocolate. DO-IT-YOURSELF. Material: Silicone, Colour: Semi-transparent; Reusable, Non-stick, Easy to use and clean. Measures of each mould: D 12.5 CM [4,92"] / H.3.6 CM [1,41"] Warning: do not use aggressive solvents, High-quality moulds, heat- resistant: -40°C to + 210°C [-104° F to +410° F] Attention! Remove the product from the mold no later than 12 hours after pouring the resin. Otherwise, there is a chance of local adhesion of the resin to the mold.
$15,51
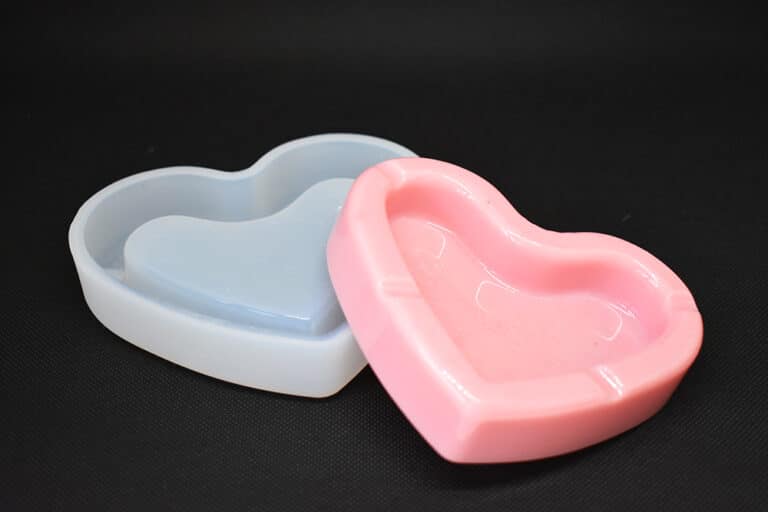
SILICONE MOULD FOR HANDCRAFTS. Easy to use, highly polished and perfect for creating beautiful jewellery or decorations. Suitable to be used with soap, plaster, resin, ice, ceramic, clay, wax and other casting materials proper for DIY. Moulds for objects, jewels and chocolate. DO-IT-YOURSELF. Material: Silicone, Colour: Semi-transparent; Reusable, Non-stick, Easy to use and clean. Measures of each mould: 13 x 11 x 3 CM [5,11" x 4,33" x 1,18"] Warning: do not use aggressive solvents, High-quality moulds, heat- resistant: -40°C to + 210°C [-104° F to +410° F]
$7,95
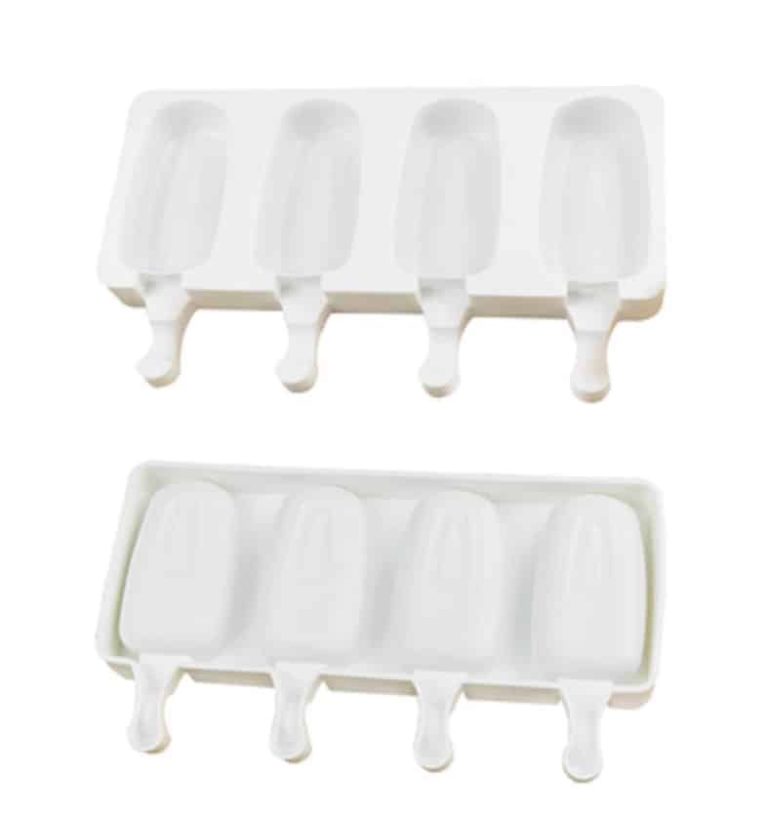
Silicone mold in the form of ice cream+free 4 sticks The ice moulds can withstand temperatures from -40 to 230 degrees Celsius and are safe for use in the oven, refrigerator, microwave and dishwasher. You can use them over and over again when you need them. Size: 9.8х5.9 inches (overall shape size) H 3.9 x W 2.2-2.3 x T 0.8 in (Ice cream shape) 1.3 in (stick size) Material:Silicone Colour:White Warning: do not use aggressive solvents. Attention! Remove the product from the mold no later than 12 hours after pouring the resin. Otherwise, there is a chance of local adhesion of the resin to the mold.
$17,95
A memory box with letters is a special container designed to store cards, letters, or meaningful messages. This customizable box can be decorated according to personal preferences, becoming a cherished treasure trove of emotions and memories. It is perfect for safeguarding love letters, messages of friendship, or important notes that you want to preserve and revisit over time. Creating a memory box with letters is a creative and sentimental activity ideal for preserving and reliving special moments through written words.
DIY Memory Box with Handmade Letters
Crafting a DIY memory box with handmade letters is a creative and heartfelt project. Personalize a box with colored epoxy resins or transparent silicones, adding glitter or pigments to make it truly unique. Write sincere and meaningful letters for the recipient, sealing them in transparent envelopes to protect them over time. This handmade gift is an excellent way to store memories and emotions. Remember to carefully follow safety instructions for using resins and consider testing on small samples to familiarize yourself with the process. Be imaginative and enjoy creating your personalized memory box.
Memory Box Tutorial with Letters
Creating a memory box with letters is a creative and significant activity. To begin, acquire a wooden or cardboard box, acrylic paint, and adhesive letters or stamps. Follow these steps:
- 1. Prepare the box: Sand and paint the box externally with acrylic paint.
- 2. Decorate the letters: Customize the letters with different colors and styles.
- 3. Apply the letters: Place the letters on the box harmoniously.
- 4. Add photos or objects: Insert photos, notes, or meaningful objects inside the memory box.
- 5. Complete with a phrase: Write a special phrase or message inside the box.
By following these steps, you can craft a distinctive and meaningful memory box.
Ideas for Customized Memory Boxes
Personalized memory boxes provide a unique and special way to preserve cherished memories. Here are some ideas to enhance your memory box:
- Personalization with the recipient's name or initials.
- Addition of a significant date or personalized message.
- Thematic decorations based on the person's interests.
- Use of personalized photos or drawings on the box.
- Addition of small meaningful objects inside the memory box.
- Application of transparent resins for protection and shine.
- Use of colored silicones for vibrant and personalized details.
- Possibility to apply special coatings for a more refined and durable touch.
Experiment with creative materials and details to craft a distinctive memory box for yourself or a loved one.
How to Decorate a Memory Box with Letters
Memory boxes can be customized in various ways, including using letters to create meaningful decorations. Here's how to decorate a memory box with letters:
- 1. Choose the letters: Opt for adhesive wooden or metal letters that complement the box's style.
- 2. Placement: Plan where to position the letters on the memory box in a harmonious and meaningful manner.
- 3. Glue the letters: Use strong glue to securely attach the letters to the box.
- 4. Personalize: Add initials, phrases, or words that hold special meaning for you or the recipient of the memory box.
- 5. Finishing touches: Ensure the letters are securely fixed and complete the decoration with additional details like paint or glitter.
By following these steps, you can create a unique and personalized memory box using letters as a decorative element.
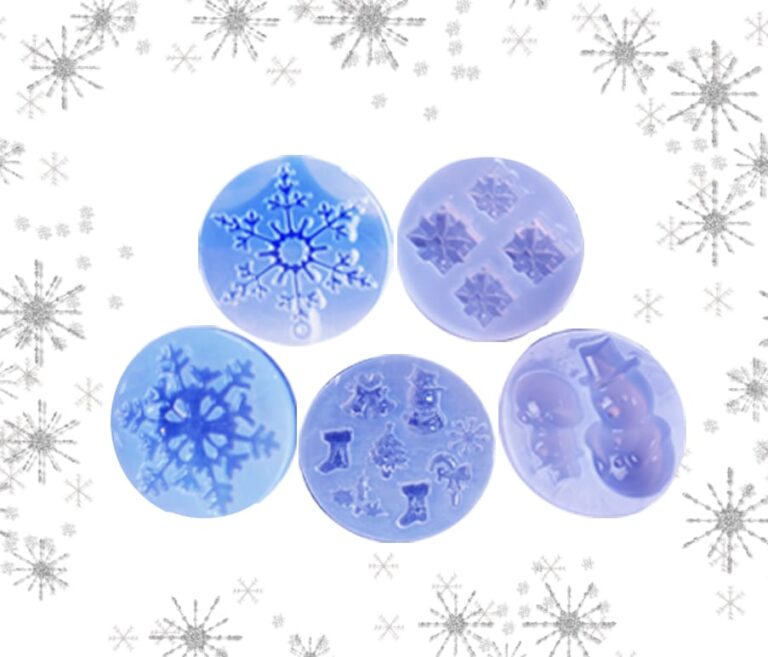
CHRISTMAS WITH RESIN PRO! Christmas is coming, with all the magic of creativity! the new Kit 5 Christmas silicone molds with SUPER surprise GIFT! Bring the magic and creativity wherever you go! The kit contains: “Christmas Bow” mold – shape 1 “Christmas Bow” mold – shape 2 “snowman” mold “Christmas Star” mold Christmas decoration mold: Christmas tree, Christmas stocking, Christmas flowers Kit 5 Christmas silicone molds – is a collection that reflects the joy of Christmas days lived with creativity! Ideal for organizing your handmade gifts and creating a jewelry collection yourself!
$5,95
SILICONE MOULD FOR HANDCRAFTS. Easy to use, highly polished and perfect for creating beautiful jewellery or decorations. Suitable to be used with soap, plaster, resin, ice, ceramic, clay, wax and other casting materials proper for DIY. Moulds for objects, jewels and chocolate. DO-IT-YOURSELF. Material: Silicone, Colour: Semi-transparent; Reusable, Non-stick, Easy to use and clean. Measures of each mould: D 10 CM [3,93"] / H.2.8 CM [1,10"] Warning: do not use aggressive solvents, High-quality moulds, heat- resistant: -40°C to + 210°C [-104° F to +410° F]
$21,95

Resin Pro offers the possibility to achieve a perfect polishing by using different types of abrasive pastes. It can be used by hand or with an orbital polisher to make your resin creations shiny. Ebonite Abralon Sanding Pads Cosmetically appealing, consistent scratch pattern provides excellent traction. Combines the benefits of abrasive cloth and non-woven products. Opening in the fabric allows water to flow freely around the abrasive. Solid surface and foam backing provide even surface pressure. Last 5+ times longer than sandpaper. Use wet or dry (residual material can be removed by high pressure air). Now it's possible to get the most aggressive surface texture without that "cheese grater" look. Abralon sanding pads use silicon carbide particles that are precision sifted to a consistent grain size, then bonded evenly to a six-inch round fabric face for the most even scratch pattern available. WARNINGS: During processing, use protective masks, gloves, and other protective clothing. In case of contact with eyes, immediately rinse with cold water for 15 minutes and immediately consult a doctor. The kits may include by variations: EpoxyPolish Polishing cream – 250 ml [8,79 oz] - 1pc Ebonite Abralon Sanding Pads: - Ebonite Abralon Sanding Pad 150mm 360 grit - 1pc - Ebonite Abralon Sanding Pad 150mm 500 grit - 1pc - Ebonite Abralon Sanding Pad 150mm 1000 grit - 1pc - Ebonite Abralon Sanding Pad 150mm 2000 grit - 1pc - Ebonite Abralon Sanding Pad 150mm 3000 grit - 1pc - Ebonite Abralon Sanding Pad 150mm 4000 grit - 1pc EpoxyPolish Polishing cream How to Use: Step 1: Thoroughly clean the surface with a cloth. Step 2: Now you can polish by hand or with an orbital polisher. We recommend using the lowest possible speed to get the best result. Start Polishing with 360-500 grit. Note: Sand the entire surface evenly with circular movements and light pressure. Moisten the pad or the surface with water from time to time. Step 3: Now use the 1000 grit sandpaper. Note: Moisten the sandpaper or the surface with water from time to time. Step 4: Afterwards, use 2000 grit sandpaper. Note: Moisten the sandpaper or the surface with water from time to time. Lastly, use 4000 grit sandpaper to finish sanding. Step 5: Remove the sandpaper from the polishing disc and attach a soft sponge to it. Rinse the surface or wipe it with a damp cloth to remove any residual grain of the sanding. Step 6: Apply EpoxyPolish Polishing cream on the damp sponge. Use by hand or with an orbital polisher, using a large circular motion and exerting slight pressure. Step 7: Clean the surface with plenty of water to remove all the remaining residues. Step 8: Enjoy the result!!!
$21,49
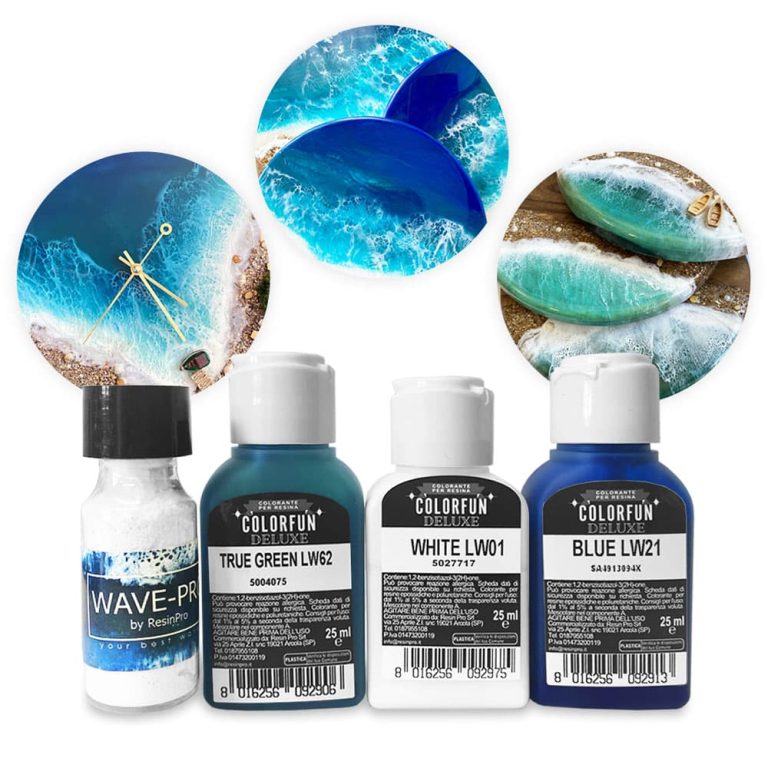
Set of dyes in a marine palette for works on marine and oceanic themes Ingredients: 3 dyes RESIN COLOUR TRANSLUCENT EFFECT 25 ML, Wave-pro powder for creating waves 15 ml, instructions for working with powder for waves. The kit is designed to create works of epoxy resin on a marine theme: take an artboard or a decorative board / saw cut and epoxy resin for painting to the set - and you can safely start creating a marine masterpiece 🙂 The kit is enough for many fillings, since a couple of drops of dye are enough to stain the resin.
$16,95
ResinPro: one supplier for all your needs
15 years of experience at your complete disposal, supplying resins and accessories for creativity, industry, DIY, flooring and marine applications.
At your home, directly from the manufacturer!
ResinPro is the direct manufacturer of our resin range for companies and hobbyists, guaranteeing the lowest prices on the market.
Learn more
The widest range of resins in the US!
We offer resins for every need, from artistic creations to marine and construction applications, far beyond the “limited” selection typically found in local DIY stores.
Expert technical support!
Our technicians provide free remote consulting to help you avoid mistakes and ensure you achieve the result you want — unlike “generic retailers” who sell 1,000 different products.
get a free consultation
RESIN PRO is a leader in resin production and distribution!
24-hour delivery: We ship across the US on the same day. Enjoy convenient home delivery with our appointment service—our courier will contact you in advance and deliver the package to your preferred location, or leave it at an alternative address of your choice.

Full support!
We provide continuous support from preparation to final application, including remote technical assistance, ensuring a smooth experience.
Talk with a specialist and place a phone order without registration and without credit cards!
 Free shipping on orders over €199,00
  Shipping Tracking!


 Google
 Facebook