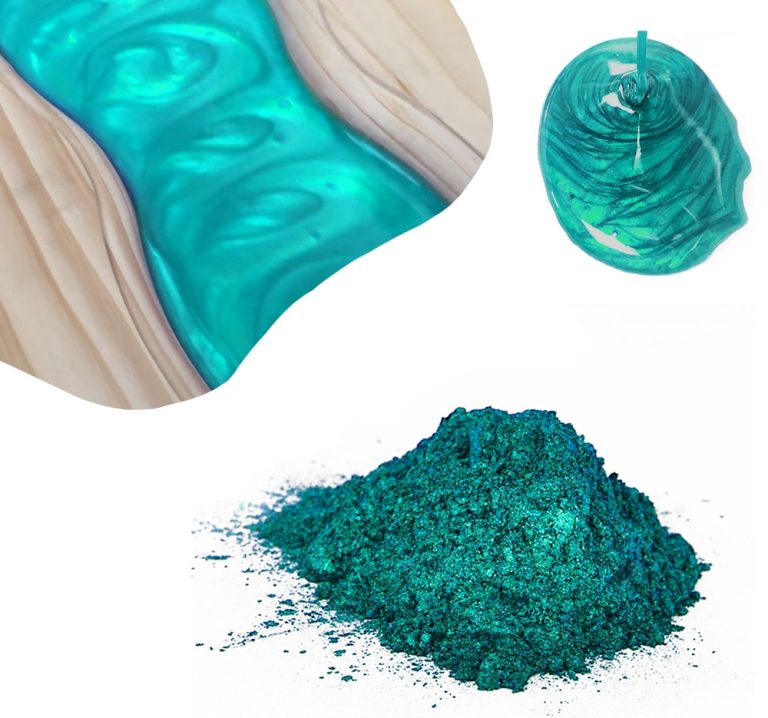
Mica Powder SAHARA is the perfect way to give even more emphasis to your creations. Thanks to its metallic pigments, you can create impressive 3D effects! Our new Mica Powder SAHARA is perfect to decorate your creations with resin! The mica-based pearlescent PEARLINE pigments have excellent fastness to light and high-temperature stability. Ideal for “glazing”, they can be used with all transparent resins. Thanks to the selection of colours, you can get truly unique and innovative chromatic effects. The selection of the finest raw materials and the high production technology allows us to offer a product with brilliant shades and high-dimensional constancy. Due to its wide range of colours, it can be used in several decorative applications, such as: hobbies, home decoration, fine arts, nail art.
$4,95
High gloss Pop up metallic pigment: a touch of luxury for your resin creations Being a very light pigment, it easily rises to the surface and leaves golden streaks allowing you to create a unique style. Ideal for: Resin Art technique, Pour Paint (Fluid Art), decoupage, decorations (paintings, furniture, boxes, trays, coasters) Do it Yourself or DIY
$6,95
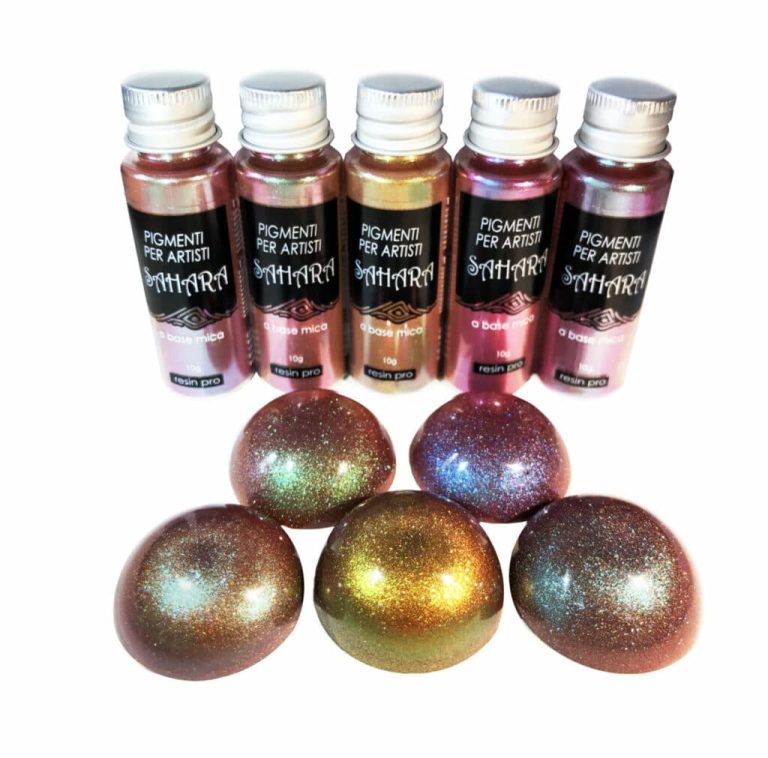
Sahara Chameleon Pigment Set is the perfect way to give even more emphasis to your creations. Thanks to its metallic pigments, you can create impressive 3D effects! Sahara Chameleon Pigment Set includes 4 chameleon colours of 10 gr [0,02 lb] each. Our new Sahara Chameleon Pigment Set is perfect to decorate your creations with resin! The mica-based pearlescent PEARLINE pigments have excellent fastness to light and high-temperature stability. Ideal for “glazing”, they can be used with all transparent resins. Thanks to the selection of colours, you can get truly unique and innovative chromatic effects. The selection of the finest raw materials and the high production technology allows us to offer a product with brilliant shades and high-dimensional constancy. Due to its wide range of colours, it can be used in several decorative applications, such as: hobbies, home decoration, fine arts, nail art.
$37,95
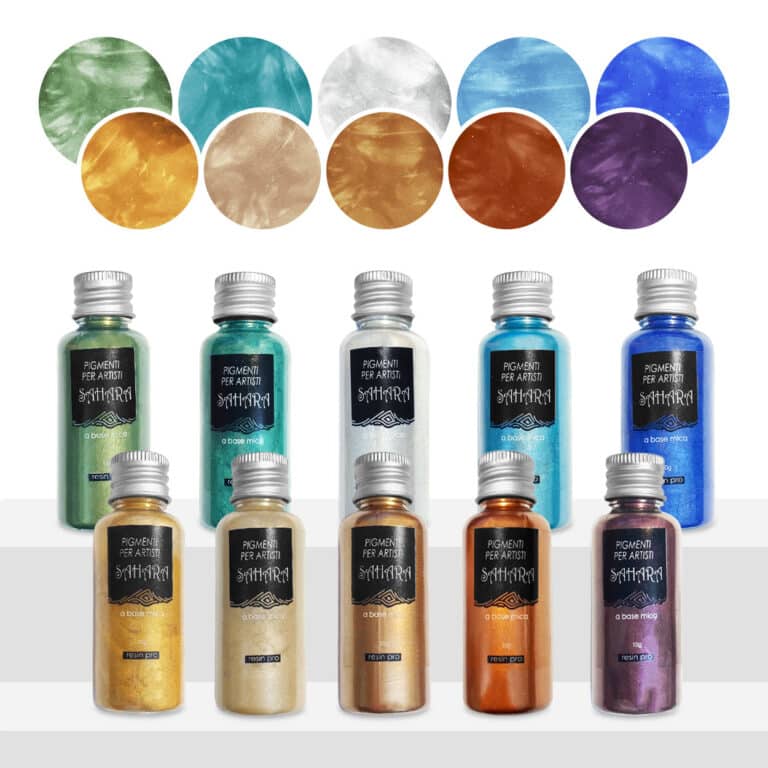
Mica Powder SAHARA Set is the perfect way to give even more emphasis to your creations. Thanks to its metallic pigments, you can create impressive 3D effects! Mica Powder SAHARA Set includes 10 colours of 10 gr [0,02 lb] each. Our new Mica Powder SAHARA Set is perfect to decorate your creations with resin! The mica-based pearlescent PEARLINE pigments have excellent fastness to light and high-temperature stability. Ideal for “glazing”, they can be used with all transparent resins. Thanks to the selection of colours, you can get truly unique and innovative chromatic effects. The selection of the finest raw materials and the high production technology allows us to offer a product with brilliant shades and high-dimensional constancy. Due to its wide range of colours, it can be used in several decorative applications, such as: hobbies, home decoration, fine arts, nail art.
$28,49
How to Create a Primer for Oxidized Metal
When creating a primer for oxidized metal, it is crucial to follow specific steps for optimal results.
- Surface Preparation: Begin by thoroughly removing rust and oxidation using metal brushes, sandpaper, or grinders to achieve a clean and smooth surface.
- Primer Application: Utilize a specialized primer for rusted metal to establish a strong and durable adhesion. Apply the primer evenly with a brush or roller to ensure complete coverage.
- Drying Time: Allow the primer to dry according to the manufacturer's recommendations before proceeding with additional painting or coating applications.
By meticulously following these steps, you can effectively treat and protect the metal surface.
Epoxy Resin Metal Primer
The epoxy resin primer for metal is specifically formulated to prepare and safeguard metal surfaces before applying epoxy resins. This primer securely adheres to the metal, creating a reliable foundation for optimal adhesion of the subsequent epoxy coating. With its anti-corrosion properties, the metal primer helps prevent damage and oxidation, ensuring enhanced durability and long-lasting resistance. Prior to applying the final epoxy resin, it is essential to treat the metal with the designated primer to guarantee quality results.
Epoxy Resin Primer
An epoxy resin primer is a vital product for adequately preparing surfaces before resin application. This primer ensures strong adhesion of the epoxy resin, prolonging the coating's lifespan. Additionally, it aids in minimizing air bubble formation between the resin and the surface, resulting in a smooth, flawless finish. Follow the manufacturer's instructions closely to maximize the primer's effectiveness by applying it to a clean, dry surface free from contaminants.
Silicone Mold Primer
A silicone mold primer is essential for surface preparation before applying resins or coatings on silicone. This primer enhances adhesion and durability, promoting long-term effectiveness. Designed for easy application and quick drying, the silicone mold primer forms a robust bond with subsequent materials. Prior to priming, thoroughly clean the silicone surface to ensure optimal adhesion. Adhere to the manufacturer's instructions for proper application and optimal performance.
Primer for Oxidized Metals
A primer for oxidized metals is specifically designed to prepare and safeguard metal surfaces affected by oxidation. This primer ensures exceptional adhesion and corrosion resistance on rusted or oxidized metal surfaces, creating a stable base for subsequent coatings. Available in various formulations such as rust converter primers or zinc primers, these primers cater to the specific requirements of the metal substrate and the intended coating.
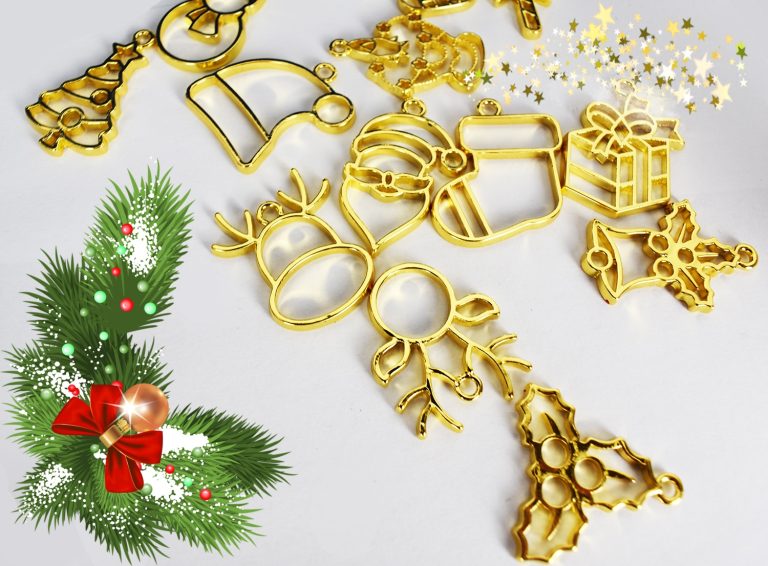
Christmas is coming, with all the magic of creativity! Feel inspired with the new RESIN PRO Christmas Kits with SUPER surprise GIFT! Bring the magic and creativity wherever you go! Set 10 Christmas open bezel - is a collection that reflects the joy of Christmas days lived with creativity! Ideal for organizing your handmade gifts and creating a jewelry collection yourself! 10 refined metal open bezels will help you shape your imagination! Prepare a gift for a loved one or a friend, give a pendant with your photo to whoever you want !! Bring beauty and creativity wherever you go! Attention: metal bases must be sent by surprise.
$12,10
Screw fasteners (100 pcs) are a great option for creating handmade gifts, and for pendants and earrings made from epoxy resin. Screw size: 7mm
$4,95
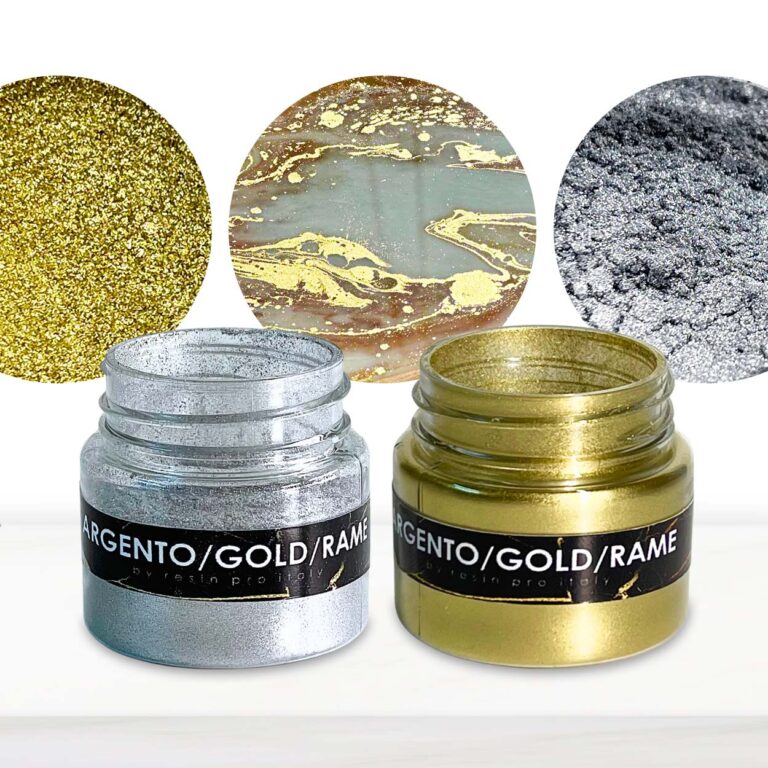
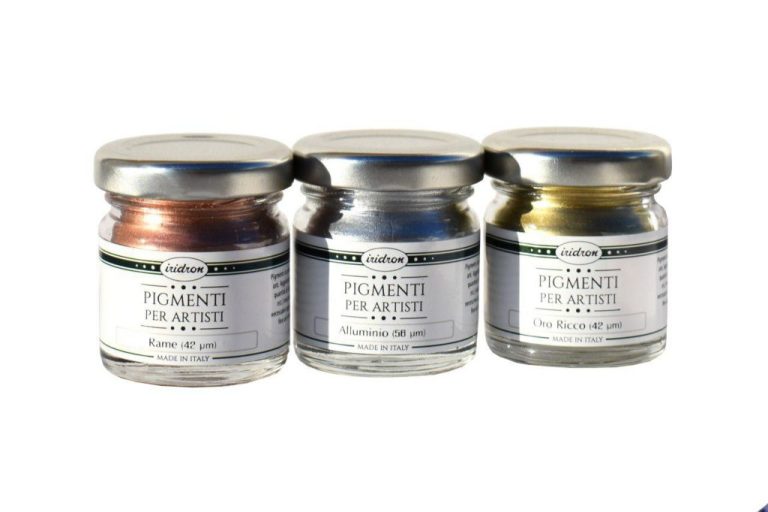
3 METALLIC PIGMENTS KIT: aluminium, rich gold, copper (A metallic pigment). High-gloss metallic pigments with excellent covering power. When mixed with epoxy resin, they create a metallic effect on any item! Thanks to the wide range of shades, the pigments can be used in fine arts, in decoration, in restoration and in several industrial applications.
$24,49
Sahara Chameleon Pigment 10 gr [0,02 lb] is the perfect way to give even more emphasis to your creations. Thanks to its metallic pigments, you can create impressive 3D effects! Our new Sahara Chameleon Pigment is perfect to decorate your creations with resin! The mica-based pearlescent PEARLINE pigments have excellent fastness to light and high-temperature stability. Ideal for “glazing”, they can be used with all transparent resins. Thanks to the selection of colours, you can get truly unique and innovative chromatic effects. The selection of the finest raw materials and the high production technology allows us to offer a product with brilliant shades and high-dimensional constancy. Due to its wide range of colours, it can be used in several decorative applications, such as: hobbies, home decoration, fine arts, nail art.
$17,06
ResinPro: one supplier for all your needs
15 years of experience at your complete disposal, supplying resins and accessories for creativity, industry, DIY, flooring and marine applications.
At your home, directly from the manufacturer!
ResinPro is the direct manufacturer of our resin range for companies and hobbyists, guaranteeing the lowest prices on the market.
Learn more
The widest range of resins in the US!
We offer resins for every need, from artistic creations to marine and construction applications, far beyond the “limited” selection typically found in local DIY stores.
Expert technical support!
Our technicians provide free remote consulting to help you avoid mistakes and ensure you achieve the result you want — unlike “generic retailers” who sell 1,000 different products.
get a free consultation
RESIN PRO is a leader in resin production and distribution!
24-hour delivery: We ship across the US on the same day. Enjoy convenient home delivery with our appointment service—our courier will contact you in advance and deliver the package to your preferred location, or leave it at an alternative address of your choice.

Full support!
We provide continuous support from preparation to final application, including remote technical assistance, ensuring a smooth experience.
Talk with a specialist and place a phone order without registration and without credit cards!
 Free shipping on orders over €199,00