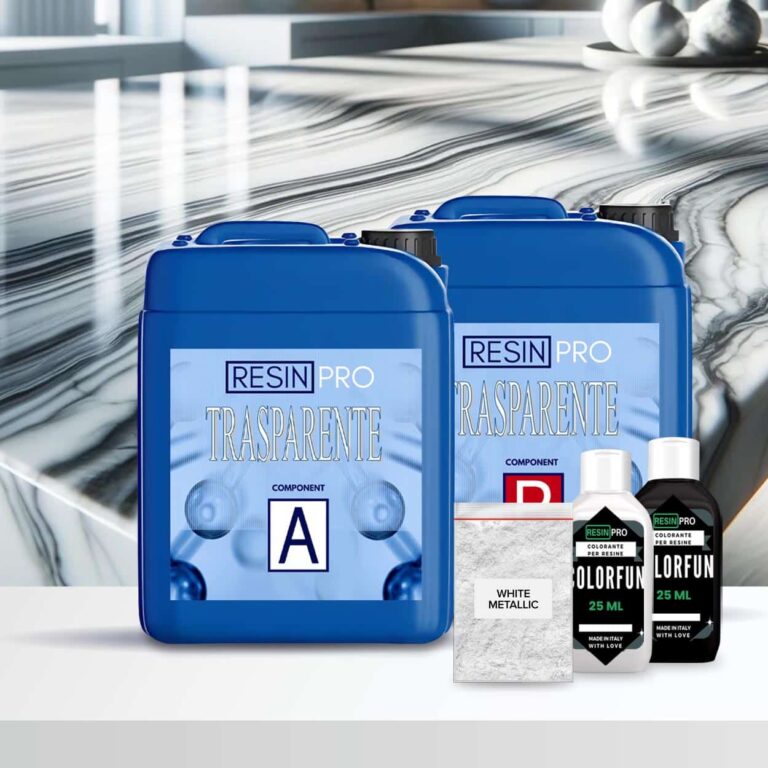
💥 Bestseller for: –Wood-working: Coating, Countertops and Tables, Lamps and Works of art; –Restoration and surface coating: Wood, Concrete, Ceramics, Canvas, Glass fiber, Floors; –DIY: Coasters, Penny-floors, Jewellery making, Dynamic modeling and Artistic creations; –Industrial: Boat care and maintenance; Impregnation of technical fabrics (fiberglass, carbon fiber, etc). 💥About “TRANSPARENT” – Ultra Clear Multipurpose Epoxy Resin: Our Non-Toxic Transparent Epoxy Resin is a high-quality, multipurpose resin that has become a top choice for thousands of customers around the world. It is perfect for creating stunning art pieces, tables jewelry, countertops, DIY projects, and woodworking. This resin is formulated to be safe and non-toxic, making it a great option for artists who are conscious of their environmental impact. It is odorless and VOC-free, making it safe to use indoors. While our Non-Toxic Transparent Epoxy Resin is safe to use, we do advise taking proper safety precautions when working with any type of resin. We recommend using gloves and masks or working in a well-ventilated area to avoid any potential irritation or allergic reactions. Non-Toxic Transparent Epoxy Resin is self-leveling and has a high-gloss finish. It is easy to use and can be mixed with a variety of pigments to create a wide range of colors. One of the best features of our Non-Toxic Transparent Epoxy Resin is its ability to create a super solid and shiny surface after full curing time. It can be used on a variety of surfaces, including wood, stone, ceramics, and more. It is perfect for creating unique and stunning pieces that are sure to impress. We offer free shipping on this product, so you can get started on your project right away. Plus, with its long shelf life, you can store it for future projects. Choose our Non-Toxic Transparent Epoxy Resin for a safe, high-quality, multipurpose option for all your creative needs. 💥Key features: • ⚙️ 【ULTRA TRANSPARENT EPOXY RESIN】-The crystal clear epoxy resin is suitable for both beginners and professionals. Start making jewelry, tables, and any other DIY – creation that involves the use of resin. • 🧪 【PROFESSIONAL QUALITY】-Made from high-quality materials – Excellent transparency, No bubbles, Odourless – because of a unique formula for DIY, craft and artistic creations. Ideal for casting and embedding objects too. Compatible with silicone, wood, fabric, glass and paper. • 🌿 【SAFE AND CERTIFIED】-All our resins are Certified Non-Toxic, Solvent-free, non-flammable, and totally safe. • 💧 【EASY TO USE】-The 100:60 mixing ratio makes this product very easy to use. Being a two-component resin, simply mix RESIN A + HARDENER B in the ratio indicated above the package and let it harden without the need for further additives. Can be colored as desired. • 📞 【FREE PROFESSIONAL ASSISTANCE SERVICE】-Since we are directly a manufacturer, we have access to a professional laboratory that will happily help you with any complex project 💥Suitable for: –Wood-working: Coating, Countertops and Tables, Lamps and Works of art; –Restoration or surface coating: Wood, Concrete, Ceramics, Canvas, Glass fiber, Floors; –DIY: Coasters, Penny-floors, Jewellery making, Dynamic modeling and Artistic creations; –Industrial: Boat care and maintenance; Impregnation of technical fabrics (fiberglass, carbon fiber, etc). + Heat and chemical resistance (Up to 70C); + Long working time; + Odourless; + Excellent mechanical strength;
$10,67
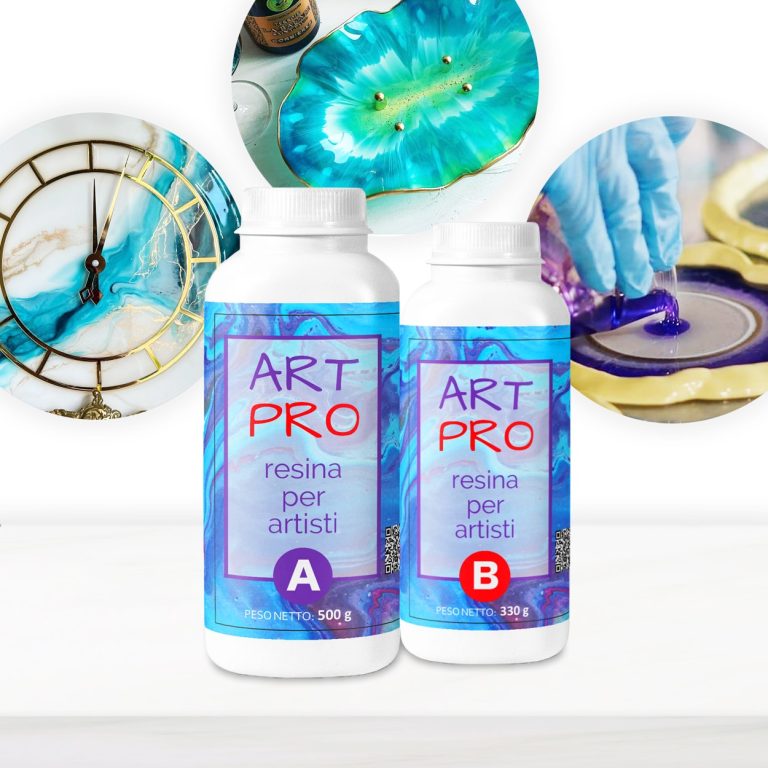
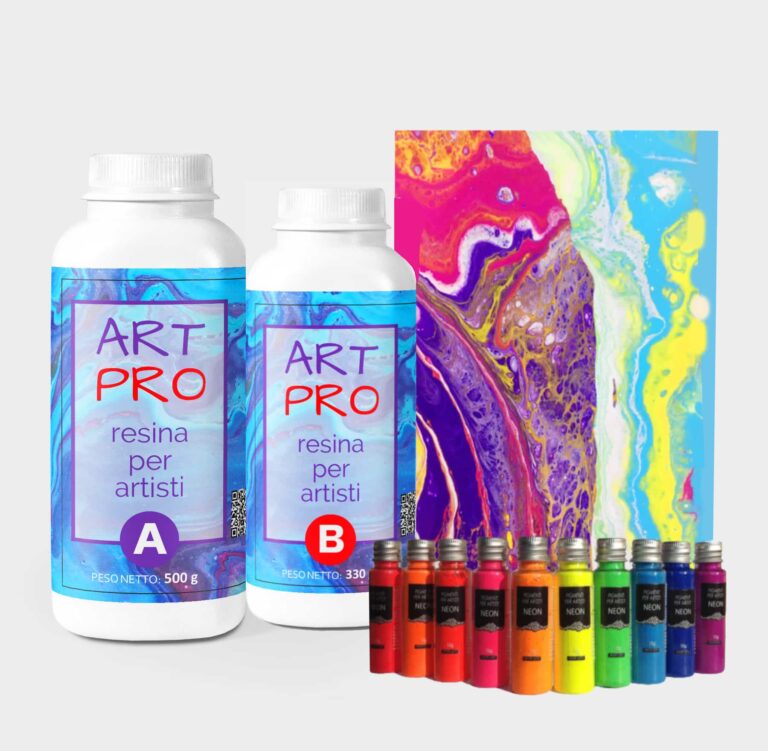
💥 BESTSELLER FOR: – Resin Artworks on surfaces, panels: Ocean Art, Marble Effect, Geode Art and etc; – Coasters and Trays with colour effects (layer thickness up to 1 cm [0,39”]); – Coating of surfaces - Floors, Canvases, Furniture, Etc; – 3D effect on prints, photos and images in general; – Fixation of decorative objects (decorative elements, glass, stone, quartz pieces, etc.); – Creation of a perfectly transparent protective layer on your projects. 💥About “ART PRO ” – Ultra Clear Medium Viscosity Epoxy Resin for Artists: First class quality epoxy resin for the artistic sector: thanks to its special dense formula, it allows you to create Resin Art works. It does not leak out from the working surface, slowly reaching the corners of the frame. ART PRO preserves your original design and prevents any possible modification due to the thickness of the resin: because of its special formula, the layers of colours do not expand and do not mix (unless you deliberately intervene), faithfully keeping with your creative idea! Additional features: Long working time; + Odourless; + Excellent mechanical strength; + High impregnation and reinforcement of technical fabrics. The product can be coloured with any epoxy dye (both in paste and powder) in a percentage ranging from 0.1% to 2.0%). It can also be thickened by the use of aggregates such as powders and fumed silica. 💥Key features: ⚙️ ULTRA TRANSPARENT EPOXY RESIN: -The crystal clear epoxy resin is suitable for both beginners and professionals. Start making Resin Art works, coasters, trays and any other DIY – creation that involves the use of medium viscosity resin. 🧪PROFESSIONAL QUALITY: -Made from high quality materials – Excellent transparency, Glossy surface, Odourless – because of unique formula for DIY, craft and artistic creations. Compatible with silicone, wood, fabric, glass and paper. 🌿 SAFE AND CERTIFIED: -All our resins are Certified Non-Toxic, Solvent-free, non-flammable, and totally safe. 💧 EASY TO USE: -The 3:2 mixing ratio makes this product very easy to use. Being a two-component resin, simply mix RESIN A + HARDENER B in the ratio indicated above the package and let it harden without the need for further additives. Can be coloured as desired. 📞 FREE PROFESSIONAL ASSISTANCE SERVICE: -Since we are directly a manufacturer, we have access to a professional laboratory that will happily help you with any complex project. 🇬🇧 UK BASED TRUSTED COMPANY: -RESIN-PRO team collects and sends your order as fast as possible. We produce and realise epoxy resins since 2015. Just google our social media, where you will find thousands of projects made with our products around the world. The "ART-PRO" formula is specifically developed for coating in artistic applications. Compatible with colouring agents, powder pigments, alcohol-based and oil-based dyes, aerosol paints. The migration laboratory test on cured resin samples ensures that the final product does not release any harmful substances, if applied following the instructions. Warning: the product is moisture sensitive, do not use on wet surfaces or with water-based dyes (e.g. Acrylics) ____________________________________________________________________ if you have not enough experience, we insistly suggest to make a small test before working with large project.
$28,49

💥 BESTSELLER FOR: –Resin-art: Geode-art, Ocean-art, Coasters, Trays, Fluid art (pour paint) and Art objects; –Surface coating: Coating + very good for vertical applications by brush or roller; –Restoration : Covering objects and furniture to add depth and brilliance to the colour. The surface is perfectly smooth and moisture-resistant. Solvent-free and odourless epoxy resin. 💥About ULTRA-HIGH VISCOSITY epoxy resin for artists "ART PRO DELUXE": The epoxy resin for the artistic sector: thanks to its special formula and its dense structure, it allows you to create paintings with the "pour paint" and liquid paint technique. It does not leak out from the working surface, slowly reaching the corners of the frame. Great choice for ocean-art; coasters and trays! ART PRO DELUXE preserves your original design and prevents any possible modification due to the casting of the resin: because of its special thick formula, the layers of colours do not expand and do not mix (unless you deliberately intervene), faithfully keeping with your creative idea! Additional features: Crystal Clear; + Odourless; + Excellent mechanical strength; + High impregnation and reinforcement of technical fabrics. The product can be coloured with any epoxy dye (both in paste and powder) in a percentage no more than 5% from the mix weight. It can also be thickened by the use of aggregates such as powders and fumed silica. DEAR ARTISTS! This type of epoxy has higher viscosity than you may expect! Please, read this note - 1. If you have no a lot of experience or you prefer to work with more liquid resin, please, check this Resin 👉🏽 ART PRO 2. If you prefer to do art-works in more viscosity resin, please, choose ART PRO DELUXE. But if it`s your first experience, we suggest to design your project before pouring, because, in this case you have short working-time (15-20 min). Due to its exceptionally high viscosity, our Deluxe epoxy resin is ideally suited for delicate casting projects, including ocean art, pour-art, and other creations that demand a resin with superior viscosity. When undertaking basic castings of 1-1.5cm, special care is needed to address bubble formation. We recommend a multi-layer approach for such castings, employing a heat gun after each application. For these projects, we suggest considering our lower viscosity resins - "Transparente" and "Art-Pro" - as the optimal solutions. Transparent self-levelling UV-resistant epoxy system, which creates a hard and glossy protective layer for casting up to 1 cm [0,39”] (ex. coasters, trays, art objects). The surface is perfectly smooth and moisture-resistant. Solvent-free and odourless epoxy resin. 💥Key features: ⚙️ 【RESIN ART EPOXY】 ART PRO DELUXE EPOXY RESIN is a ultra-high viscosity and high resistance product. The best choice for Resin-art, making Coasters, Trays, Ocean and Geode-art and casting surfaces. The particular formulation makes it a resistant product suitable for both the surface finishes of paintings, tables or even artistic floors. 🧪 【PROFESSIONAL QUALITY】Art Pro Deluxe Resin, unlike traditional "multipurpose" resins, has a special formulation and viscosity, which allows to obtain an impeccably transparent and glossy surface in any condition. Easily polished. The added UV Anti-Yellowing Filters helps save transparency over time. The low density allows prevent the incorporation of air bubbles making it perfectly suitable for river tables and countertops. Compatible with silicone and wood, fabric, glass, paper or photographs. Complete catalysis ~ 24-48 hours, but it will be ready for "unmoulding" after about 12 hours. 🌿 【SAFE AND CERTIFIED】 All our resins are Certified Non-Toxic, Solvent-free, non-flammable, and totally safe. 💧 【EASY TO USE】 The 100:70 mixing ratio (by weight) makes this product very easy to use. Being a two-component resin, simply mix RESIN A + HARDENER B in the ratio indicated above the package and let it harden without the need for further additives. Can be coloured as desired. 📞 【FREE PROFESSIONAL ASSISTANCE SERVICE】 Since we are directly a manufacturer, we have access to a professional laboratory that will happily help you with any complex project. 🇬🇧 【UK BASED TRUSTED COMPANY】 – RESIN-PRO team collect and send your order as fast as possible. We produce and realise epoxy resins since 2015. Just google our social media, where you find thousands of projects made with our products around the world. ____________________________________________________________________ 💥 Applications: - artworks, creation of art objects (paintings, panels, etc.) with the "fluid-art" (pour paint) technique (pouring up to 1 cm [0,39”]); - vertical applications by brush or roller - coating of surfaces, objects and furniture to add depth and brilliance to the colour; - create a 3D effect on prints, photos and images in general; - creation of a perfectly transparent protective layer on your projects. The "ART-PRO DELUXE" formula is specifically developed for coating in artistic applications. Compatible with colouring agents, powder pigments, alcohol-based and oil-based dyes, aerosol paints. Warning: the product is moisture sensitive, do not use on wet surfaces or with water-based dyes (e.g. Acrylics) ____________________________________________________________________ Epoxy resin is a complicated technical product, but if you follow the basic rules, you will get wonderful results! If you need any assistance, just call us - 07596 850968 or email us –
[email protected] With best regards, RESIN PRO TEAM😊 Check and tag our social media for inspiration! We are always happy to publish your art-work – [CP_CALCULATED_FIELDS id="1"]
$48,49
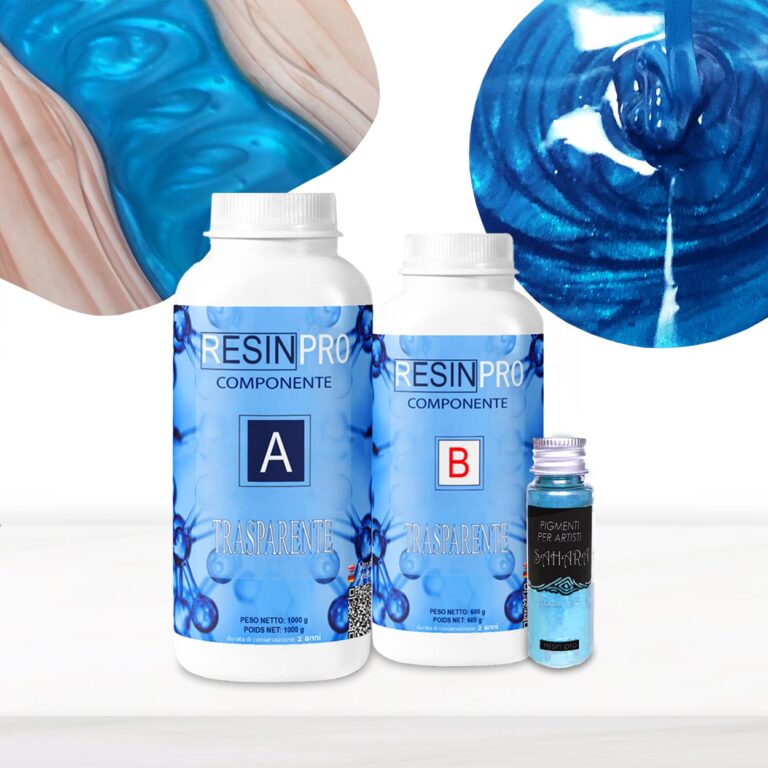
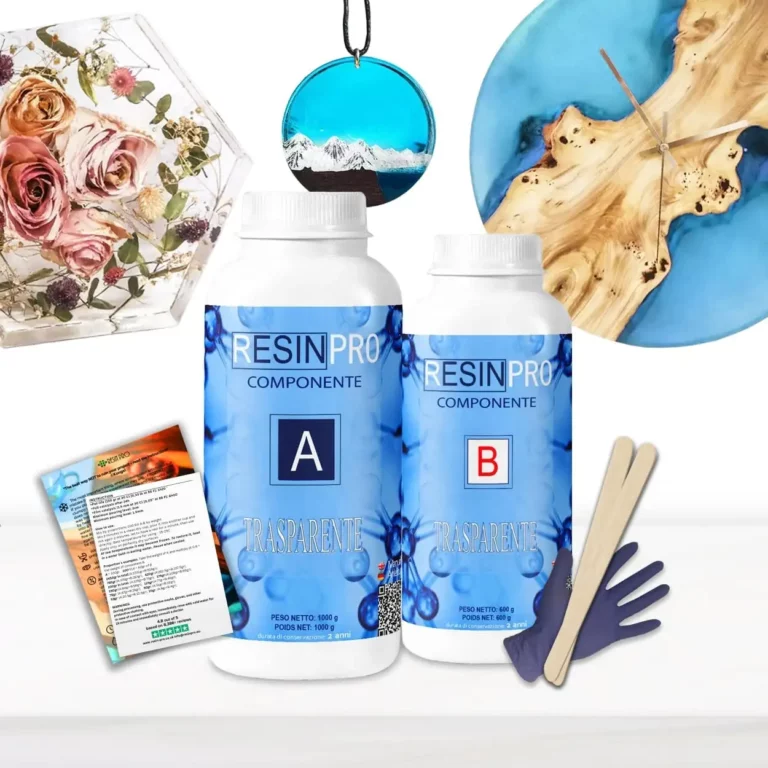
💥 Bestseller for: –Wood-working: Coating, Countertops and Tables, Lamps and Works of art; –Restoration and surface coating: Wood, Concrete, Ceramics, Canvas, Glass fiber, Floors; –DIY: Coasters, Penny-floors, Jewellery making, Dynamic modelling and Artistic creations; –Industrial: Boat care and maintenance; Impregnation of technical fabrics (fiberglass, carbon fiber, etc). 💥About “TRANSPARENT” – Ultra Clear Multipurpose Epoxy Resin: Our Non-Toxic Transparent Epoxy Resin is a high-quality, multipurpose resin that has become a top choice for thousands of customers around the world. It is perfect for creating stunning art pieces, tables jewellery, countertops, DIY projects, and woodworking. This resin is formulated to be safe and non-toxic, making it a great option for artists who are conscious of their environmental impact. It is odourless and VOC-free, making it safe to use indoors. While our Non-Toxic Transparent Epoxy Resin is safe to use, we do advise taking proper safety precautions when working with any type of resin. We recommend using gloves and masks or working in a well-ventilated area to avoid any potential irritation or allergic reactions. Non-Toxic Transparent Epoxy Resin is self-levelling and has a high-gloss finish. It is easy to use and can be mixed with a variety of pigments to create a wide range of colours. One of the best features of our Non-Toxic Transparent Epoxy Resin is its ability to create a super solid and shiny surface after full curing time. It can be used on a variety of surfaces, including wood, stone, ceramics, and more. It is perfect for creating unique and stunning pieces that are sure to impress. Plus, with its long shelf life, you can store it for future projects. Choose our Non-Toxic Transparent Epoxy Resin for a safe, high-quality, multipurpose option for all your creative needs. 💥Key features: ⚙️ ULTRA TRANSPARENT EPOXY RESIN: -The crystal clear epoxy resin is suitable for both beginners and professionals. Start making jewellery, tables, and any other DIY – creation that involves the use of resin. 🧪 PROFESSIONAL QUALITY: -Made from high quality materials – Excellent transparency, No bubbles, Odourless – because of unique formula for DIY, craft and artistic creations. Ideal for casting and embedding objects too. Compatible with silicone, wood, fabric, glass and paper. 🌿 SAFE AND CERTIFIED: -All our resins are Certified Non-Toxic, Solvent-free, non-flammable, and totally safe. 💧 EASY TO USE: -The 100:60 mixing ratio makes this product very easy to use. Being a two-component resin, simply mix RESIN A + HARDENER B in the ratio indicated above the package and let it harden without the need for further additives. Can be coloured as desired. 📞 FREE PROFESSIONAL ASSISTANCE SERVICE: -Since we are directly a manufacturer, we have access to a professional laboratory that will happily help you with any complex project. 🇬🇧 UK BASED TRUSTED COMPANY: -RESIN-PRO team fulfils your order as fast as possible. We produce and realise epoxy resins since 2015. Just check our social media, where you will find thousands of projects made with our products around the world. 💥Suitable for: –Wood-working: Coating, Countertops and Tables, Lamps and Works of art; –Restoration or surface coating: Wood, Concrete, Ceramics, Canvas, Glass fiber, Floors; –DIY: Coasters, Penny-floors, Jewellery making, Dynamic modelling and Artistic creations; –Industrial: Boat care and maintenance; Impregnation of technical fabrics (fiberglass, carbon fiber, etc). + Heat and chemical resistance (Up to 70C); + Long working time; + Odourless; + Excellent mechanical strength; Get inspired by creative works [pinterest_carousel gallery_id="776800704417739265"]
$28,49
 Free shipping on orders over €199,00