Resin Pro offers the possibility to achieve a perfect polishing by using different types of abrasive pastes. It can be used by hand or with an orbital polisher to make your resin creations shiny. Ebonite Abralon Sanding Pads Cosmetically appealing, consistent scratch pattern provides excellent traction. Combines the benefits of abrasive cloth and non-woven products. Opening in the fabric allows water to flow freely around the abrasive. Solid surface and foam backing provide even surface pressure. Last 5+ times longer than sandpaper. Use wet or dry (residual material can be removed by high pressure air). Now it's possible to get the most aggressive surface texture without that "cheese grater" look. Abralon sanding pads use silicon carbide particles that are precision sifted to a consistent grain size, then bonded evenly to a six-inch round fabric face for the most even scratch pattern available. WARNINGS: During processing, use protective masks, gloves, and other protective clothing. In case of contact with eyes, immediately rinse with cold water for 15 minutes and immediately consult a doctor. The kits may include by variations: EpoxyPolish Polishing cream – 250 ml [8,79 oz] - 1pc Ebonite Abralon Sanding Pads: - Ebonite Abralon Sanding Pad 150mm 360 grit - 1pc - Ebonite Abralon Sanding Pad 150mm 500 grit - 1pc - Ebonite Abralon Sanding Pad 150mm 1000 grit - 1pc - Ebonite Abralon Sanding Pad 150mm 2000 grit - 1pc - Ebonite Abralon Sanding Pad 150mm 3000 grit - 1pc - Ebonite Abralon Sanding Pad 150mm 4000 grit - 1pc EpoxyPolish Polishing cream How to Use: Step 1: Thoroughly clean the surface with a cloth. Step 2: Now you can polish by hand or with an orbital polisher. We recommend using the lowest possible speed to get the best result. Start Polishing with 360-500 grit. Note: Sand the entire surface evenly with circular movements and light pressure. Moisten the pad or the surface with water from time to time. Step 3: Now use the 1000 grit sandpaper. Note: Moisten the sandpaper or the surface with water from time to time. Step 4: Afterwards, use 2000 grit sandpaper. Note: Moisten the sandpaper or the surface with water from time to time. Lastly, use 4000 grit sandpaper to finish sanding. Step 5: Remove the sandpaper from the polishing disc and attach a soft sponge to it. Rinse the surface or wipe it with a damp cloth to remove any residual grain of the sanding. Step 6: Apply EpoxyPolish Polishing cream on the damp sponge. Use by hand or with an orbital polisher, using a large circular motion and exerting slight pressure. Step 7: Clean the surface with plenty of water to remove all the remaining residues. Step 8: Enjoy the result!!!
$21,49
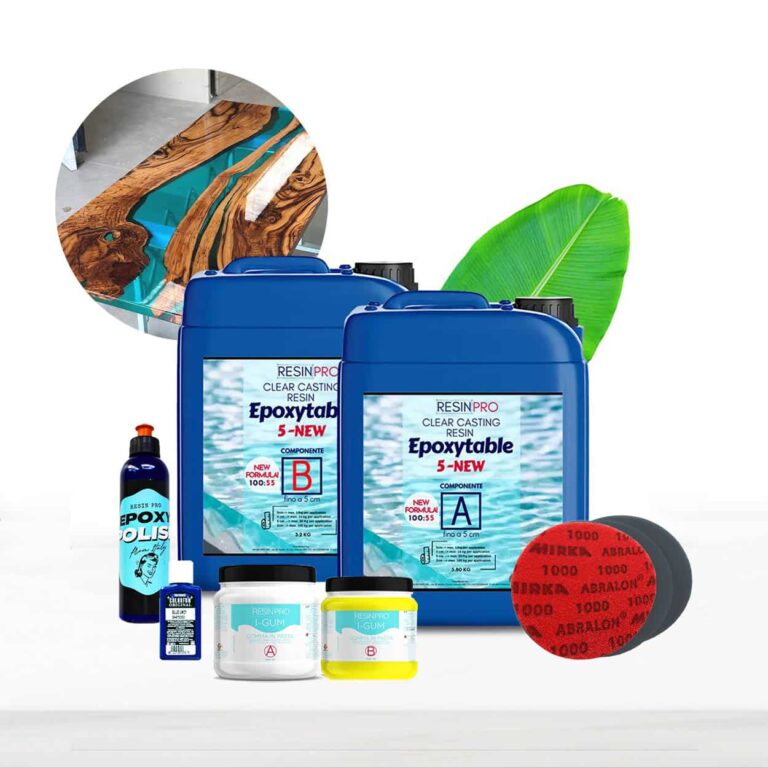
💥 About Сomplete Kit "RIVER-TABLE" - For Creating Your First Table: Resin Kit for Tables and Crafts - the perfect starter pack for resin enthusiasts of all levels. This comprehensive kit includes everything you need to create stunning resin tables, crafts, and more. With easy-to-follow instructions and high-quality materials, even beginners can achieve professional results. You will find everything you need to create the container, the resin and the final polish. Detailed instructions on how to create the formwork, and the tricks to cast the resin in few simple steps are also included. Dive into the world of resin artistry with our Beginner Resin Kit and unlock your creativity today! Resin Pro offers to chose between two epoxy types - -"Transparent" casting resin up to 2cm or -Deep pour "Epoxytable-5" up to 5cm. 💥What`s included: "BEGINNER" KIT - Have you always dreamed of owning a stunning, contemporary table crafted from wood and resin? Now, you can bring that dream to life without breaking the bank! Our BEGINNER kit offers an affordable solution, enabling you to effortlessly and swiftly create your very own wooden and resin table. • 9kg of deep pouring resin up to 5cm OR 8kg of casting resin up to 2cm. • Glossy "Shiny Shield" release film (32cm*2m) • 500gr Non-toxic silicone paste to seal your frame • Polishing KIT (polishing pads 6pcs + professional polishing paste 250ml) • 50ml colourants • Detailed instructions on how to create the formwork step by step and pour the resin. The kit is sufficient to create a table with an area of 0.5 m2 (e.g. 45 cm x 80 cm, thickness 2 cm) - These quantities are calculated by simulating a "classic" 2/3 wood and 1/3 resin table. For any queries or if you may need some advice, please contact the ResinPro technical team. "PRO" KIT - Ready to unleash your creativity with a sleek wood and resin table? Look no further! Our PRO kit offers everything you need to effortlessly and swiftly bring your vision to life. • 18kg of deep pouring resin up to 5cm OR 16kg of casting resin up to 2cm. • Glossy "Shiny Shield" release film (32cm*3m) • 500gr Non-toxic silicone paste to seal your frame • Polishing KIT (polishing pads 6pcs + professional polishing paste 250ml) • 100ml colourants • Detailed instructions on how to create the formwork step by step and pour the resin. The kit is sufficient to create a table with an area of 1 m2 (e.g. 70 cm x 100 cm, thickness 2 cm) - These quantities are calculated by simulating a "classic" 2/3 wood and 1/3 resin table. For any queries or if you may need some advice, please contact the ResinPro technical team. "MAESTRO" KIT - Are you a DIY enthusiast eager to craft a stunning, contemporary wood and resin table? This exclusive offer is tailored just for you! With the MAESTRO kit, you can effortlessly and promptly bring your wooden and resin table masterpiece to fruition. • 30kg of deep pouring resin up to 5cm OR 32kg of casting resin up to 2cm. • 500gr Non-toxic silicone paste to seal your frame • Polishing KIT (polishing pads 6pcs + professional polishing paste 250ml) • 150ml colourants • Detailed instructions on how to create the formwork step by step and pour the resin. The kit is sufficient to create a table with an area of 2 m2 (e.g. 90 cm x 150 cm, thickness 2 cm) - These quantities are calculated on a "classic" 2/3 wood and 1/3 resin table. For any queries or if you may need some advice, please contact the ResinPro technical team! If you have not enough experience, we insistly suggest to make a small test before working with large project. WARNINGS: During processing, use protective masks, gloves, and other protective clothing. In case of contact with eyes, immediately rinse with cold water for 15 minutes and immediately consult a doctor. Get inspired by creative works [pinterest_carousel gallery_id="776800704417739261"]
$270,49
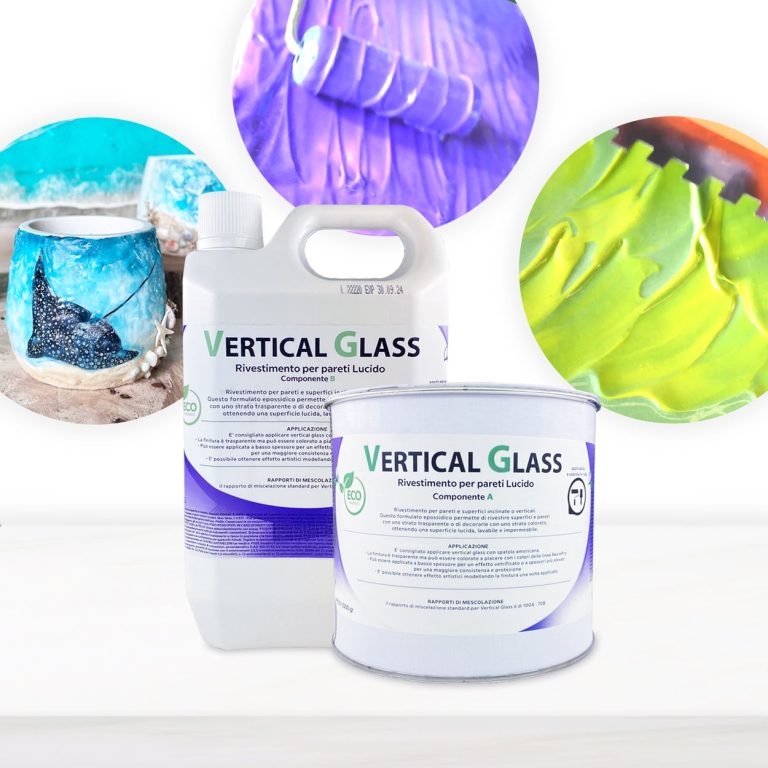
Coating for inclined or vertical walls and surfaces / This epoxy formulation allows you to coat surfaces and walls with a transparent layer or decorate them with a colored layer, resulting in a glossy, washable and waterproof surface. The Vertical Glass resin differs from normal resins allows creatives to create sharp shapes and designs on surfaces and canvases without the resin mixing unintentionally losing the original design! Transparent, UV-resistant epoxy system that creates a hard, glossy protective layer. Vertical Glass allows you to keep your initial design, faithfully respecting your creative idea! The surface will be perfectly smooth and resistant to moisture. Solvent-free and odorless epoxy resin. Applications: Floors and Walls (pre-existing) also vertical; Protection of material coatings and other artistic decorations; Coating, repair and decoration of shower trays and sanitary ware; Coating of surfaces, objects and furniture to give depth and brilliance to the color, even in Vertical! Features: For a smooth coating, it is applied with a spatula to the surface of any material: tile, concrete, wood, brick, etc. It has good hiding power, and completely covers the work surface in one application Creates a glossy, smooth and moisture-resistant layer To create a matte surface, it is easily sanded (48 hours after application, with a grain size of 1000-2000 P) Protects from moisture and gives a new life to surfaces It can be painted with dyes and pigments from our assortment Does not self-align: saves the drawing that you set for it 🙂 Please note that in the unpainted form, the material is not completely transparent, and there is a slight “milky” shade with almost imperceptible micro-particles, so we recommend painting it It is used for: Floor coverings, walls, furniture and other surfaces Protection of surfaces of materials Painting, repair and decoration of showers and bathrooms Creation of paintings, murals and other works of art
$109,49
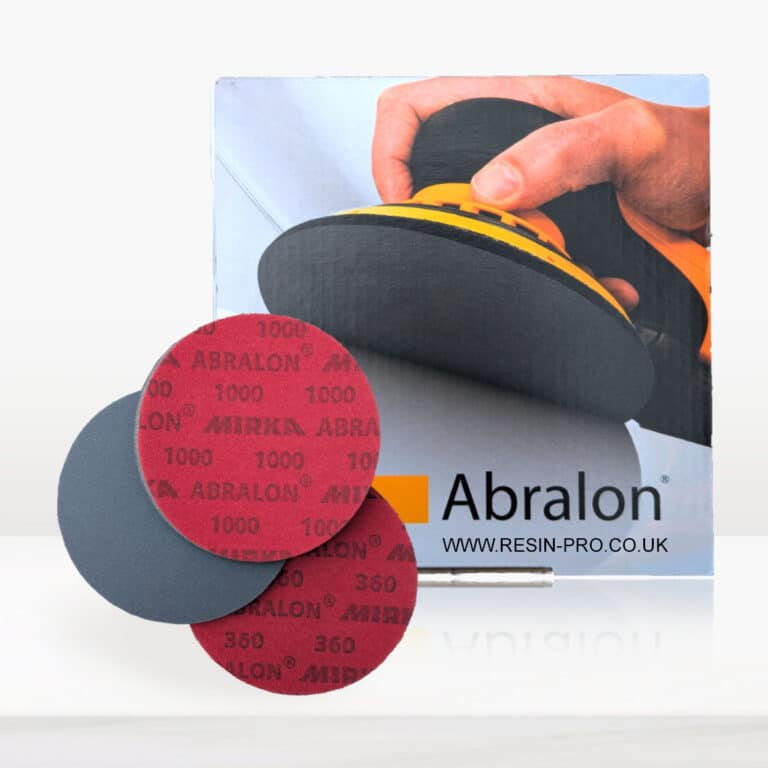
New line of polishing products SPECIFIC for plastic and resins industry. Ebonite Abralon Sanding Pads: - Ebonite Abralon Sanding Pad 150mm 360 grit - Ebonite Abralon Sanding Pad 150mm 500 grit - Ebonite Abralon Sanding Pad 150mm 1000 grit - Ebonite Abralon Sanding Pad 150mm 2000 grit - Ebonite Abralon Sanding Pad 150mm 3000 grit - Ebonite Abralon Sanding Pad 150mm 4000 grit Ebonite Abralon Sanding Pads Cosmetically appealing, consistent scratch pattern provides excellent traction. Combines the benefits of abrasive cloth and non-woven products. Opening in the fabric allows water to flow freely around the abrasive. Solid surface and foam backing provide even surface pressure. Last 5+ times longer than sandpaper. Use wet or dry (residual material can be removed by high pressure air). Now it's possible to get the most aggressive surface texture without that "cheese grater" look. Abralon sanding pads use silicon carbide particles that are precision sifted to a consistent grain size, then bonded evenly to a six-inch round fabric face for the most even scratch pattern available. WARNINGS: During processing, use protective masks, gloves, and other protective clothing. In case of contact with eyes, immediately rinse with cold water for 15 minutes and immediately consult a doctor. How to Use: Step 1: Thoroughly clean the surface with a cloth. Step 2: Now you can polish by hand or with an orbital polisher. We recommend using the lowest possible speed to get the best result. Start Polishing with 360-500 grit. Note: Sand the entire surface evenly with circular movements and light pressure. Moisten the pad or the surface with water from time to time. Step 3: Now use the 1000 grit sandpaper. Note: Moisten the sandpaper or the surface with water from time to time. Step 4: Afterwards, use 2000 grit sandpaper. Note: Moisten the sandpaper or the surface with water from time to time. Lastly, use 4000 grit sandpaper to finish sanding. Step 5: Remove the sandpaper from the polishing disc and attach a soft sponge to it. Rinse the surface or wipe it with a damp cloth to remove any residual grain of the sanding. Step 6: Apply EpoxyPolish Polishing cream on the damp sponge. Use by hand or with an orbital polisher, using a large circular motion and exerting slight pressure. Step 7: Clean the surface with plenty of water to remove all the remaining residues. Step 8: Enjoy the result!!!
$5,61
Resin watches are easily recognizable among other materials for their lightweight, scratch-resistant, glossy, and colorful appearance that is characteristic of resin. To identify them, examine the surface - if it feels smooth and has a shiny finish, it is likely made of resin. Additionally, the texture is distinct from materials such as steel or plastic. Resin watches also tend to be lighter compared to other materials.
Transparent Epoxy Resin for Watchmaking
Transparent epoxy resin is a superb material for crafting protective coatings or embedding decorative elements in watches. Known for its durability and longevity, this resin is highly valued in the watchmaking industry for its capacity to safeguard and enhance watch components. Its transparency enables the creation of glossy, flawless finishes, ensuring a top-notch aesthetic outcome.
DIY Epoxy Resin Watches
Epoxy resin is an excellent choice for making personalized and unique DIY watches. To create a watch using epoxy resin, follow these steps:
Choose transparent epoxy resin.
Pour the resin into a mold to form the watch base.
Enhance with pigments or glitter for a decorative flair.
Insert the watch mechanism once the resin has solidified.
Customize with details like numbers or hands to craft a one-of-a-kind DIY watch.
Pigments for Resin Watchmaking
Pigments designed for resin watches are specialized colorants formulated to dye the resin utilized in watch production. These pigments are crafted to seamlessly blend with epoxy or polyurethane resin, ensuring vibrant and enduring color schemes. Prior to application, it is recommended to conduct a test with the pigments to guarantee that the final result aligns with aesthetic expectations.

The structure of the lessons that you will get access to: Preparation of the workspace and mixing of resin. We will show you how to quickly level the work surface, what temperature and what other conditions are needed for a good solidification of the resin. Let’s prepare the moulds for pouring. We will show you how to mix the resin, give you ready-made calculations of proportions and teach you how to use the automatic proportion calculator in a couple of clicks. Working with glitters: Let’s explain how to add our glitter and sparkles to the filling so that they do not float to the surface and how to ensure we don’t over-pour or use too little resin. Let’s show you three different ways to add glitters. Dropping ink into the resin: This is where the magic happens, because the process of dropping ink into the resin is simply mesmerising! The inks can be seen spinning in the resin! We prepare the ink, and drop it into the resin at the right time and in a way and sequence that creates the most beautiful and unique results – we will show everything! In the course, we shared 6 wonderful colour schemes for ink combinations from the PIÑATA line. After the course you will feel confident about which colours are better for which combination, and which colours can be diversified if desired. Finishing touches! We take the work out of the mould at the right time, and check the backdrop for sharp corners. If there are any found, we “smooth” them with a nail file as shown in the video. Also, here we will show you how to use a marker for creating gold or silver edges. The finishing layer: How to apply the finish correctly for the best effect. How to calculate the amount of resin for the finish of a decoration and how to overcome smudges, if they suddenly flow onto the back of the product. Bows: We will teach you how to tie a festive bow on a decoration so that it looks even more attractive and aesthetically pleasing, as well as beautifully hung on a festive tree. Bonus additional technique of filling “Silk” – how to do it and what will be needed for this? Bonus additional technique of filling “Flame ” – how to do it and what will be needed for this? Bonus additional technique for filling the “Cloud” – How is it done and what is needed for this? Bonus additional technique of filling with shiny ink-three options for working with them
$28,49
![]()
Stones & Binder Calculator Area sqm (L*W*1m): Thickness (cm)*: Calculate Stones: 0 kg Resin binder: 0 kg *Recommended minimum thickness for driveway: 2 cm; Other areas: 1.5 cm. Certified Non-Toxic Transparent Epoxy Binder This resin has been specifically formulated to ensure an impeccable result in various applications. Thanks to its high gloss and transparency, and low viscosity, it offers a flawless, clear, and bubble-free result for your colored pebbles or aggregates. It is also certified non-toxic for skin contact post-cure. High Resistance and Durability Excellent resistance for your permeable floor: this binder ensures outstanding mechanical performance once cured. It also cures very quickly, making the floor walkable and fully usable in just 24 hours. Guaranteed Yellowing Resistance The cycloaliphatic amine-based hardener, along with the use of UV filters, guarantees high resistance to yellowing. Key Features High transparency Excellent mechanical resistance Good chemical resistance and carbonation resistance High impregnation and structural reinforcement for permeable floors Long working time Glossy surface High UV resistance for long-lasting creations (low yellowing) High mechanical resistance for scratch protection Low viscosity that reduces air bubbles after curing and facilitates aggregate impregnation Odorless and solvent-free perfectly transparent and bubble-free thanks to the specific formula for natural stones and colored marbles Curing Time Complete curing is achieved in about 24 hours, but the product can be walked on after just 10 hours. Ideal Applications The ideal applications for "ultra-transparent" epoxy resin include colored or dark-colored pebbles and aggregates. Consider these indicative data for epoxy resin for colored aggregates: 1-2 mm - for 20-25 kg of aggregate, add 800g of epoxy resin 3-5 mm - for 20-25 kg of aggregate, add 600g of epoxy resin 6-10 mm - for 20-25 kg of aggregate, add 600g of epoxy resin 10-20 mm - for 20-25 kg of aggregate, add 400g of epoxy resin Main Technical Data (Click the "TDS" icon for the full technical data sheet) Pot-life (150g at 30°C): 1h20' Complete cure after 24h Film cure (1mm at 30°C): 6h Supplied in plastic cans Maximum casting thickness: 2 cm (7 kg at 20°C) Epoxy Resins Epoxy resins are thermosetting polymers derived from monomers containing the three-atom epoxy ring. They are widely used in the production of advanced composite materials, obtained by combining the resin with fibers.
$45,95
Intense and brilliant color, ideal for Transparent Epoxy Resins. Mix small quantities to get a translucent effect. The high coverage of the “Colorful Original” range allows to obtain a full and bright color. The high concentration provides an opaque color with a few drops.
Usable to color the products of the RESIN PRO range.
💥 Ideal for epoxy creations and resin tables thanks to its features:
✔️ Intense colors
✔️ Easy to mix
✔️ Intense colors
✔️ High concentration
✔️ Easy to get a translucent effect
✔️ 5 stars on Trustpilot
🌿Cruelty Free, Vegan Friendly🐹
$16,00
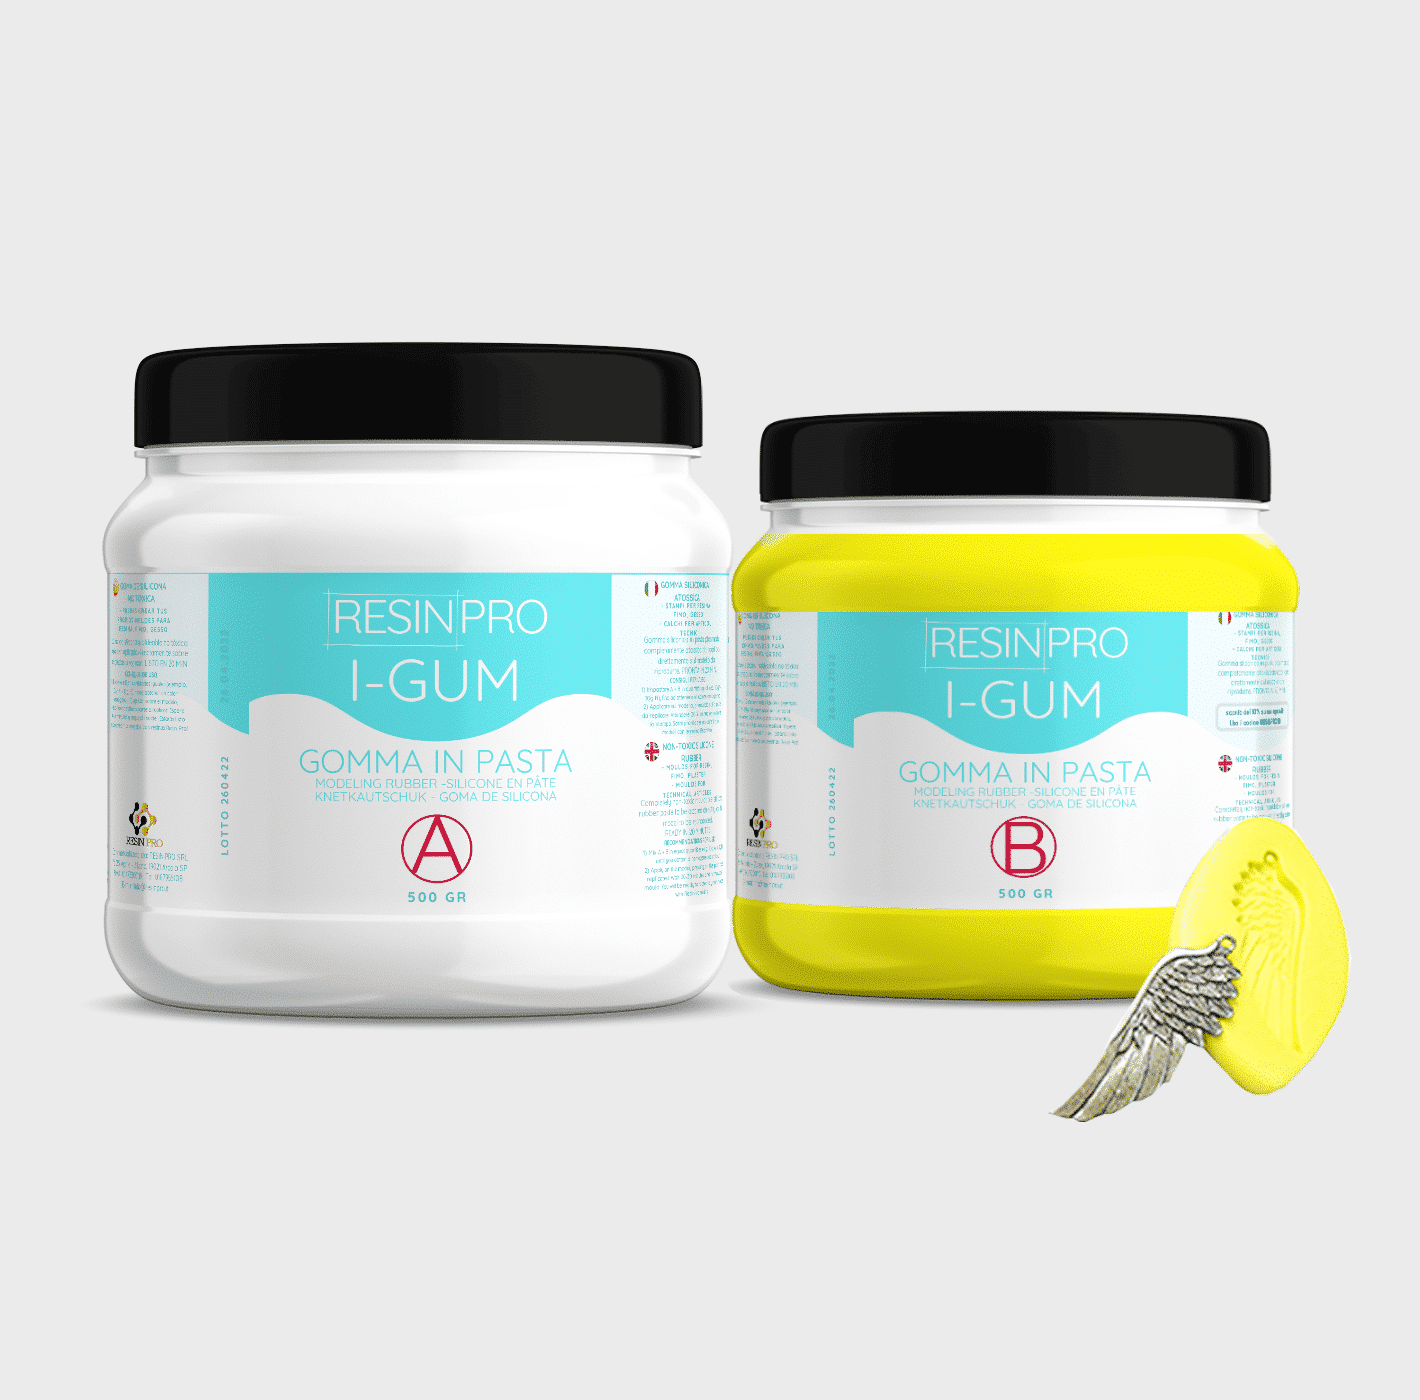
• "I-GUM" - Non-Toxic Silicone Rubber - Paste Form
Pasty silicone rubber "I-GUM" is a two–component product for creating moulds and forms for pouring with epoxy resin.
• Superior formula proven by years of experience:
✔️ Easy to use -> 1:1 mix ratio
✔️ Non-toxic -> You can work without gloves
✔️ Without smell
✔️ Long working time -> 20 minutes
✔️ European quality -> Directly from Italy
✔️ Ideal for creating moulds and frames for working with resin, polyurethanes, wax, cement and other materials
✔️ 🌿Cruelty Free, Vegan Friendly🐹
$22,00
ResinPro: one supplier for all your needs
15 years of experience at your complete disposal, supplying resins and accessories for creativity, industry, DIY, flooring and marine applications.
At your home, directly from the manufacturer!
ResinPro is the direct manufacturer of our resin range for companies and hobbyists, guaranteeing the lowest prices on the market.
Learn more
The widest range of resins in the US!
We offer resins for every need, from artistic creations to marine and construction applications, far beyond the “limited” selection typically found in local DIY stores.
Expert technical support!
Our technicians provide free remote consulting to help you avoid mistakes and ensure you achieve the result you want — unlike “generic retailers” who sell 1,000 different products.
get a free consultation
RESIN PRO is a leader in resin production and distribution!
24-hour delivery: We ship across the US on the same day. Enjoy convenient home delivery with our appointment service—our courier will contact you in advance and deliver the package to your preferred location, or leave it at an alternative address of your choice.

Full support!
We provide continuous support from preparation to final application, including remote technical assistance, ensuring a smooth experience.
Talk with a specialist and place a phone order without registration and without credit cards!
 Free shipping on orders over €199,00
  Shipping Tracking!


 Google
 Facebook