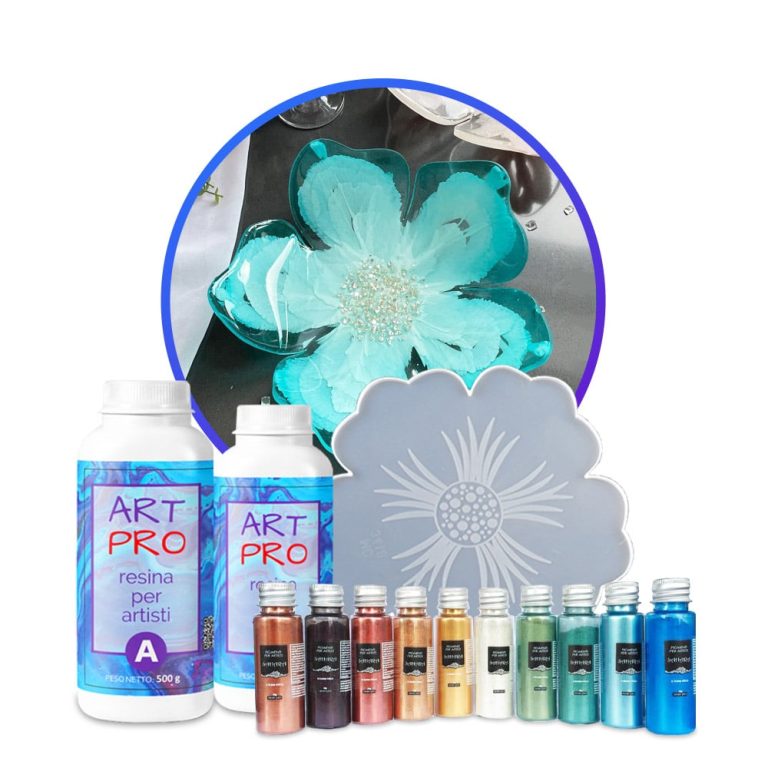
Resin painting set "Flower Vase" Attention! If the resin (component A) is cloudy or with sediment, be sure to read this article: Link The set already includes everything you need to create a real masterpiece! Medium viscosity resin, metalic dyes and silicone mould in the form of a flower with diameters of 35 cm – now you no longer need to search for goods separately to assemble a set to create a flower vase 🙂 The set is also a great gift idea!
$82,95
Dried flowers for decorating works made of epoxy resin
$7,95
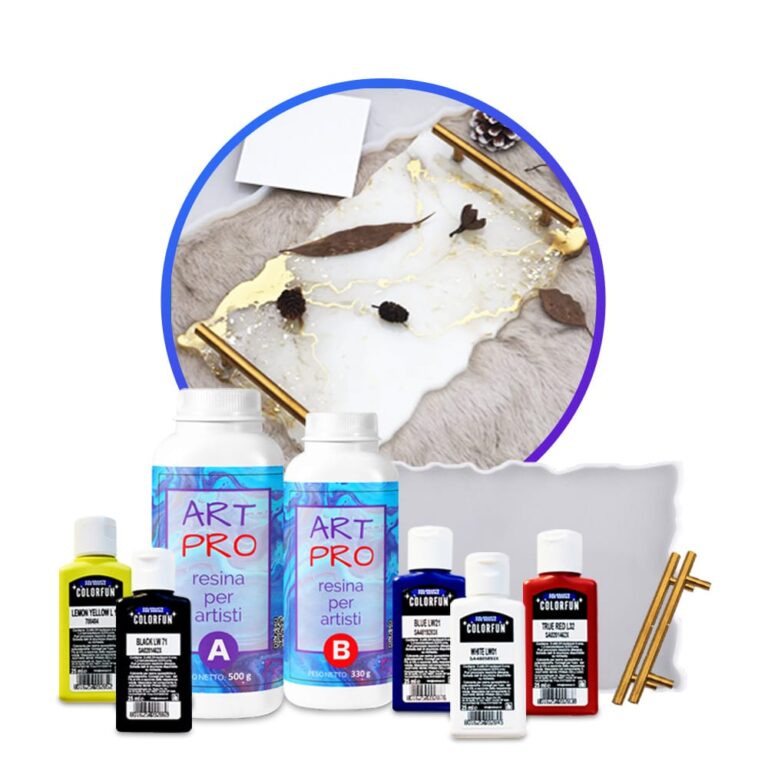
Creative Kit: Create your own resin tray! KIT INSTRUCTIONS This kit contains: 1.66 kg of epoxy resin Silicone mould "tray" + handles 5 dense dyes Spread out the plastic tarpaulin to protect the work surface. Make sure that the silicone mould is clean and all materials are at hand. Do not forget to wear disposable gloves and follow the safety instructions. Mix the epoxy resin according to the mixing ratio Art Pro 100: 66 – by weight) – 180 g A and 119 g B-for a filling thickness of 5 mm. Carefully weigh and mix both components for 3 minutes, making sure that all sides and bottom of the mixing container are included for effective mixing. Let the mixture stand for 2-3 minutes. Divide the resulting resin into separate containers for each colour you are going to use. Add resin-specific dyes to each container to get the desired shades. Mix thoroughly. Put the colours in one large container without mixing them, allowing them to stack on top of each other. Pour this mixture in layers into a mould for a dynamic abstract effect. In addition, you can pour each colour into different places of the mould according to your design concept. After 24 hours, you can remove the resin tray. After another 12-24 hours (the resin reaches full strength), you can make your tray workable by using the screws included in the kit to attach the tray handles. Drill the holes in the tray, then secure the handles with screws. Geodetic effect- To get the geode effect when casting, use the layering technique. Divide the mixed resin into separate containers for each colour you are going to use + one part with transparent resin and one white. Start by pouring clear resin into the center of the mould. Then alternate layers of white and transparent resin with coloured resin, allowing them to spread naturally. Finish by adding the last layer of transparent resin for a beautiful 3D effect. Let it harden to reveal a stunning geodesic-inspired design. Other ideas: Ocean Art Resin Tray: Capture the beauty of the ocean using different shades of blue and white resin, adding a few shells or a small starfish for an authentic nautical feel. Real Pressed Flowers: Add real dried flowers or leaves to the resin to create a natural and timeless look. Gold leaf Accents: Use a gold or metal sheet to add a touch of luxury to your tray.
$78,49
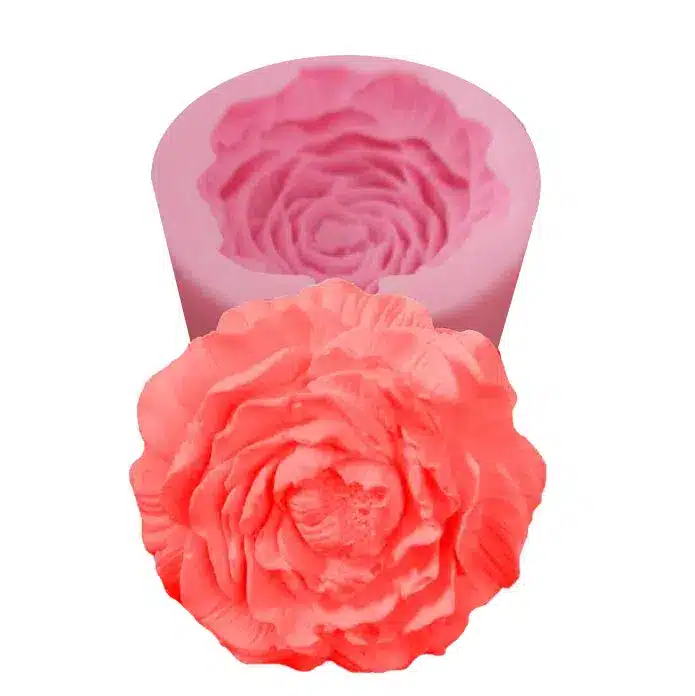
Safety: ARTSOAP is an Italian brand, a guarantee of high quality and safety. Our moulds are manufactured in compliance with all European safety standards. Durability: ARTSOAP silicone moulds are designed to last. You will be able to use them over and over again without losing the quality of the shape. Versatility: In addition to the creation of soaps, ARTSOAP moulds can be used for a variety of other applications, such as the creation of candles, gypsum and resins. The possibilities are endless! Let yourself be enchanted by our small flower mould. With mould size of 7.5 * 2.7 and end result size of 6.3 * 5.7 * 2.2 cm. Add a personal touch to your beauty products. You will be thrilled!
$6,95
How to Create Epoxy Resin Art with Suspended Flowers
Creating epoxy resin art with suspended flowers is a unique and artistic process that involves utilizing transparent epoxy resins. To craft these stunning pieces, it is essential to carefully follow a few key steps:
- 1. Flower Selection: Opt for fresh and dry flowers to prevent air bubbles in the resin.
- 2. Resin Preparation: Thoroughly mix the epoxy resin as per the manufacturer's instructions to avoid bubble formation.
- 3. Pouring: Pour a thin layer of resin into your chosen mold and delicately place the flowers.
- 4. Suspension: Achieve the suspension effect by gradually pouring more resin over the flowers, ensuring they are fully immersed.
- 5. Curing: Allow the resin to cure for the recommended duration.
- 6. Finishing: Smooth and polish the surface to achieve a transparent and glossy finish. This process enables the creation of beautifully customized decorative pieces featuring suspended flowers.
Epoxy Resin Art with Suspended Flowers
Epoxy resins with suspended flowers are highly sought-after materials in the DIY and crafting industries. These transparent resins allow for incorporating dried flowers or small objects to create jewelry, home decor, or unique and personalized decorations. Once cured, epoxy resin offers durable and glossy protection to the flowers, giving them a suspended appearance within the final piece. Following the mixing and application instructions diligently is crucial for optimal and long-lasting results.
Dry Flowers Resin Tutorial
Creating artistic pieces with resin and dry flowers is a captivating and popular process in the DIY sector. To craft one-of-a-kind decorative items, carefully follow these steps: prepare the dry flowers and position them harmoniously inside the resin cast. Then, pour the transparent resin over the flowers and let it dry according to the manufacturer's instructions. Finally, polish and refine your project to achieve a brilliant and long-lasting result. This technique allows for crafting personalized and visually striking jewelry, paintings, or decorative objects.
Crafting Jewelry with Transparent Resin
For crafting jewelry with transparent resin, adhere to these steps:
Select the suitable epoxy or polyurethane resin for your project.
Prepare the resin material, catalyst, colors, and jewelry molds.
Thoroughly mix the resin and catalyst following the recommended proportions.
Customize the transparent resin with colors or pigments.
Pour the resin into the molds and let it dry as per the specified times.
Once cured, carefully remove the jewelry from the molds.
Optionally, polish and refine your jewelry with transparent resin. By following these steps, you can create distinctive and personalized jewelry using transparent resin.
Artisanal Resin Pigments
Artisanal resin pigments are concentrated colorants utilized to dye epoxy, polyurethane, or other resin types in the crafting industry. These pigments are available in a wide array of colors and shades, enabling artists and creators to customize their projects. Typically, artisanal resin pigments are mixed directly into the liquid resin before the curing process to ensure an even color distribution. It is essential to closely follow the manufacturer's instructions to achieve optimal results and ensure compatibility with the resin type used.
Resin art kit to make your own piece of ocean! Attention! If the resin (component A) is cloudy or with sediment, be sure to read this article: The set already includes everything you need to create a real marine masterpiece! Thick resin, liquid dyes in the colour of the sea, an additive for creating real waves – now you no longer need to search for goods separately to assemble a set to create your own miniature sea 🙂
$59,95
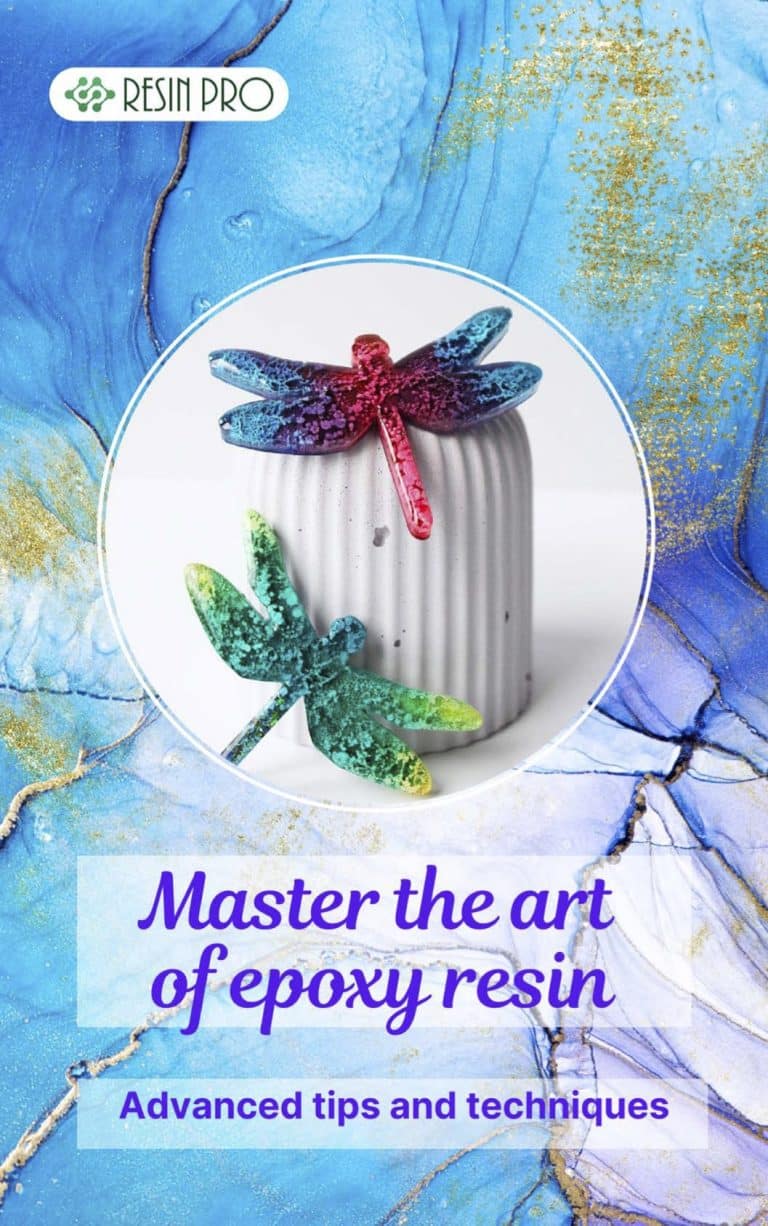
Discover the captivating world of epoxy resin with our e-book "Mastering the Art of Epoxy Resin: Tips and Advanced Techniques." Whether you're a passionate artist, an experienced DIYer, or looking to express your creativity, this book will guide you in learning and mastering this versatile technique. This comprehensive e-book offers an in-depth opportunity to learn advanced epoxy resin manipulation techniques. You'll uncover the secrets of harmonious blends, vibrant pigments, and flawless finishes to create unique works of art. Additionally, our practical tips will help you avoid common mistakes and overcome challenges encountered when working with this fascinating material. Whether you want to create epoxy resin jewelry, make stunning paintings, or design unique decorative objects, this e-book will be your essential companion. Unleash your creativity and master the art of epoxy resin with our expert advice and detailed instructions. Download "Mastering the Art of Epoxy Resin: Tips and Advanced Techniques" now to uncover the secrets of this versatile artistic method. Develop your artistic skills and create one-of-a-kind pieces that will captivate your friends and family. Don't miss this opportunity to become an epoxy resin expert and make your artistic mark
$21,95
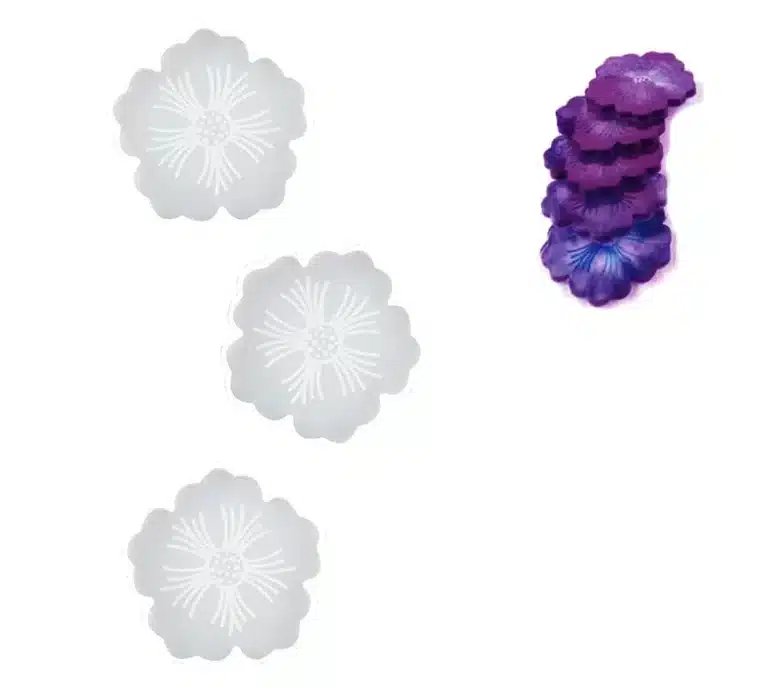
Material: High quality silicone Colour: White Sizes: Supports: 4.7″ x 0.3″ (3 pcs.) Advantages: Flexibility and versatility: Suitable for a wide range of applications, including coasters and art decorations. Heat resistance: Resistant to temperatures from -76°F to 446°F, ideal for various methods and materials. Easy Storage: Easy to store and takes up little space. Easy to clean: Easy to clean and does not change shape over time. Easy to extract: easily remove the finished product without damaging it. Usage: Ideal for creating custom coasters, this set is perfect for those who want to add a personal and creative touch to their home or office. Also great for unique handmade gifts. With these shapes, you can create stylish and functional stands, adding a touch of style to your creations and the environment. Buy them today and start creating!
$10,23
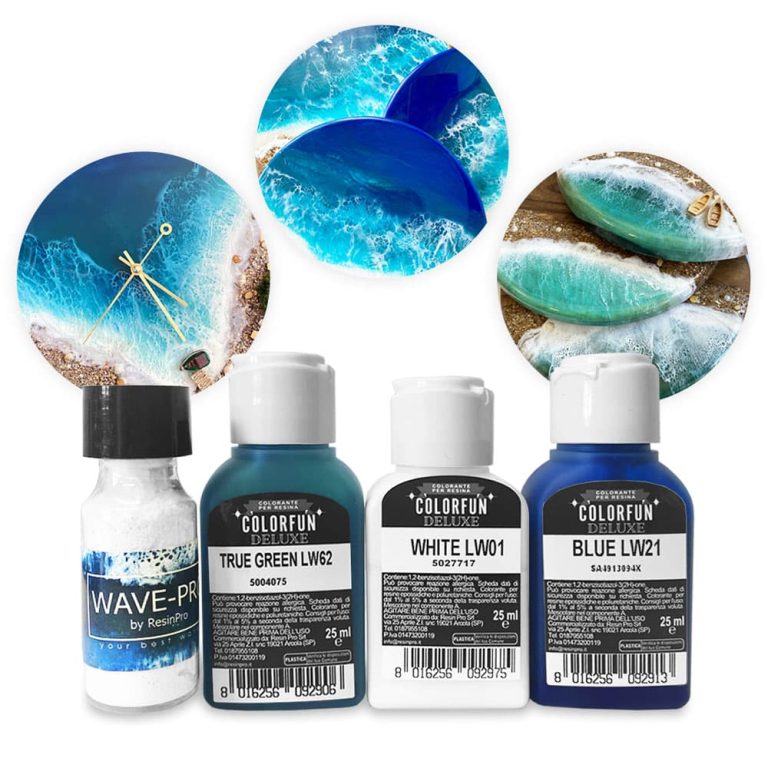
Set of dyes in a marine palette for works on marine and oceanic themes Ingredients: 3 dyes RESIN COLOUR TRANSLUCENT EFFECT 25 ML, Wave-pro powder for creating waves 15 ml, instructions for working with powder for waves. The kit is designed to create works of epoxy resin on a marine theme: take an artboard or a decorative board / saw cut and epoxy resin for painting to the set - and you can safely start creating a marine masterpiece 🙂 The kit is enough for many fillings, since a couple of drops of dye are enough to stain the resin.
$16,95
 Free shipping on orders over €199,00
  Shipping Tracking!


 Google
 Facebook