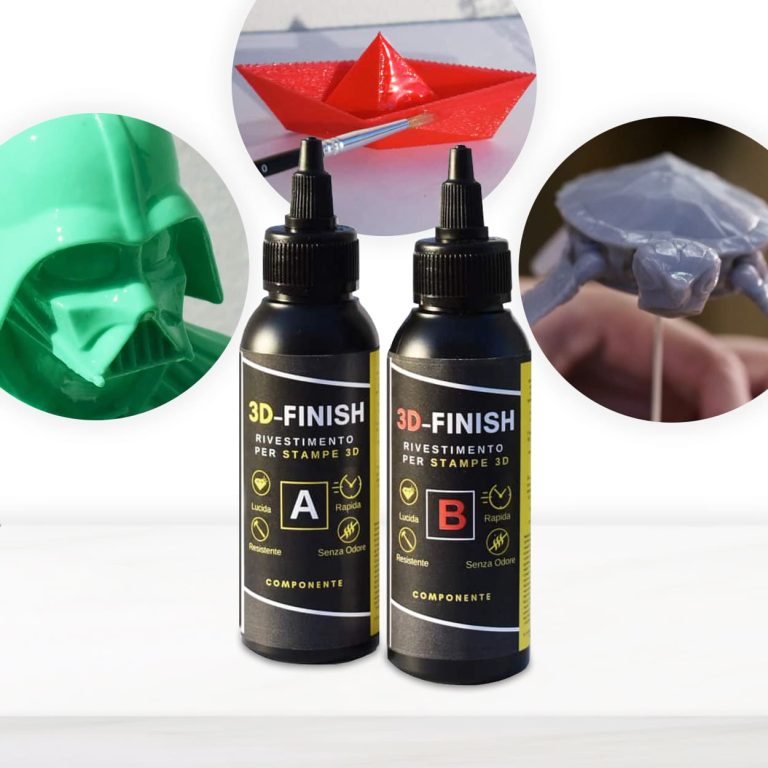
3D – FINISH “Fast” Post-print coating for polishing and finishing 3D prints. Applied on any kind print, it makes the treated surface glossy, smooth and impact-resistant. Specifically developed to be used in 3D applications, it does not drip or cover small details, faithfully respecting all the shapes of the printing. Eliminates unevenness between the different layers; Glossy; Strengthens the mechanical resistance of the printing; Can be polished and painted. If you want to paint your printing according to your tastes, 3D Finish “Fast” can be coloured with colouring pastes and metal powders. Excellent adhesion and reinforcement on PLA, LAYWOOD, ABS. Fast and effective, it is an easy-to-apply solution to create finished items through 3D printing more quickly, improving their aesthetic uniformity and their impact strength. Thanks to its high mechanical resistance, it is also perfect to be used as a bonding agent between printings or to repair damaged 3D artefacts. We recommend to store the product in a dark, cool and dry place away from direct sunlight. The tools must be washed with IPA (isopropyl alcohol).
$16,49
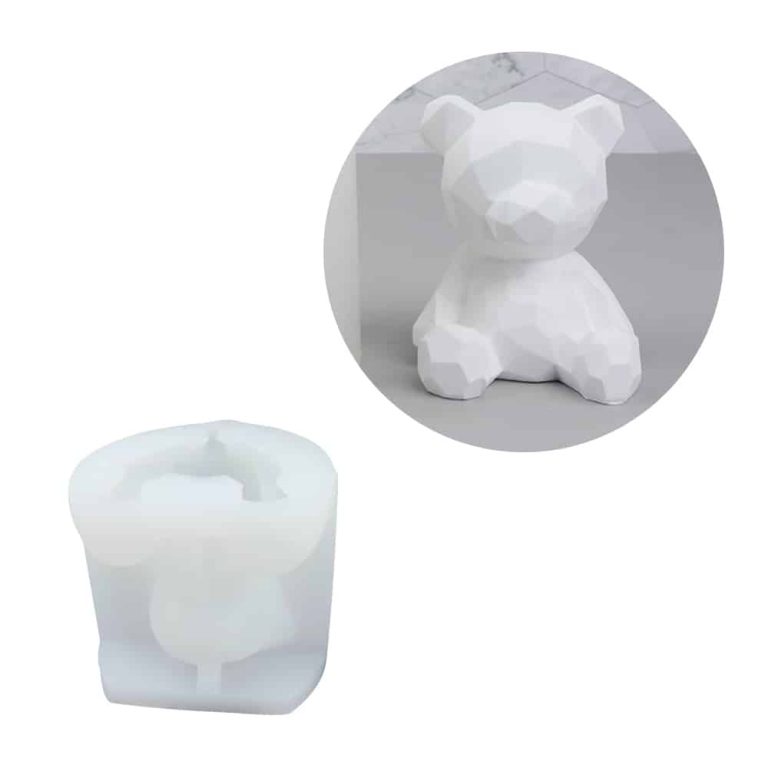
3D Bear “Teddy" mould made of high quality silicone for resin creations. Excellent for making candel mould,DIY Keepsake Mold. Size: 2.6 x 2.5'' and casting size of 2.4 x 1.8 x 1.9'' Colour: White Warning: do not use aggressive solvents, High-quality moulds, heat-resistant: -40°C to + 210°C [-104° F to +410° F] Attention! Remove the product from the mold no later than 12 hours after pouring the resin. Otherwise, there is a chance of local adhesion of the resin to the mold.
$13,53
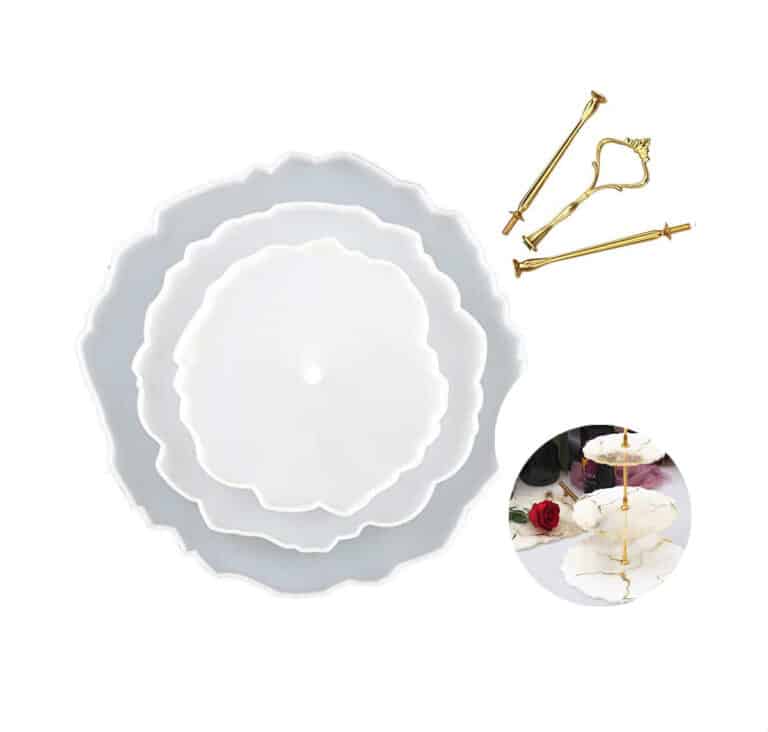
HIGH-QUALITY SILICONE MOULD FOR HANDCRAFTS This flat Coaster Mould has a smooth interior and produces a beautiful coaster with a professional finish. Use our heat-resistant resin to make something that is not only functional but also ideal for making three-tier fruit and dessert trays, coasters, decorative elements and home and office decorations. This product can be reused over the years. The Set includes: Silicone molds: D. 155 mm – 1 pcs → 6.1 in – 1 pc D. 205 mm – 1 pcs → 8.1 in – 1 pc D. 255 mm – 1 pcs → 10.0 in – 1 pc Support rod (by variation): 110 mm – 2 pcs → 4.3 in – 2 pcs 122 mm x P. 47 – 1 pcs → 4.8 in x P. 1.9 – 1 pc If you're using these moulds to make coasters, we recommend that you add a 3mm thick clear layer of Heat-Resistant resin first in your mould. Let it set and then add more resin with colour, ink, glitter, flowers etc. Once turned out (after 3-4 days), what was the bottom will be the top and heat-resistant up to 200C! Remember that our Heat-Resistant resin needs up to 72 hours to achieve full cure, so don't place a hot cup on it too early. DO-IT-YOURSELF. Material: Silicone, Colour: Semi-transparent; Reusable, Non-stick, Easy to use and clean. Warning: do not use aggressive solvents, High-quality moulds, heat-resistant: -40°C to + 210°C [-104° F to +410° F]
$17,49
RESIN COLOUR TRANSLUCENT EFFECT - FOR EPOXY RESINS – 0.85 fl oz / 25 ml Intense and brilliant color, ideal for Transparent Epoxy Resins. Mix small quantity to get a translucent effect. The high coverage of the "Colorfun Deluxe" range allows to obtain a full and bright color. The high concentration provides an opaque color with a few drops. Usable to color the products of the RESIN PRO range. Available colors: White Black Blue Lemon Yellow Oxide Yellow Oxide Red True Red True Green Olive Green Orange Brown
$4,95
3D Resin Printing Guidelines
The process of applying 3D resin is a meticulous one that demands precision. It commences with preparing the 3D printer, where the resin is placed in a dedicated tray. Subsequently, the printing of the 3D model begins, with UV light solidifying the resin layer by layer. Upon completion of the printing process, the object needs to be delicately removed, cleaned with isopropyl alcohol to remove excess resin, and then cured under UV light to finalize the hardening process.
Epoxy Resin for 3D Printing
Epoxy resin for 3D printing is a versatile and robust material ideal for crafting various three-dimensional objects. Through a polymerization process, epoxy resin hardens, taking the shape of the molded object. This characteristic makes it suitable for artistic creations, interior design modeling, and more. It is crucial to adhere to the manufacturer's instructions for proper usage and curing procedures.
Silicone Molding Methods
Silicone molding methods involve utilizing silicone rubber to create intricate shapes and models. This process includes preparing the original model, mixing the silicone rubber, applying it to the mold, and allowing it to cure. Silicone rubber is renowned for its exceptional ability to replicate fine details, its high-temperature resistance, and durability, making silicone molds ideal for various applications such as arts and crafts, industrial production, and DIY projects.
Artistic Resin Pigments
Artistic resin pigments are powdered substances used to color epoxy resin, bringing unique artistic creations to life. Available in a wide array of colors, these pigments blend seamlessly with the resin, ensuring uniform coloring. To achieve optimal results, it is essential to add pigments gradually, mix thoroughly to prevent clumping. Excessive pigment usage can alter the resin properties, so it is crucial to follow the manufacturer's guidelines diligently.
3D Resin Application Procedure
The 3D resin application procedure comprises several pivotal stages to attain optimal outcomes. After preparing the work area and the model for coating, proceed by meticulously mixing epoxy resin or silicone, followed by uniform application on the support. Subsequently, allow for the necessary curing time to ensure material solidification. Finally, carry out any finishing touches and sanding for a flawless end result.
Epoxy Resin Application Guide
Applying epoxy resin is a straightforward yet detail-oriented process. Here are the steps to ensure a correct application:
Clean and prepare the surface, ensuring it is dry, clean, and free of grease or dust.
Mix epoxy resin and catalyst following the manufacturer's proportions.
Apply the mixture to the surface in thin, even layers using a brush or roller.
Eliminate air bubbles with a gas torch or bristle brush.
Allow it to dry and cure for the recommended time specified by the manufacturer.
Apply a second coat if necessary for a flawless finish. By following these steps meticulously, you can achieve a professional outcome with your epoxy resin.
Comprehensive Guide to Silicone Molding
Silicone molding is a versatile and dependable technique for creating objects in resin, plaster, cement, and more. Here's how to use it correctly:
Prepare a clean and level work area.
Thoroughly mix the silicone following the manufacturer's instructions.
Pour the silicone over the object to be copied, ensuring full submersion.
Allow it to dry completely, adhering to the recommended curing times.
Once hardened, carefully remove the object, and the new silicone mold will be ready for use.
Epoxy Resin Pigment Recommendations
Epoxy resin pigments play a vital role in customizing your artistic or DIY projects. Opt for high-quality pigments for vibrant and long-lasting colors. Adhere to the recommended doses to avoid undesired color variations. Thoroughly blend the pigment into the resin to ensure even distribution. Always conduct a color test on a sample before proceeding with your main project to ensure desired results.
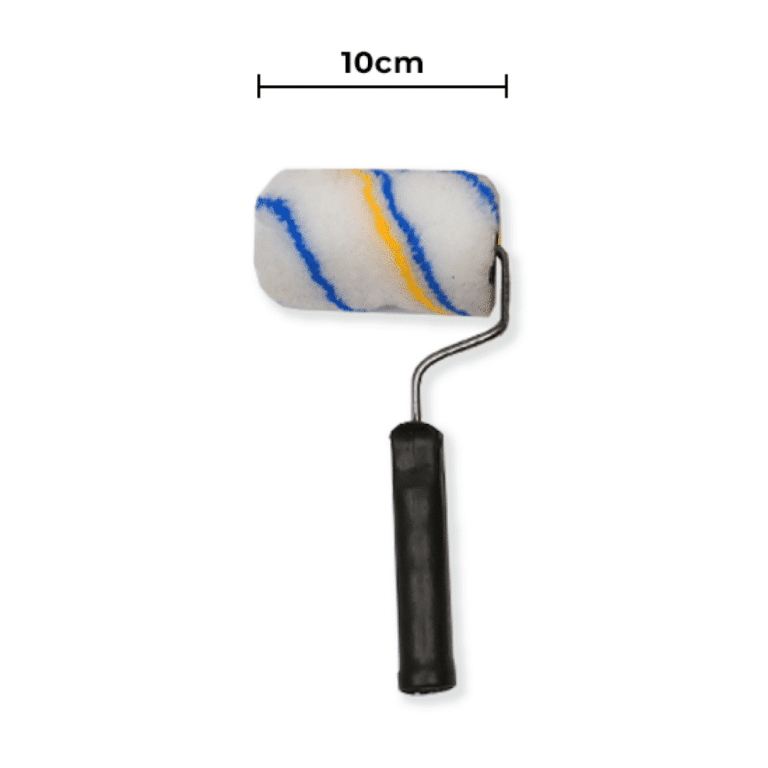
Small roller 10 cm Our wide, short-pile rollers allow you to process resin surfaces and floors with high precision without leaving an excessive dose of resin. In addition, their structure allows you to work accurately and evenly, ensauring perfect results. Precise and uniform processing: Thanks to the short pile, our roller allows you to work with precision and uniformity, providing perfect results without leaving an excessive dose of resin on the surface. Large roller 20cm If you need to cover large surfaces in a short time, but our large short pile roller for resins now and get perfect and uniform results! Sponge Roller For Resin Floors & Surfaces Uniform self-leveling sponge: The sponge of our roller allows you to cast a generous dose of resin that will self-level evenly on the surface, ensuring perfect and even results without any imperfection. If you want to achieve perfect and even surfaces in your resin floor and wall designs, buy our resin floor and wall sponge roller now!
$6,95
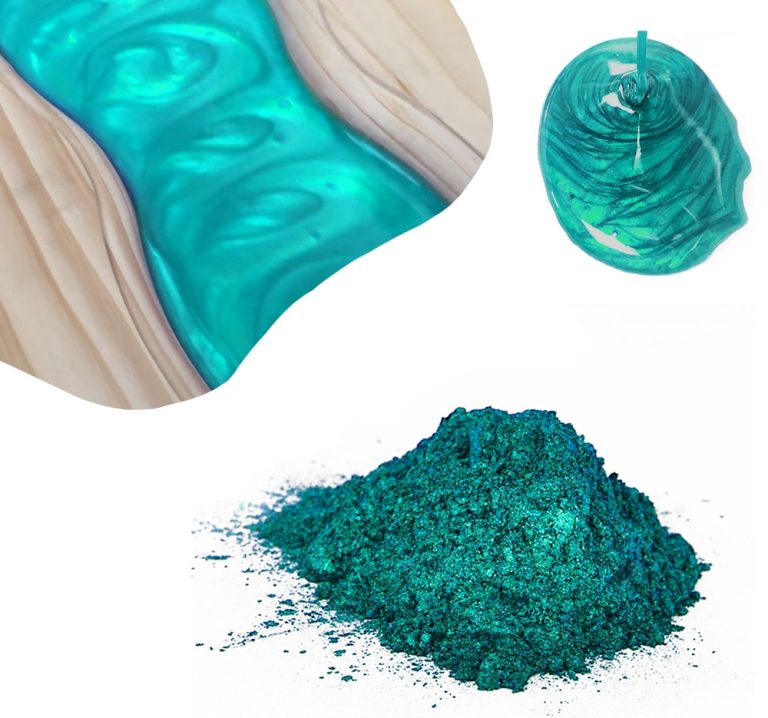
Mica Powder SAHARA is the perfect way to give even more emphasis to your creations. Thanks to its metallic pigments, you can create impressive 3D effects! Our new Mica Powder SAHARA is perfect to decorate your creations with resin! The mica-based pearlescent PEARLINE pigments have excellent fastness to light and high-temperature stability. Ideal for “glazing”, they can be used with all transparent resins. Thanks to the selection of colours, you can get truly unique and innovative chromatic effects. The selection of the finest raw materials and the high production technology allows us to offer a product with brilliant shades and high-dimensional constancy. Due to its wide range of colours, it can be used in several decorative applications, such as: hobbies, home decoration, fine arts, nail art.
$4,95
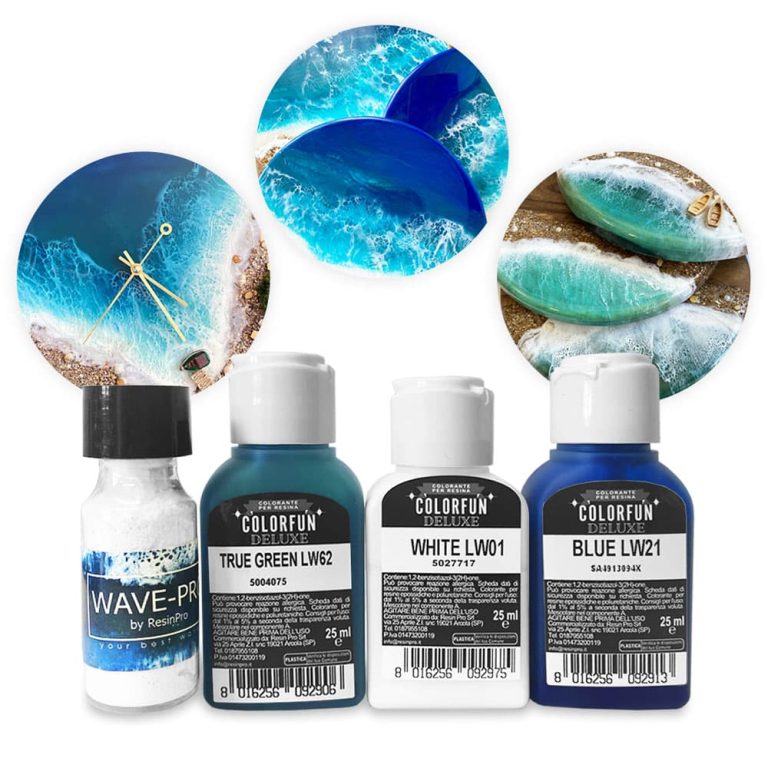
Set of dyes in a marine palette for works on marine and oceanic themes Ingredients: 3 dyes RESIN COLOUR TRANSLUCENT EFFECT 25 ML, Wave-pro powder for creating waves 15 ml, instructions for working with powder for waves. The kit is designed to create works of epoxy resin on a marine theme: take an artboard or a decorative board / saw cut and epoxy resin for painting to the set - and you can safely start creating a marine masterpiece 🙂 The kit is enough for many fillings, since a couple of drops of dye are enough to stain the resin.
$16,95
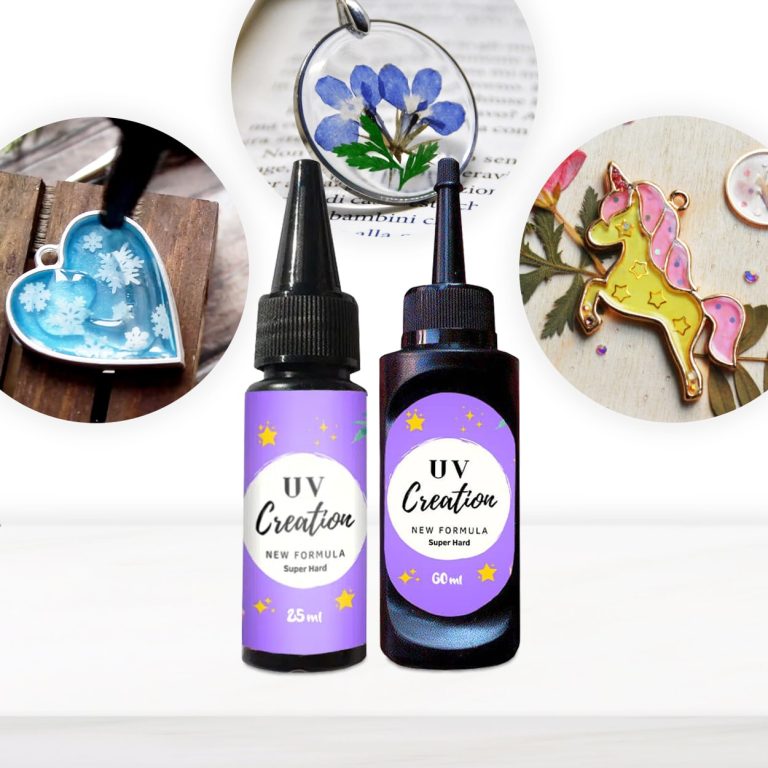
💥About "UV-CREATION" - Fast Acrylic Resin - 3 Minutes: Introducing our UV Resin, a versatile and high-quality solution for all your hand crafting needs. UV resin is an acrylic gel that dries under the influence of the rays of a UV torch or UV lamp in a short time - 3-5 minutes. The difference between this resin and epoxy resin is in its one–component nature (it does not require mixing two different components; it is ready for use), in a small filling thickness (applied in thin layers 3 mm thick) and in a high curing rate (only 3-5 minutes under UV rays). 💥 Bestseller for: Artistic Creations: Ideal for creating stunning resin art pieces, jewellery, and decorative items. DIY Projects: Perfect for a wide range of DIY projects, including encapsulating objects, and crafting personalized gifts. Crafting and Modelling: Explore its versatility in crafting, modelling, and various creative pursuits. 💥Key features: ✔️ Fast curing time: No more waiting: Create instantly - UV-CREATION is your ultimate crafting companion for fast, hassle-free creations. Say goodbye to long catalysis times and welcome instant results! Only a couple of minutes under uv-lamp and your creation is ready! ✔️ Maximum hardness, maximum shine: Our new formula guarantees first-rate hardness and a clear, glossy finish that is second to none. ✔️ Time-efficient formula: UV-CREATION's innovative formula ensures surfaces are no longer sticky after curing, saving time and material. ✔️ Non toxic: Experience the joy of creating in freedom. Our acrylic and non-toxic materials ensure that your jewellery and decorative items are safe and spectacular. -The curing time depends on the thickness of the layer or the amount of dye added to the gel. You can use lamps with a power of 3w, 9w and 36w. The main thing is that the wavelength of the lamp is 365nm -405nm. -The recommended application layer is 3 mm. You can apply 2-3 layers of 3 mm, drying each layer well with UV light before applying the next one. It is not recommended to use the product for castings with a thickness of more than 3 mm in one approach. -UV resin can be painted with dry pigments and liquid pigments, glitter and other decorative elements can be added. Alcohol ink is not suitable for UV resin staining.
$12,65
 Free shipping on orders over €199,00
  Shipping Tracking!


 Google
 Facebook