Create eco-friendly and fragrant candles with our soy candle wax, a green heart in the CandlePro range. Respecting nature and loving the art of craft has never been easier. With our soy candle wax Soya Glow, you can create wonderful homemade soy candles, scented with the Aromas fragrance line and coloured to your liking with ColorCandle pigments. This organic and vegan wax, available in convenient packaging in the form of granules, is ideal for those who like to make candles, DIY and natural things. How to use: Soya Glow melts easily in a pan at 55°C due to the shape of the granules. After melting, you can customise your wax by adding our ColorCandle dyes and "Aromas" scents. Pour the wax into your glass or candle holder, and as soon as it cools down, your personalised candle will be ready to brighten your days! Quality: CandlePro is an Italian brand that guarantees strictly European wax of high quality. Bio and Vegan Wax: Our soy wax is 100% bio and vegan to respect nature without compromising on the beauty of candles. Minimal smoke: Soya Glow produces little smoke, which creates a more pleasant and healthier atmosphere. Optimal adhesion: Soft and versatile, Soya Glow adheres perfectly to glasses and candlesticks, providing excellent results. Easy to use: Thanks to the shape of the granules, Soya Glow melts quickly and can be customised with dyes and fragrances. Light up your world with eco-friendly handmade candles. Join our community of creatives and artisans and add Soya Glow to your cart!
$20,49

The structure of the lessons that you will get access to: Preparation of the workspace and mixing of resin. We will show you how to quickly level the work surface, what temperature and what other conditions are needed for a good solidification of the resin. Let’s prepare the moulds for pouring. We will show you how to mix the resin, give you ready-made calculations of proportions and teach you how to use the automatic proportion calculator in a couple of clicks. Working with glitters: Let’s explain how to add our glitter and sparkles to the filling so that they do not float to the surface and how to ensure we don’t over-pour or use too little resin. Let’s show you three different ways to add glitters. Dropping ink into the resin: This is where the magic happens, because the process of dropping ink into the resin is simply mesmerising! The inks can be seen spinning in the resin! We prepare the ink, and drop it into the resin at the right time and in a way and sequence that creates the most beautiful and unique results – we will show everything! In the course, we shared 6 wonderful colour schemes for ink combinations from the PIÑATA line. After the course you will feel confident about which colours are better for which combination, and which colours can be diversified if desired. Finishing touches! We take the work out of the mould at the right time, and check the backdrop for sharp corners. If there are any found, we “smooth” them with a nail file as shown in the video. Also, here we will show you how to use a marker for creating gold or silver edges. The finishing layer: How to apply the finish correctly for the best effect. How to calculate the amount of resin for the finish of a decoration and how to overcome smudges, if they suddenly flow onto the back of the product. Bows: We will teach you how to tie a festive bow on a decoration so that it looks even more attractive and aesthetically pleasing, as well as beautifully hung on a festive tree. Bonus additional technique of filling “Silk” – how to do it and what will be needed for this? Bonus additional technique of filling “Flame ” – how to do it and what will be needed for this? Bonus additional technique for filling the “Cloud” – How is it done and what is needed for this? Bonus additional technique of filling with shiny ink-three options for working with them
$28,49
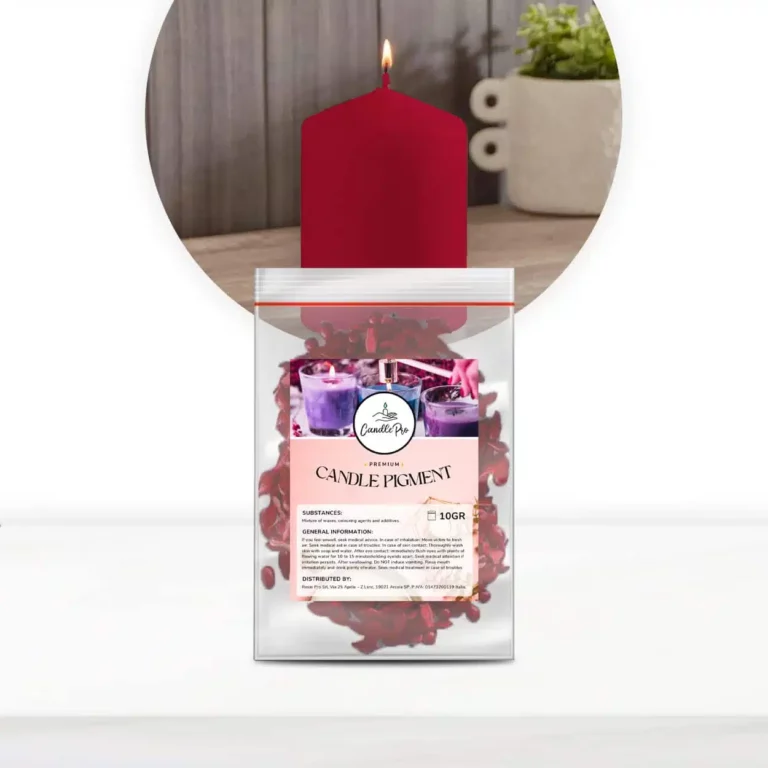
✅Wide range of colours: 5 unique colours, including orange, vinous, green, black and white, to create personalised candles. ✅Easy to use: Add the dye to the melted wax or paraffin (1% for intensive colouring). ✅ High concentration: A small amount for a bright and lasting colour in your candles. ✅Versatility: By mixing different colours, you can get endless shades for your creations. ✅Italian quality: Made in Europe, ensuring the safety and quality of your handmade candles. Turn your candles into a Rainbow of Colours with Candle Pro! Illuminate your creations with the ColourCandle line of dyes by Candle Pro, designed specifically for candles, waxes and paraffins! A world of vibrant colours awaits you, from warm shades of red and bordeaux. Turn your handmade candles into unique pieces, inimitable and full of colour. How to use: Using Colour Candle dyes is super easy: add the dye to the melted wax or paraffin and mix well. Thanks to their high concentration, even a small amount (1%) of Colour Candle is enough to intensely colour your candles. Wide Choice of Colours: Choose from 5 unique colours to give your next candle, wax or paraffin the perfect colour. Also by mixing the various candle dyes you can create endless shades! Candle Pro is an Italian brand and we make sure that our dyes are produced in Europe, ensuring quality and safety for all your creations. Ease of Use: Add a little dye to the melted wax or paraffin to get a vibrant, long-lasting colour. Are you ready to give a touch of colour to your candles, waxes and paraffins? Discover the Colour Candle range of Candle Pro and be inspired by the world of colours!
$9,99
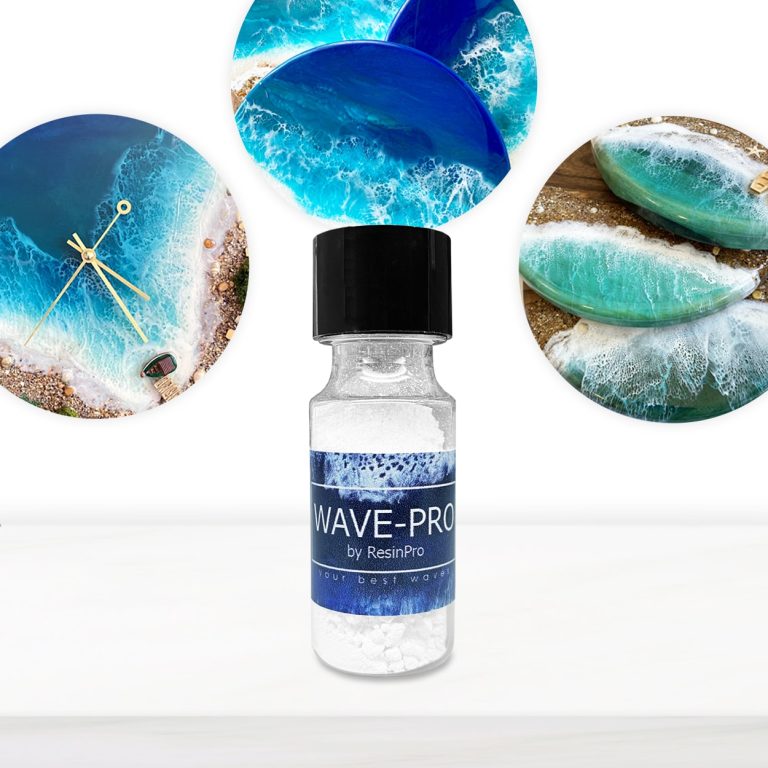
Create your personalized Sea Wave Effect! WAVE-PRO is a non-toxic powder that reacts with wet epoxy resins by repelling itself away, thereby stimulating movement in concentric outward circles and waves. Creates cells and waves in resin art Safe & user-friendly Odourless Non-toxic & non-flammable Zero-VOC formula with no harsh chemical ingredients, solvents or alcohol-based ink WAVE-PRO can be used along with our range of colours or metallic pigments. Please Note that WAVE-PRO was developed and tested with our proprietary artwork resins. Ideal for Ocean Resin Art How to use: How to work with Wave Pro - the ideal tool to create the natural sea waves effect! These instructions imply the presence of a "sea" background made of epoxy resin on your board / canvas (it can be done as acrylic paints, and just filled it with transparent resin on top, or you can make it entirely from coloured resin). The hardened "sea" background made of epoxy resin makes it possible to remove non-produced waves in case of failure. We mix the epoxy resin in the proportions indicated in the instructions (the volume depends on the scale of the work). In a cup, mix the resin and Wave Pro additive using the ratio: 3-4 teaspoons of resin and 1/2 teaspoon of Wave Pro). It is important to mix thoroughly and quickly so that the powder dissolves and turns from a pale white to a rich white. Let the mixture rest for 50-70 minutes, occasionally stirring it in a cup. Your main goal is to get a very thick mixture after the indicated time, since this is the perfect consistency for it to be blown with a blow dryer. Mix the newly obtained resin, and use it to make a transparent layer on top of your "sea" background (the key point is that without a liquid transparent layer, the wave effect will not work!). Pour a thin stream of white thick mixture onto this transparent epoxy layer and, holding the blow dryer at a 30 ° angle, blow the wave. Linger only at the beginning of the process, because the resin is thick, and the blow dryer needs to "soften" it, but as you see that the wave has gone, then immediately move along the entire wavelength without stopping. Go through the burner and wait for the resin to completely cure. Once cured, you will have your real sea :) We recommend to use the product with our TRANSPARENT EPOXY RESIN (low viscosity) https://resin-pro.co.uk/product/transparent-epoxy-resin-320-gr/ https://www.instagram.com/p/B0twAR1gDaE/?igshid=nvej64p9oa69
$4,84
How Gravel and Pebbles are Manufactured
The production of gravel and pebbles involves various processing stages.
Gravel is obtained by crushing rocks of different compositions and sizes using crushing machines. The rocks are crushed into small fragments and then sifted to achieve specific granule sizes.
Pebbles, on the other hand, are larger fragments compared to gravel and are produced through a similar crushing process, but with a selection of larger stones.
Both materials are predominantly utilized in the construction industry for manufacturing concrete, asphalt, and for road and pavement construction.
Producing Colored Pebbles
The creation of colored pebbles is a straightforward process that involves the use of epoxy resin and colored pigments. Here's a step-by-step guide:
- Prepare the epoxy resin following the manufacturer's instructions.
- Add the desired colored pigment to the resin and ensure thorough mixing.
- Pour the colored resin onto a plastic sheet and allow it to dry.
- Once hardened, break the resin into smaller pieces to obtain colored pebbles. This method enables the customization of colored pebbles for decoration projects or DIY endeavors.
Techniques for Crafting Pebbles
To craft pebbles using epoxy resin, it is crucial to adhere to specific techniques. Begin by selecting high-quality transparent resin and pigmented colorants to achieve the desired hue. Mix the resin with the colorant and incorporate the gravel aggregate, ensuring even distribution on the surface. Lastly, level the resin with a scraper and allow it to cure fully in accordance with the manufacturer's instructions.
Artisanal DIY Pebbles
Crafting artisanal DIY pebbles is a simple and enjoyable process. Utilize epoxy resin mixed with colored pigments to achieve the desired visual effect. Pour the mixture into a mold and add small stones or granules for a realistic appearance. Allow it to cure for the required duration, and you'll have personalized pebbles ready for embellishing gardens, pots, or creative projects.
Intense and brilliant colour, ideal for Transparent Epoxy Resins. Mix small quantity to get a translucent effect. The high coverage of the "Colorfun Original" range allows to obtain a full and bright colour. The high concentration provides an opaque colour with a few drops. Usable to colour the products of the RESIN PRO range.
$13,45
“I-GUM SLOW” – Non-Toxic Silicone Rubber – Paste Form
Pasty silicone rubber “I-GUM” is a two–component product for creating moulds and forms for pouring with epoxy resin.
$22,85
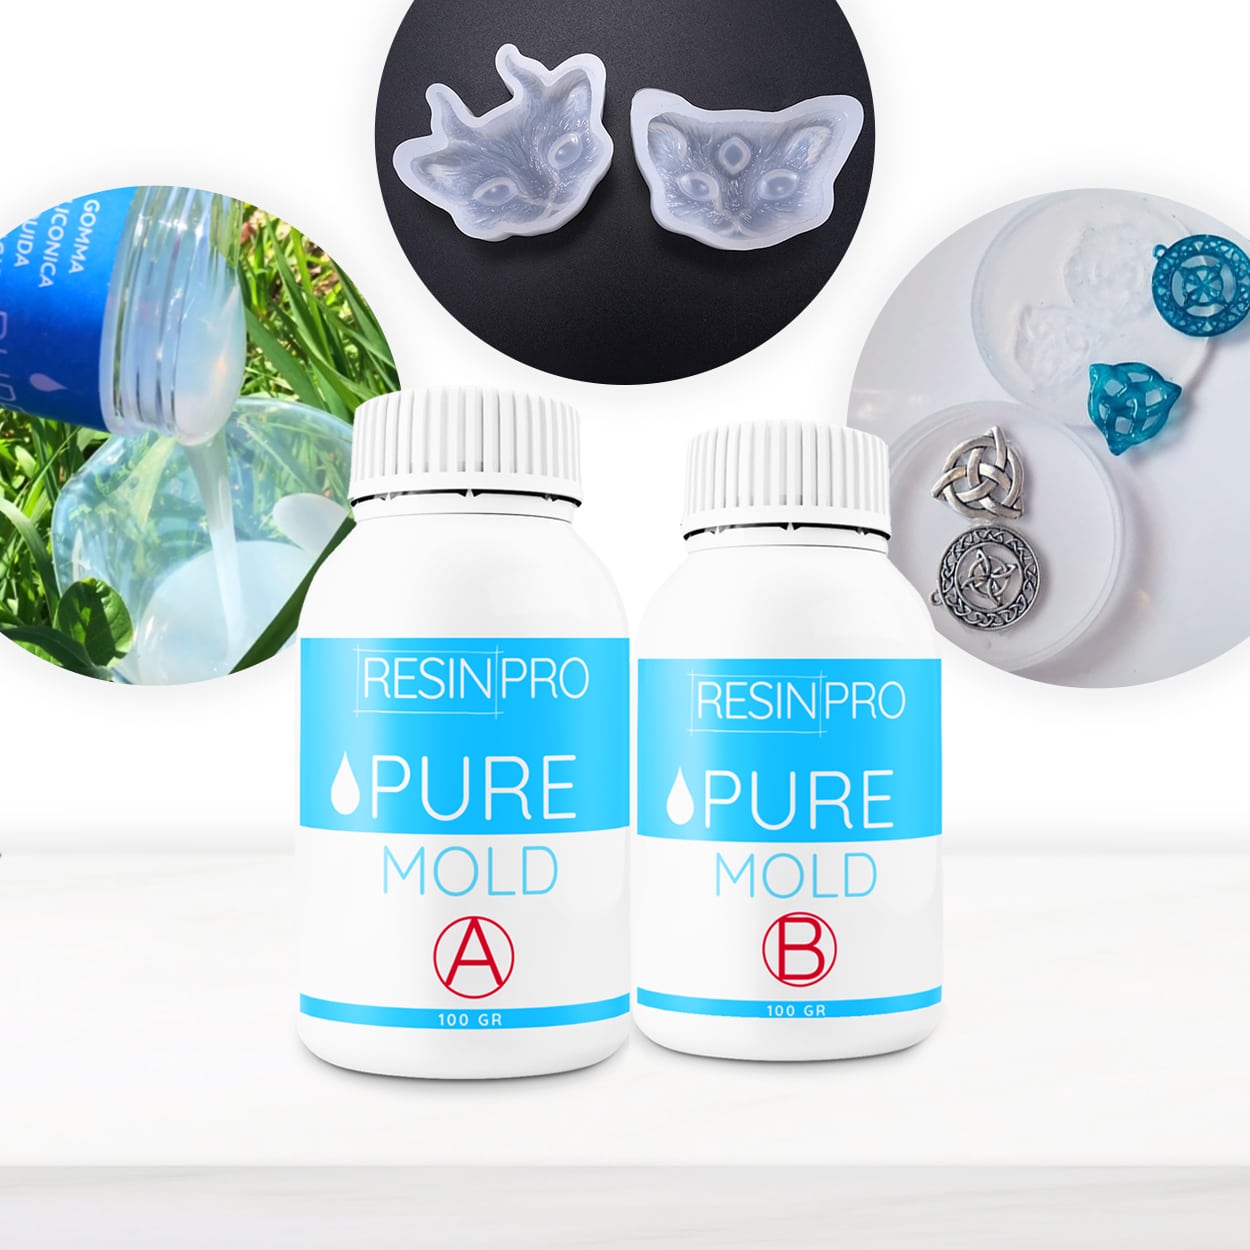
Create your moulds using PURE MOLD silicone rubber! Compatible with many materials including resins, plaster and cement. Its transparency will allow you to observe through the mould and its high mechanical characteristics make it a product suitable for both professional and hobby use.
$22,45
EPOXY POLISH is an advanced epoxy resin polishing system that delivers a stunning, glossy finish for your resin projects. Ideal for professionals and DIY enthusiasts alike, this product rejuvenates surfaces to a mirror-like shine with ease.
$17,85
ResinPro: one supplier for all your needs
15 years of experience at your complete disposal, supplying resins and accessories for creativity, industry, DIY, flooring and marine applications.
At your home, directly from the manufacturer!
ResinPro is the direct manufacturer of our resin range for companies and hobbyists, guaranteeing the lowest prices on the market.
Learn more
The widest range of resins in the UK!
We offer resins for every need, from artistic creations to marine and construction applications, far beyond the “limited” selection typically found in local DIY stores.
Expert technical support!
Our technicians provide free remote consulting to help you avoid mistakes and ensure you achieve the result you want — unlike “generic retailers” who sell 1,000 different products.
get a free consultation
RESIN PRO is a leader in resin production and distribution!
24-hour delivery: We ship across the UK on the same day. Enjoy convenient home delivery with our appointment service—our courier will contact you in advance and deliver the package to your preferred location, or leave it at an alternative address of your choice.

Full support!
We provide continuous support from preparation to final application, including remote technical assistance, ensuring a smooth experience.
Talk with a specialist and place a phone order without registration and without credit cards!
 Free shipping on orders over €199,00
  Shipping Tracking!


 Google
 Facebook